If you spend a lot of time each day with a bag hanging off one shoulder, the strap can dig in and get really uncomfortable. That’s when a padded shoulder strap comes in handy.
Enhance your bag and protect your shoulder with this deluxe strap cushion, and after you’re finished, to make your strap adjustable follow this tutorial to attach a slider buckle.
Deluxe Strap Cushion Material
Main Fabric
Strap Feed: (2) 2 ¾” x 5 ¾” rectangles
Contrast Fabric
Strap Cushion: (2) 2 ¾” x 8 ¼” rectangles
Bias Binding: (1) 15″ x 15″ square
Foam Stabilizer
Strap Cushion: (1) 2 ¾” x 8 ¼”
I use Bosal In-R-Form one sided fusible; it’s very cushy. You could also use fusible fleece.
Instructions
Step 1
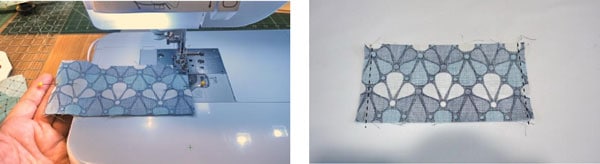
Sew the short ends of the Strap Feed right sides together.
Turn the tube to the right side and press flat.
Topstitch along the short ends.
Step 2
Fuse the foam stabilizer to the wrong side of one of the Strap Cushion pieces.
Step 3
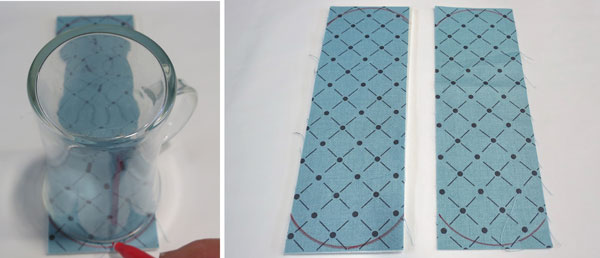
Use a cup to trace a curve around the short edges of the Strap Cushion pieces.
Trim with scissors.
Step 4
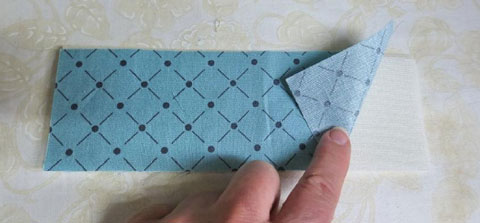
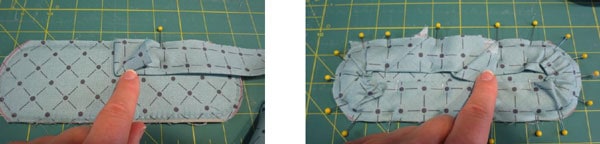
Fold the Strap Feed in half and center it to the lining side of the Strap Cushion.
Pin in place.
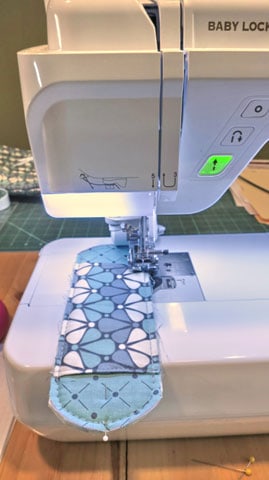
Step 5
Baste along the raw edges using a scant ¼” seam allowance.
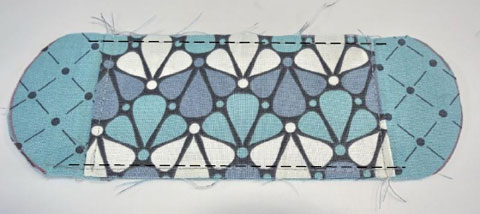
Step 6
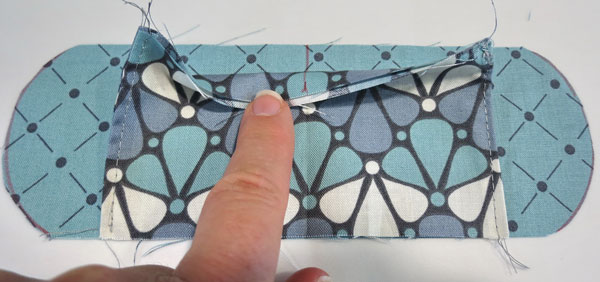
Pin the Strap Cushion pieces wrong sides together.
Baste around the edges using a scant ¼” seam allowance, using a walking foot if possible.
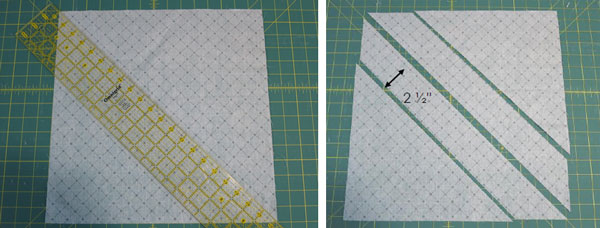
Step 7
Cut two strips on the diagonal measuring 2 ½” from the 15″ x 15″ Bias Binding square.
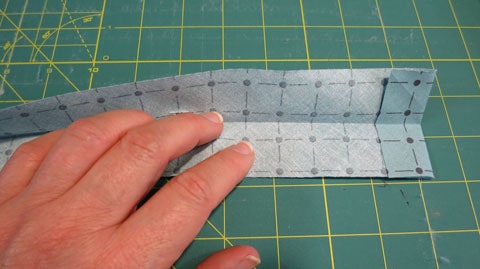
Step 8
With right sides together draw a line from the notch to the notch.
Stitch along the line.
Press the seam open.

Step 9
Trim the short ends square and fold over 1″ on one of the short ends.
Fold the binding in half wrong sides together and press.
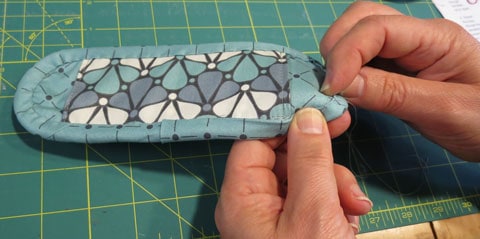
Step 10
Pin the Bias Binding to the Strap Cushion starting with the folded over edge.
Pin around leaving an extra 1″ to tuck into the starting point.
Stitch around.
Step 11
Fold the Bias Binding to the opposite side and slip stitch down.
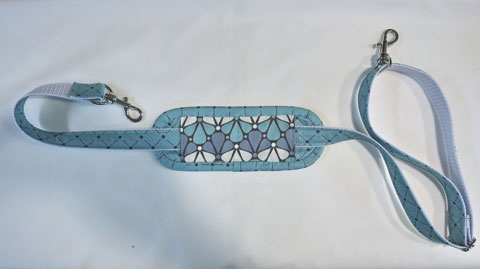
Step 12
Insert the shoulder strap through the Strap Cushion and enjoy carrying a bag that doesn’t dig into your shoulder.
Leave a Reply