Some call it a border print
I spend a lot of my time ogling the fabric we have coming into the ABQ Sewing Studio, and one type of fabric I always watch for when purchasing for the store is called continuous yardage. Some folks would call it a border print but continuous yardage in my mind is a full width of fabric image, something with real impact.
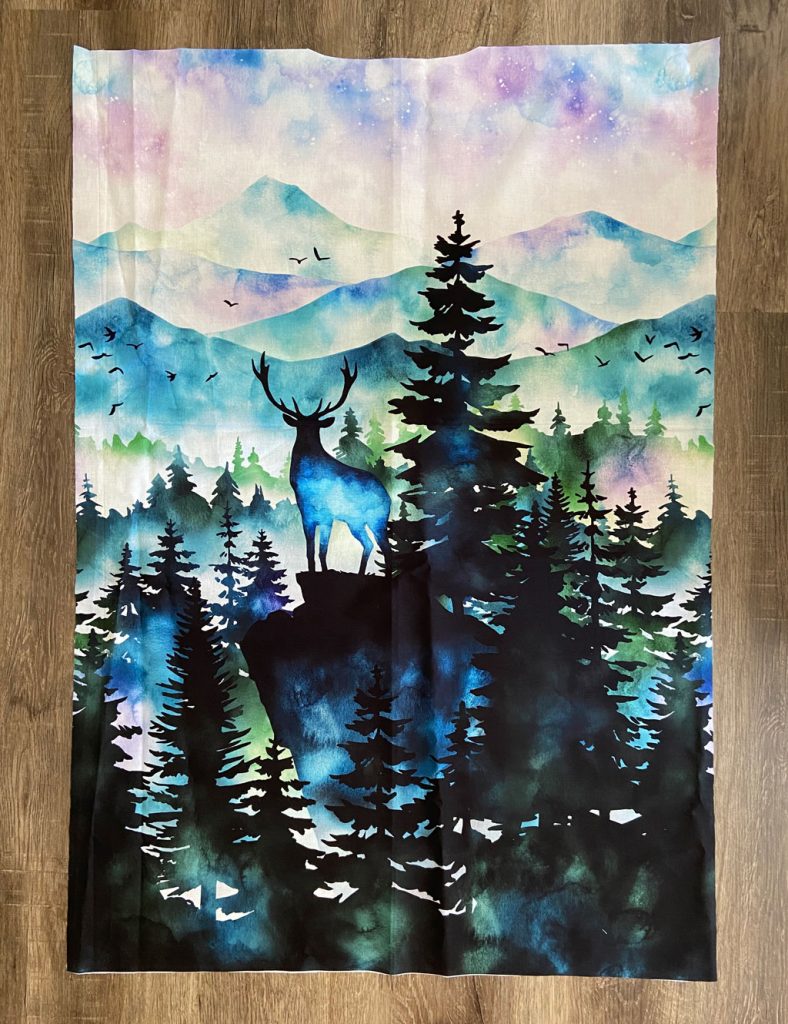
I was intrigued by this print
One of the fabrics we have in stock at the moment, a Hoffman California print, is from a collection called Mystic Mountain. Hoffman dubs this kind of print a “Spectrum Print”. That seems a pretty good description for the style as well.
Cottage Cover-up or Kimono?
Being intrigued by the print, a garment sewing application soon occurred to me that coincides with an upcoming event. Kathy and Conrad, my sister-in-law and brother, have once again graciously invited us to visit their northern cottage this summer and the Mystic Mountain print immediately put me in mind of their place, and the piney forest that surrounds them. Wouldn’t this type of fabric look wonderful as a bathing suit coverup using one of the patterns we stock?
Suitable patterns
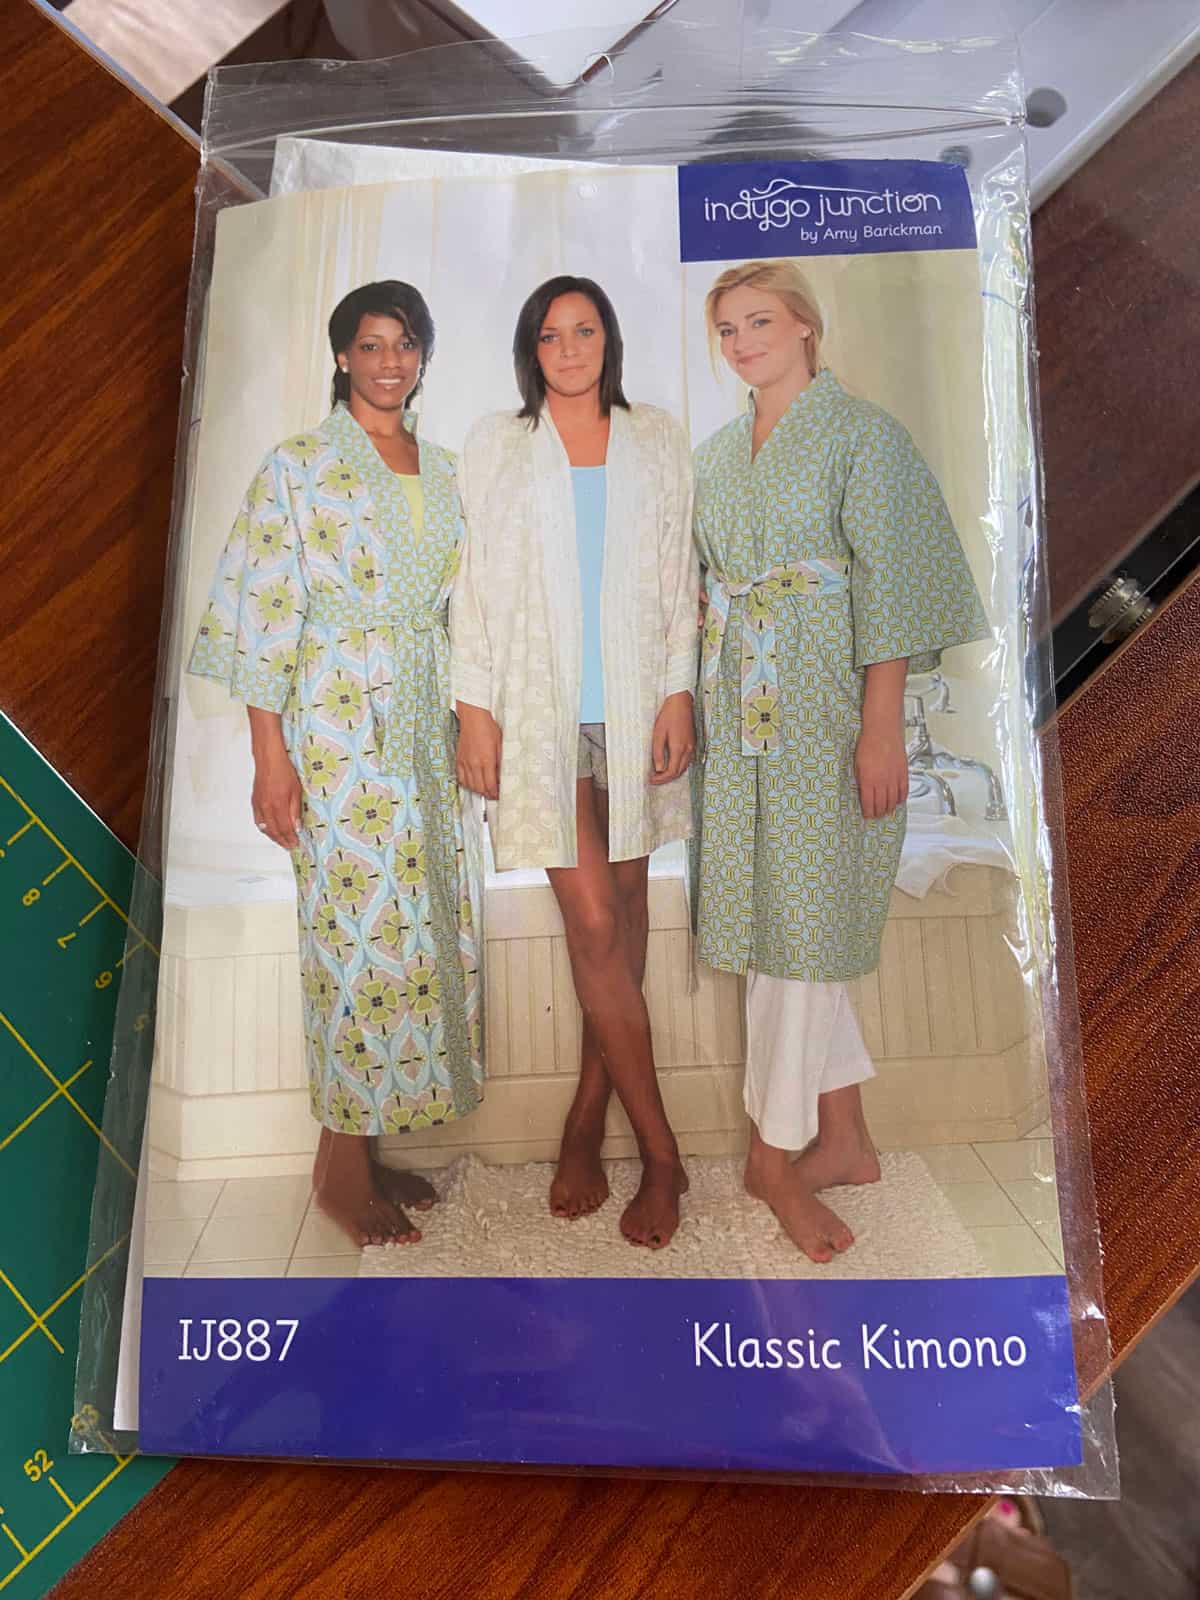
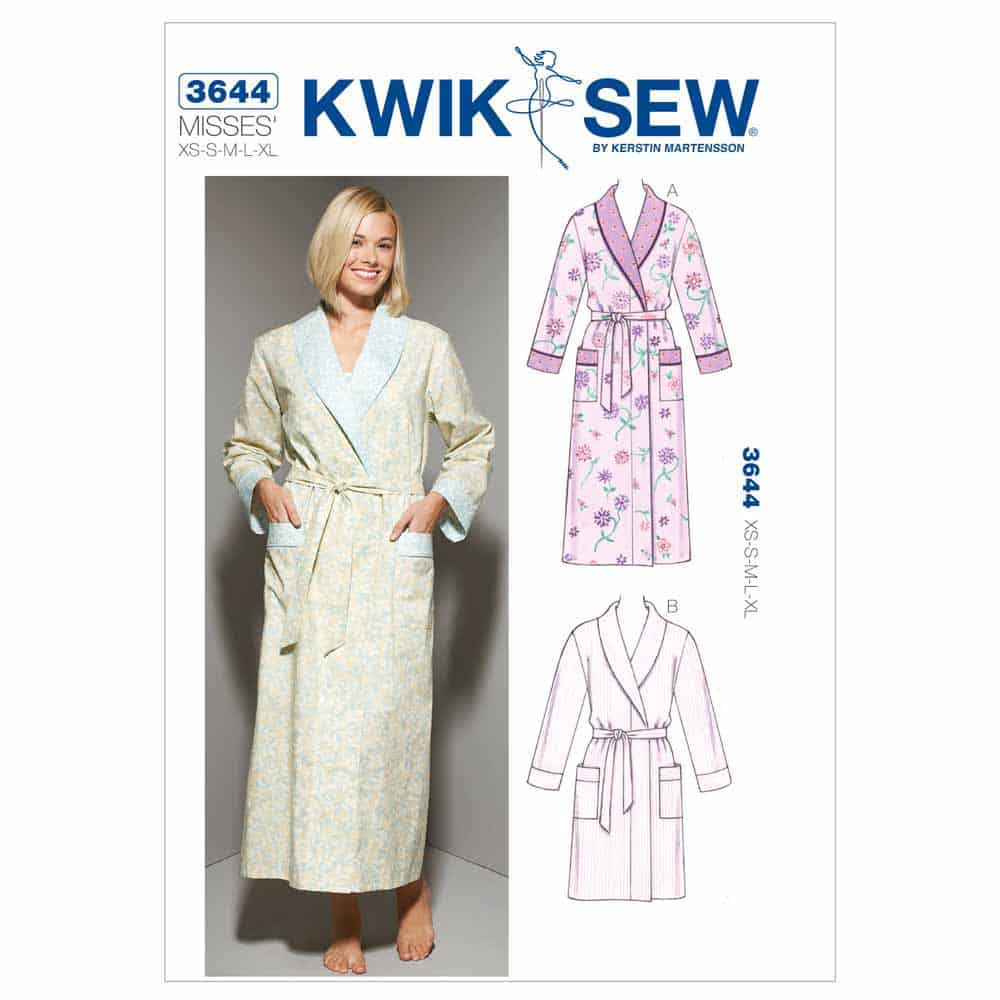
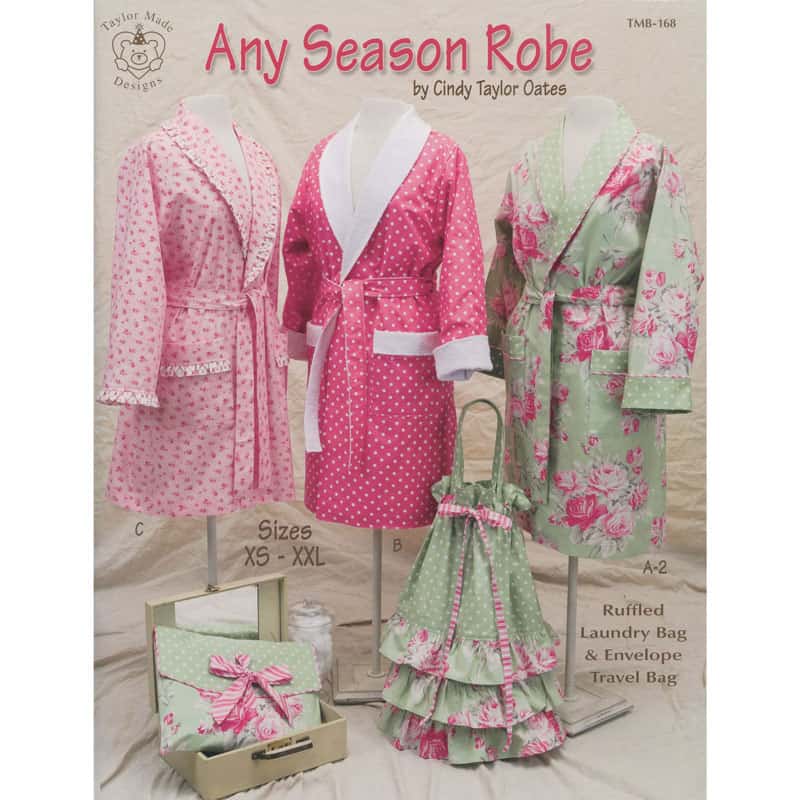
We stock a few pattern options that would suit my idea perfectly: the Indigo Junction Klassic Kimono IJ887, Kwik Sew’s 3644 Robe, and Cindy Taylor’s Any Season Robe booklet. All offer multiple sizes and several lengths to choose from, mid-thigh, below the knee, and to the ankle.
I went with the Classic Kimono
I decided to use the Indigo Junction Classic Kimono pattern, as we had one open already after making a flannel robe sample for the store. The Kimono features two pockets sewn into the seam, a tie belt and loops. The collar, sashing and sleeve trim are contrasting.
The pattern
The pattern consists of a back, two front and sleeve pieces, and sashing pieces. It’s finished off with the tie belt and loops. True to Kimono style the sleeves are simple rectangles sewn to the sides.
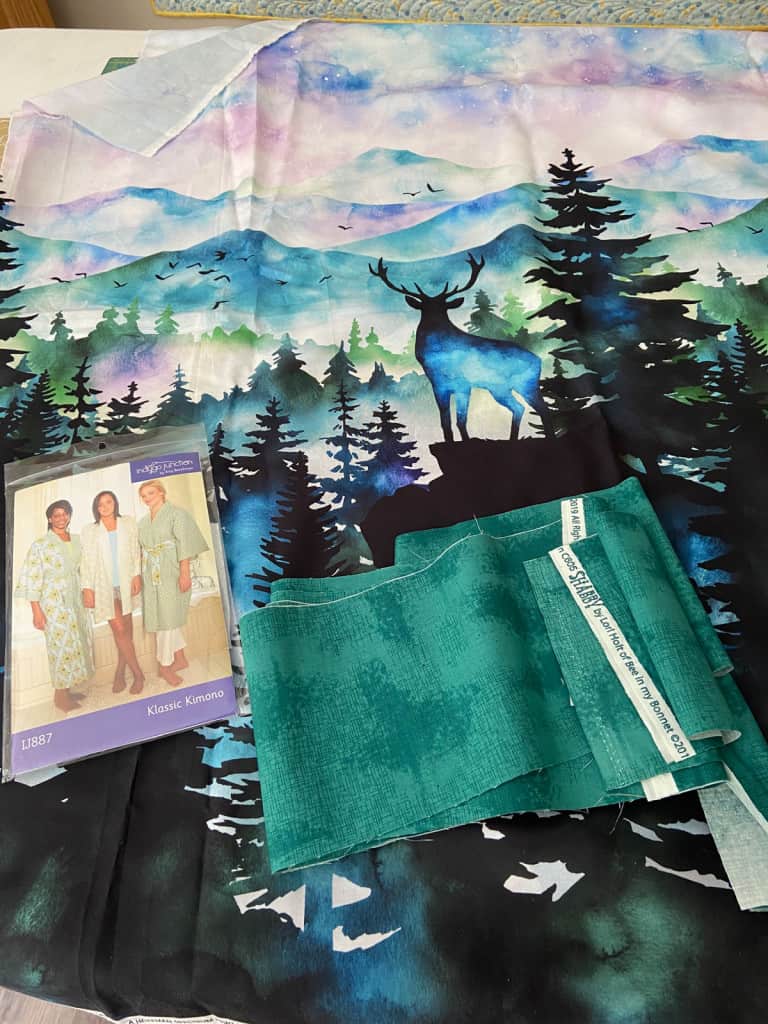
The Mystic Mountain continuous yardage fabric I used is 43″ wide. You can cut the short or medium length Kimono from this length. With the continuous print it is necessary to cut on the width rather than the length but for this simple style that worked out just fine. I used about 2 ¼ meters or 2 ½ yards of the continuous yardage print as well as .75m or ¾ yard of the green contrast fabric.
Centre back
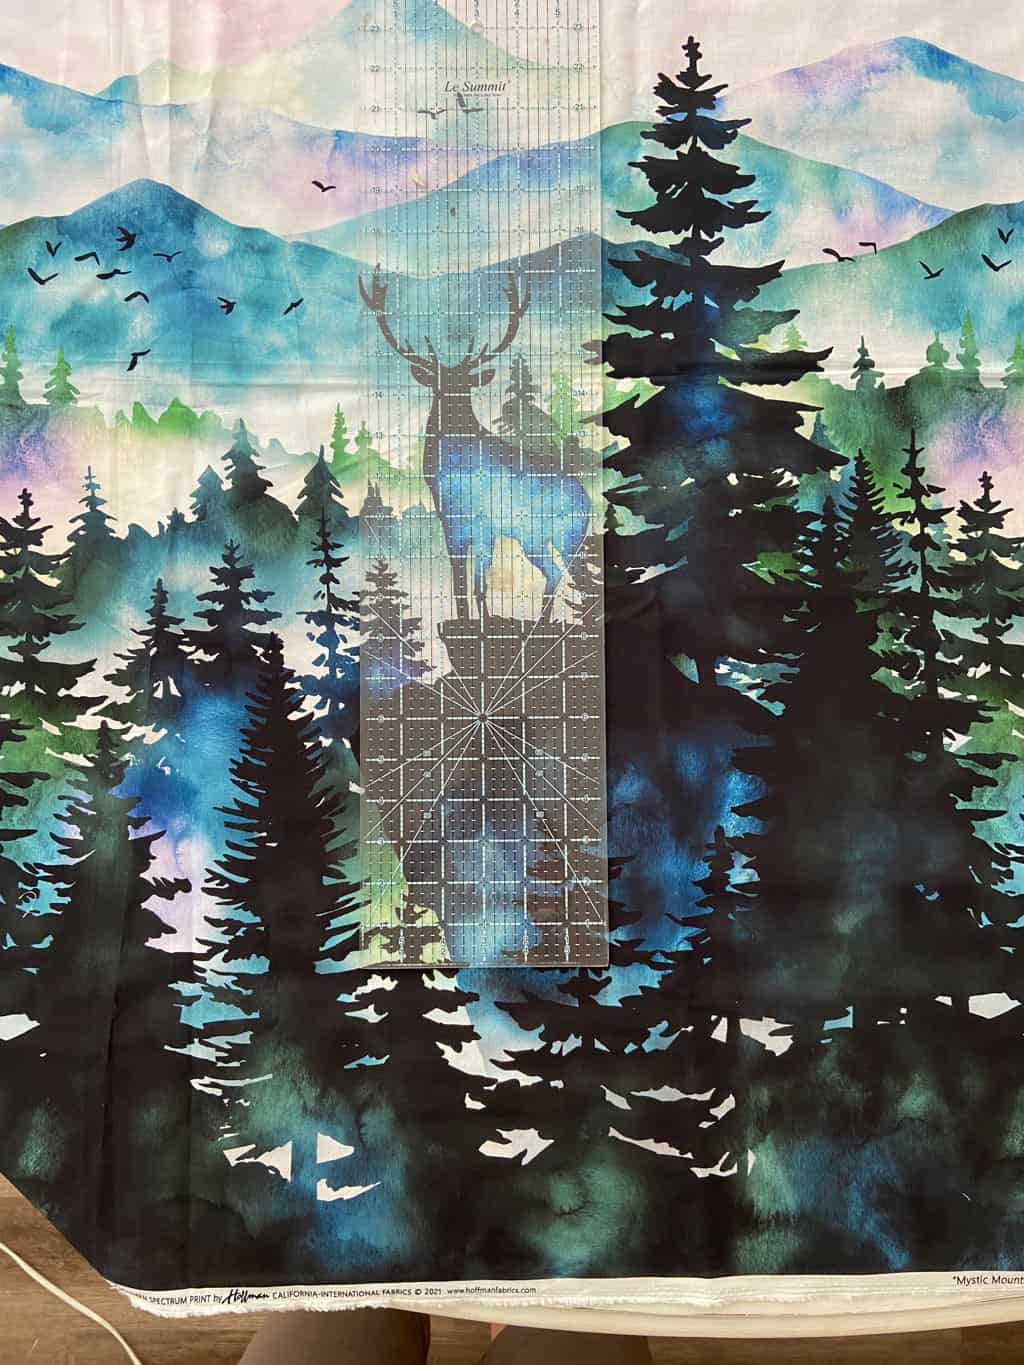
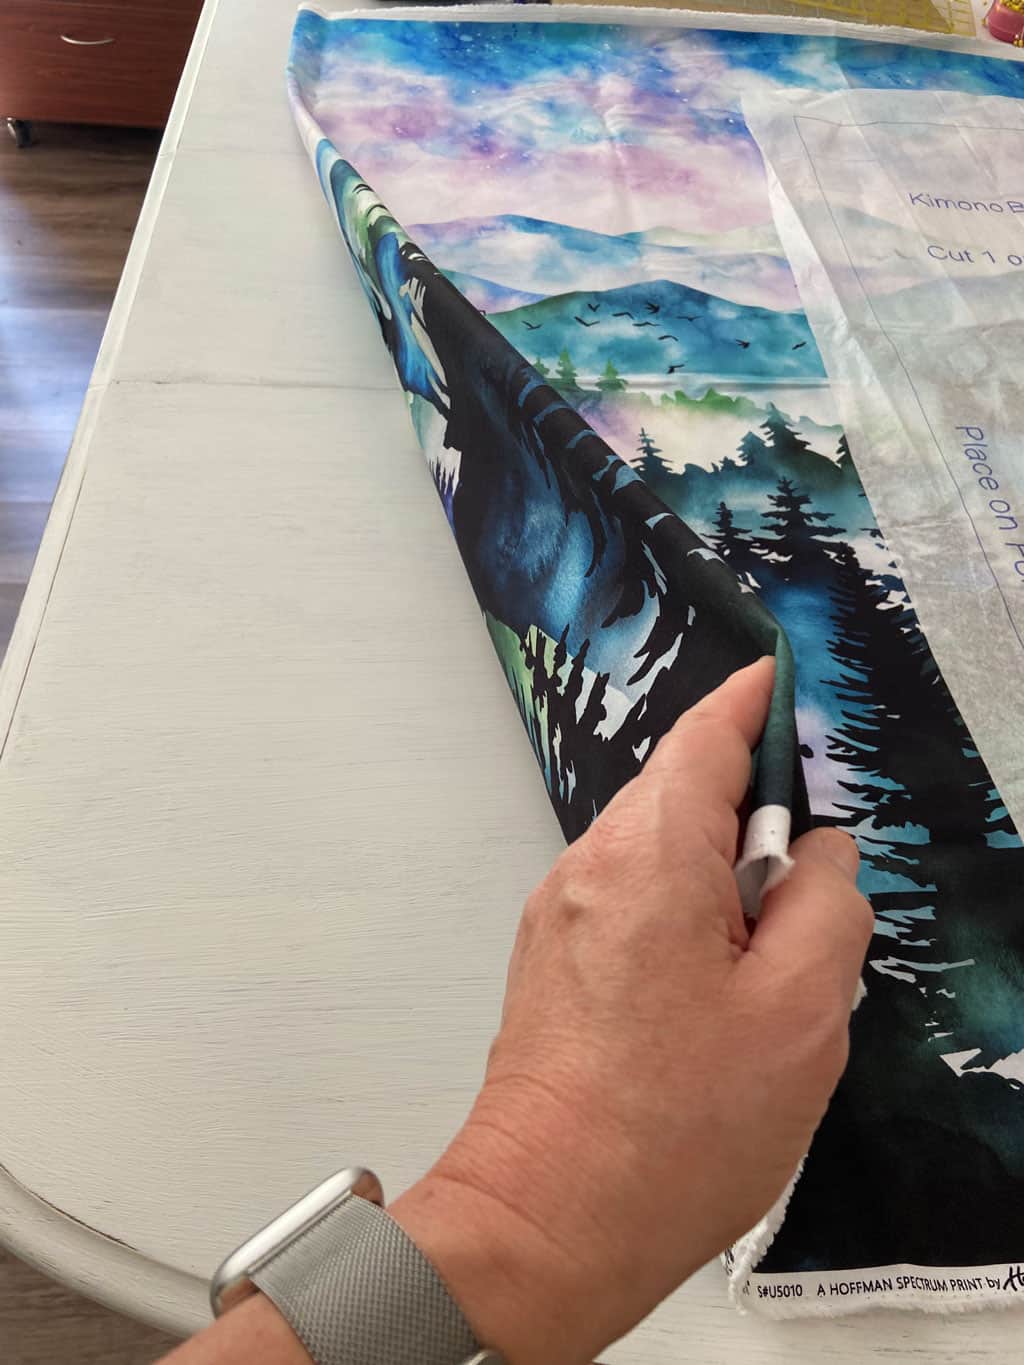
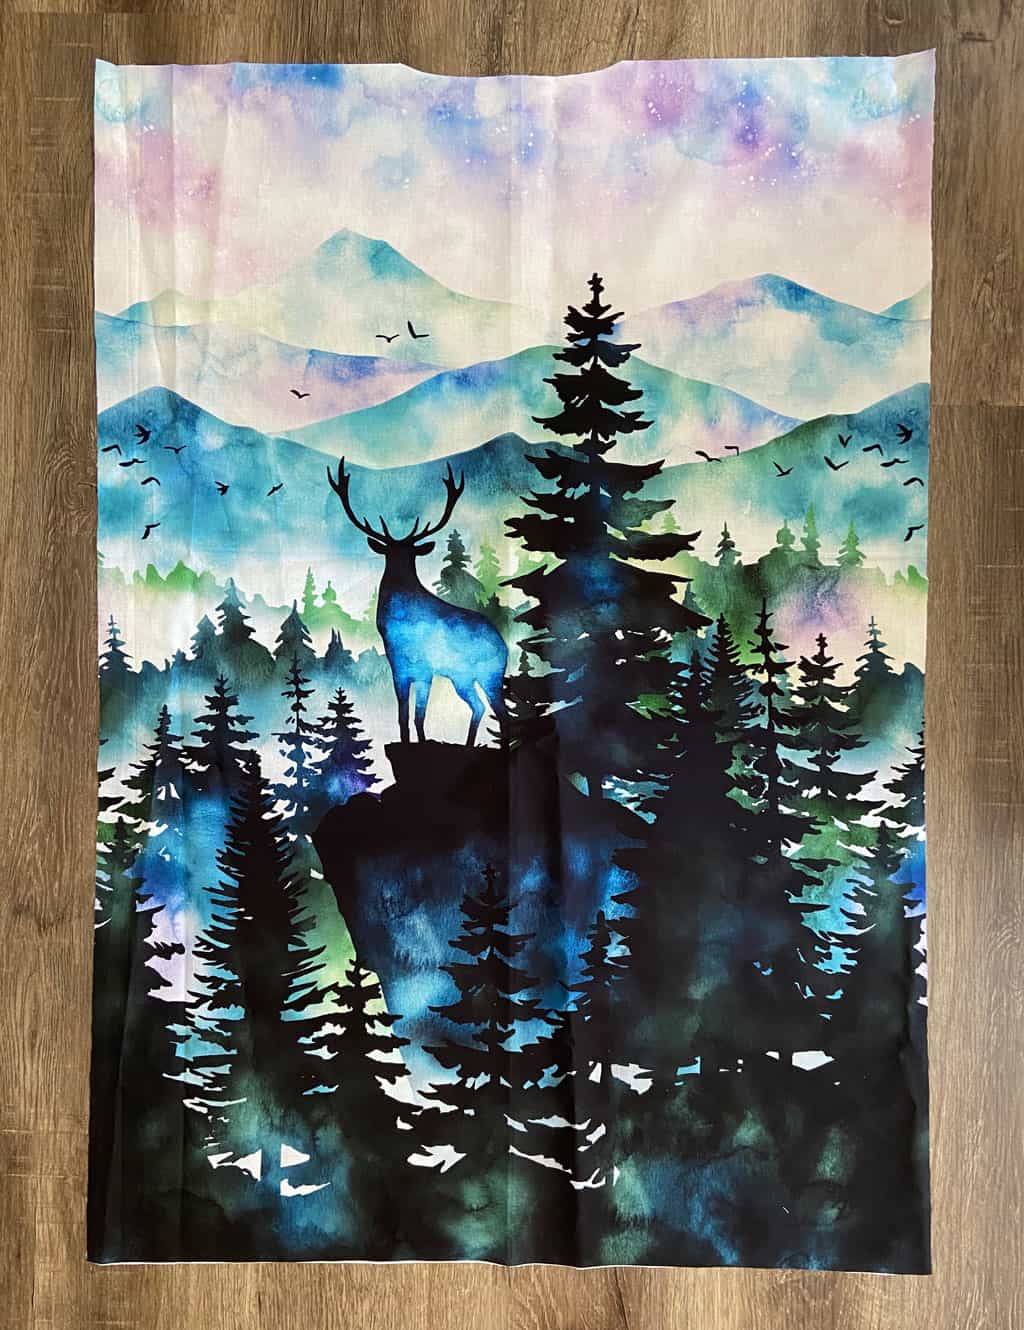
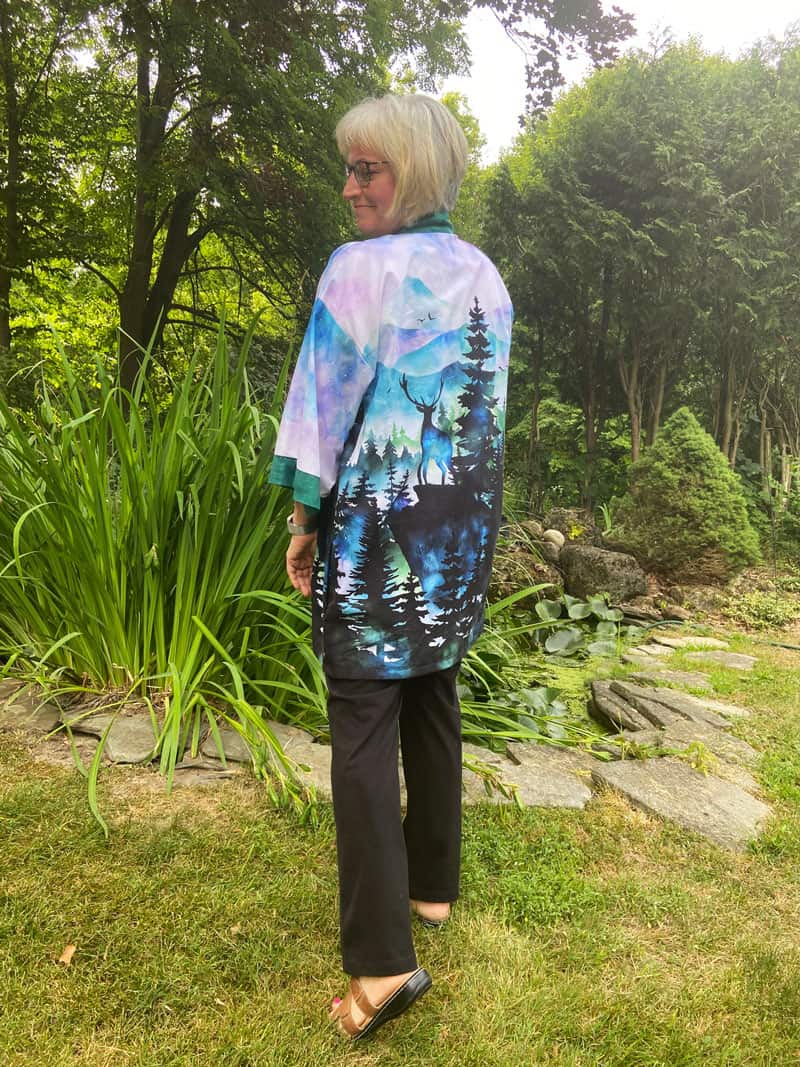
It’s important to determine where the centre back lines up on the print and I decided that point would fall just between the tall tree and the deer.
- I folded the fabric along that line and aligned the fold on the back tissue there to cut out my back piece.
- I aligned the bottom edge of the back along the bottom edge of the print. Likewise, the lower front pieces would also later be aligned at the bottom edge of the print.
- If you would like the hem to be wider than the turned under hem style given, add another 1 ½” length at the hem. This will allow your robe to hang much better. I ended up adding a strip on the bottom at the end of construction and turned that back to allow the garment to hang better.
Centre front
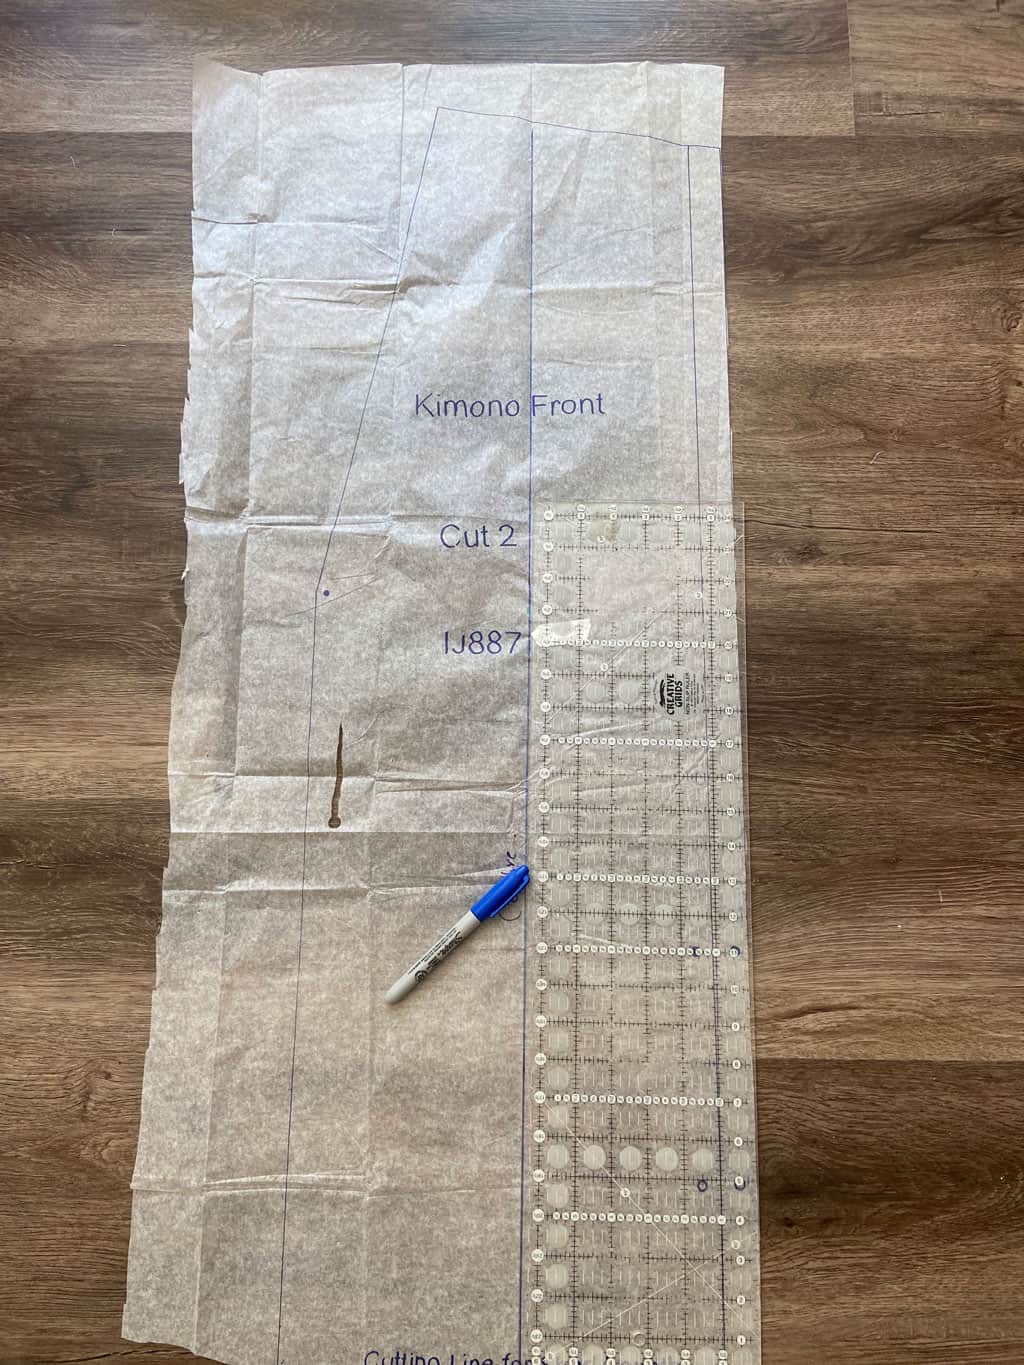
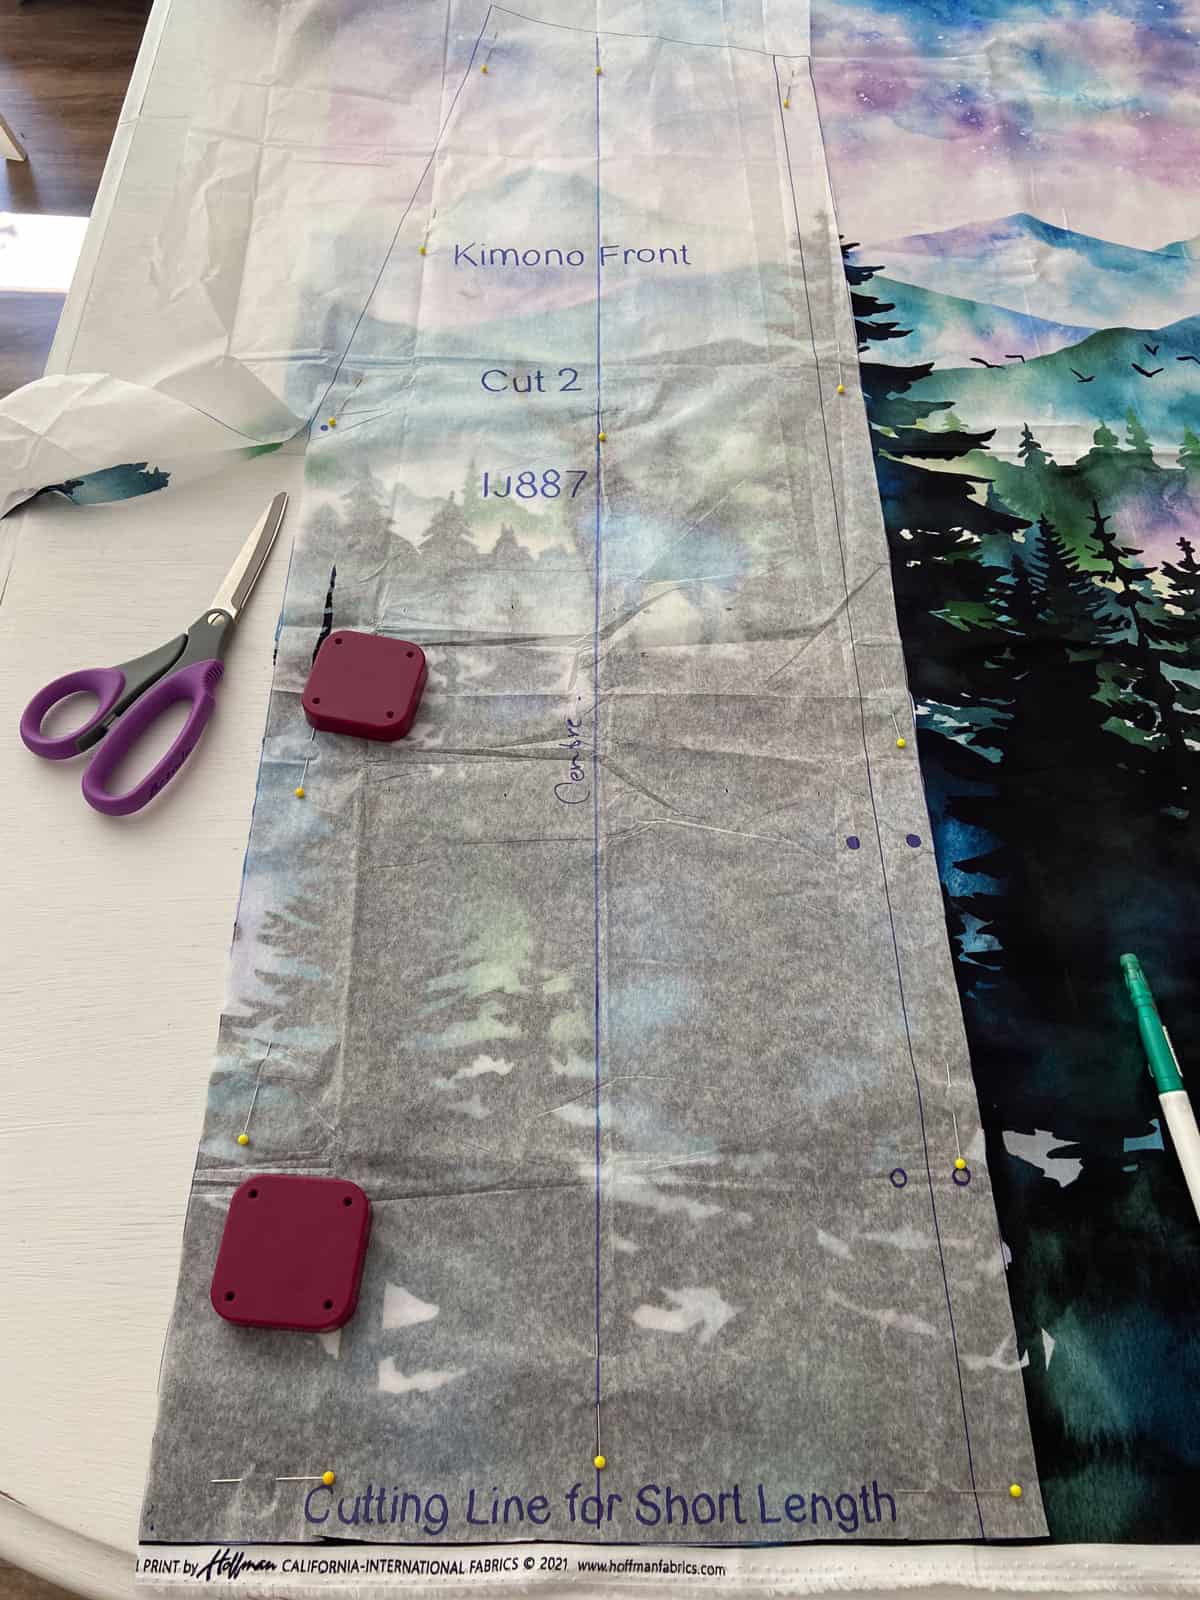
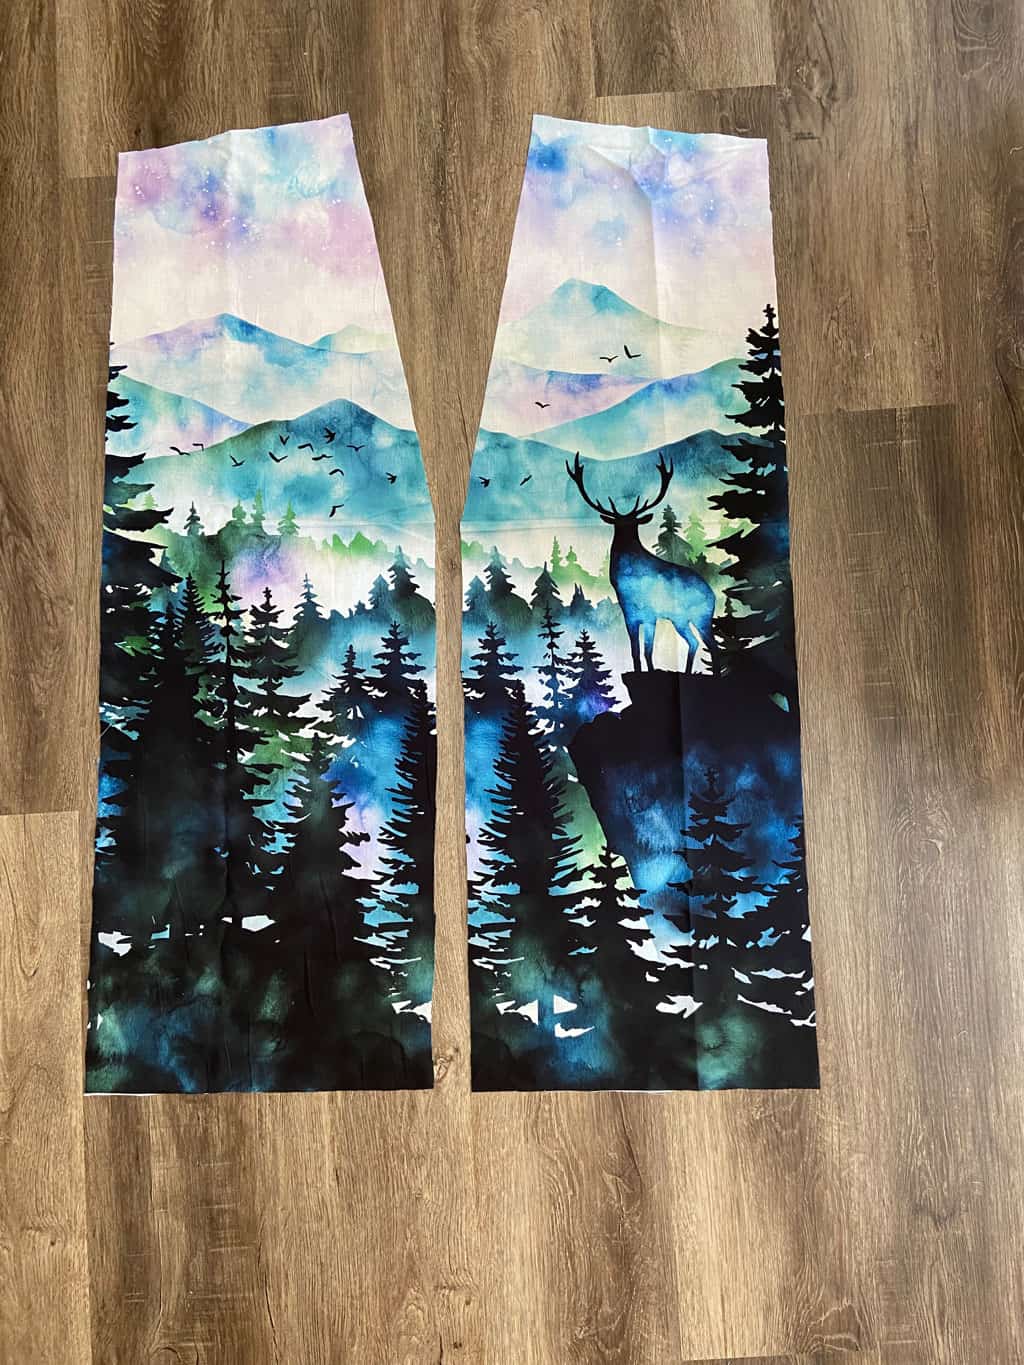
- To determine the centre front of each front piece I measured between the straight front edge of the pattern tissue and the side cutting line.
- 13″ was the measurement, so half of that is 6 ½”. I drew a line 6 ½” from the straight front edge along the length of the tissue for a placement line and aligned that placement line between the antlers of the deer.
- The front right side was then cut from the fabric’s last cut to conserve yardage by flipping the tissue to the wrong side. This also kept the pattern continuous on the opposite side.
Sleeves and pockets
The sleeves were cut from the remaining fabric’s sky area, one on top of the other. One sleeve had a few tree tops on it. Pockets were cut from leftovers and the belt was cut from the green fabric.
One thing I noticed in this pattern was that the pocket was placed too low on the seam. Bring it up 6″ unless you happen to have gorilla-like arms! Also, the image and instructions in the pattern bear no resemblance to the pocket shape or markings. You’ll likely have to ‘wing it’ with your pockets, as I did.
One last alteration to the pattern
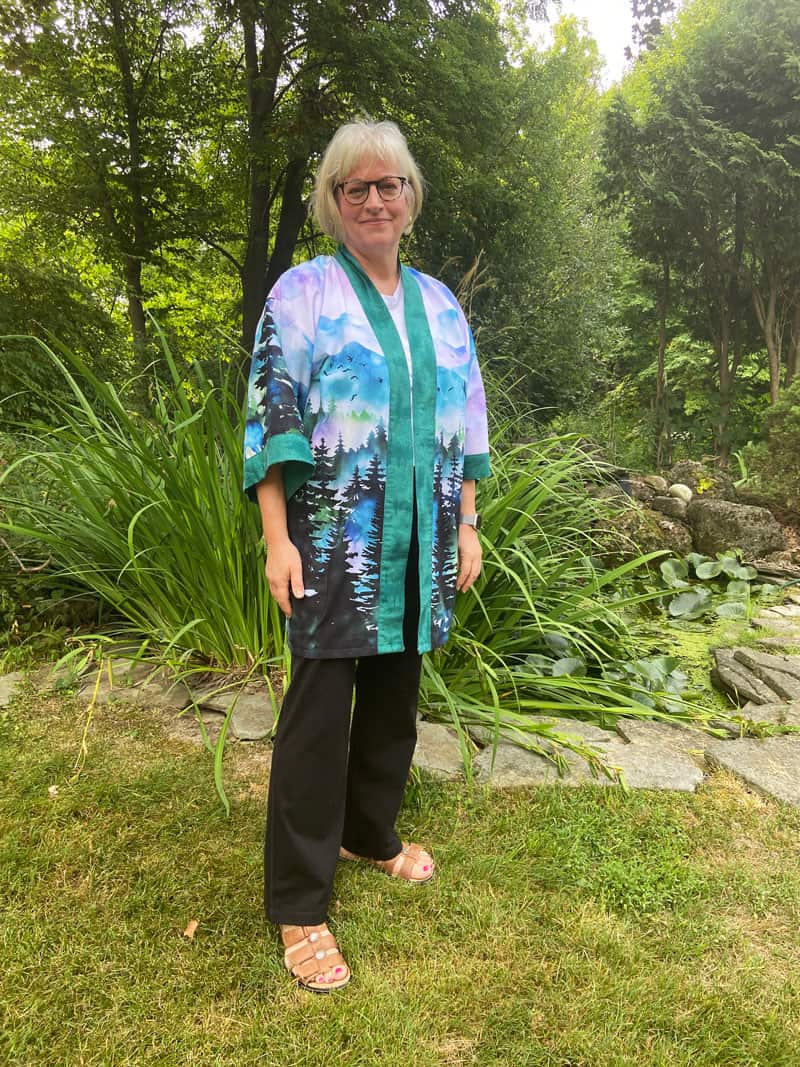
Once I had the garment hemmed I tried it on and decided that I could also use it as a dressy jacket. I did not attach the belt loops thinking it would look much better hanging without the belt. So that’s what I did, wearing it to work shortly thereafter, where it garnered a lot of compliments. It’s very slimming!
Try your own project
Try one of these patterns out with a similar print to get your own multi-purpose garment! After all, there’s more you can do with quilter’s cotton than just quilting!
Like this? Join our newsletter
Sign up for our newsletter and get exclusive free patterns and tips. We’ll also tell you when we have new classes upcoming, both live at ABQ Sewing Studio and online at Make Bags With Brenda. Plus a whole lot more!
Brenda,
Wow, you did a beautiful job of using this magnificent print. Love the flow of the shoulders with the soft sky tones. I also appreciate the instructions you included. Do you have any more of that material?
Thanks,
Karen
Yes you will find it at shop.amongbrendasquilts.com. Thanks for your comment.
Thanks! Yes we have that fabric. It’s linked on the post or go to shop.amongbrendasquilts.com. Search for ‘ continuous yardage’.
You have good insight and are always thinking….and planning someway to inspire everyone. It is absolutely beautiful and show-stopping really.
Thanks Sherri-Lynn.