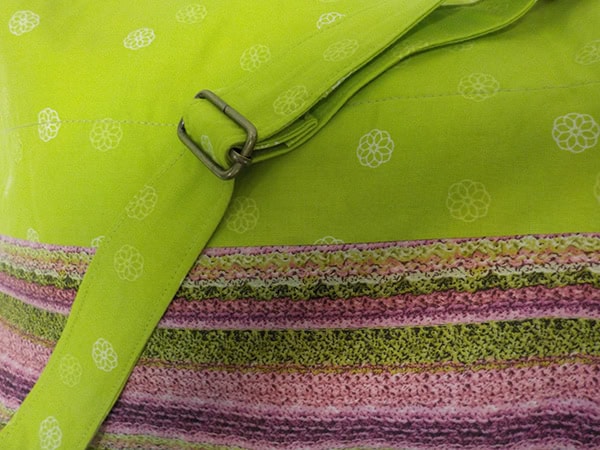
Make your own purse strap with quick and even edgestitching
Making straps for purses, bags, and backpacks is one of those time consuming jobs that really can’t be avoided unless you use pre-made webbing.
Webbing is not always available in the color we are looking for, and oftentimes it’s not the weight we are after or quite feminine enough for the projects we are making. That’s why I like to make my own straps.
More tutorials: padded straps and adjustable sliders
After your strap is finished, you might want to add some extra padding to protect your shoulder or make your bag strap adjustable with a slider buckle.
Steps to make a very simple interfaced strap suitable for light to medium weight use
This is a 1 1/2″ wide strap that uses quilting weight cotton.
My example is just a short piece of strapping but generally I’ll cut strips the width of my fabric, about 44 inches wide, to make one long strap.
It will be cut to size after it’s completed.
I cut a strip the width of the strap plus 1/2″. In this case, I cut 2 strips – 2″ wide to make my 1 1/2″ strap. I’ll be using 1/4″ seams.
Fuse the interfacing to the fabric
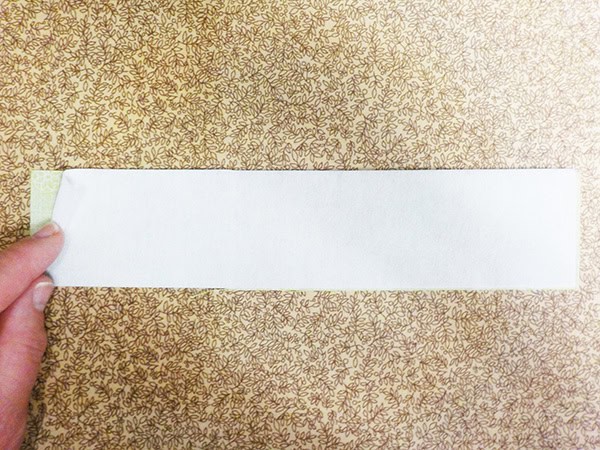
Following the manufacturer’s directions, I fuse a heavy, firm interfacing, Pellon Decor-Bond 809, to the wrong side of one of my strap strips.
Sew the seams
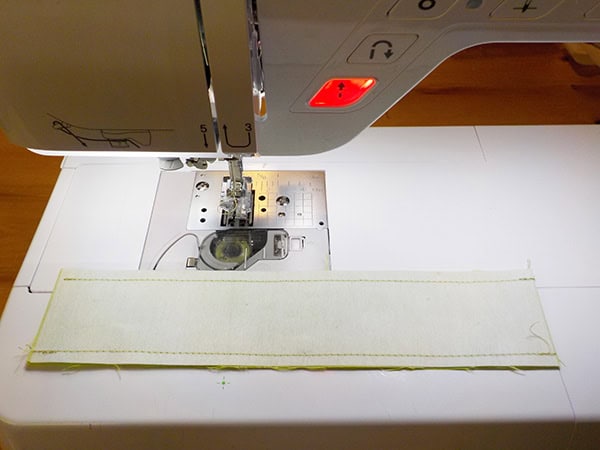
With right sides together, and using a 1/4″ foot, I sew along both sides, backstitching at both ends of my stitching.
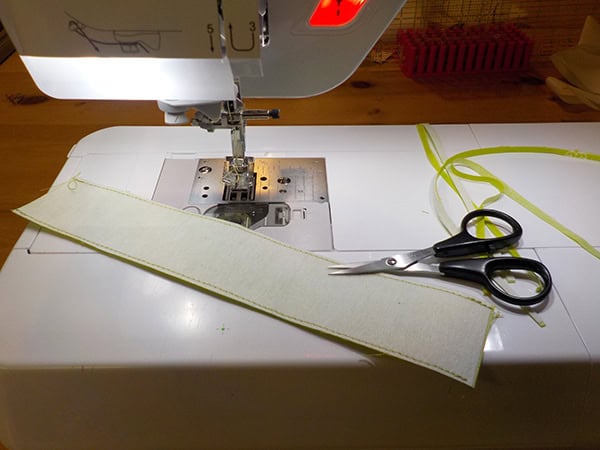
I trim the seams to 1/8″ to make turning easier.
Turn the fabric tube
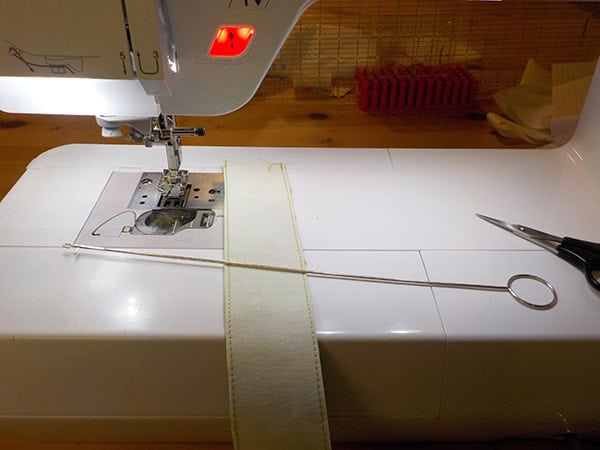
Using a loop turner, I insert the turner into the tube, hook it on the interfaced side and carefully pull the fabric tube into itself.
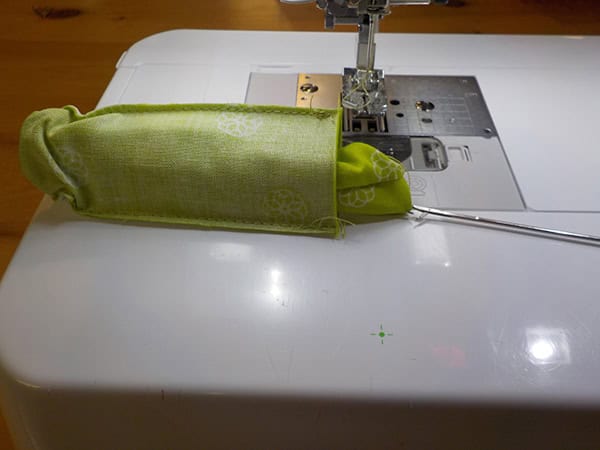
The loop turner may look a little short for purposes of turning a long strap but the fabric gathers up along it nicely.
Press the strap flat
Once turned, the strap is pressed flat. It helps to moisten your fingers in order to roll the seam open as you are pressing.

Finish your purse strap
I use my Baby Lock Unity sewing machine and it’s Blind Hem foot “R”.
Blind hem feet have a guide under the foot which can be used as a guide. The guide is kind of like a cattle catcher for fabric!
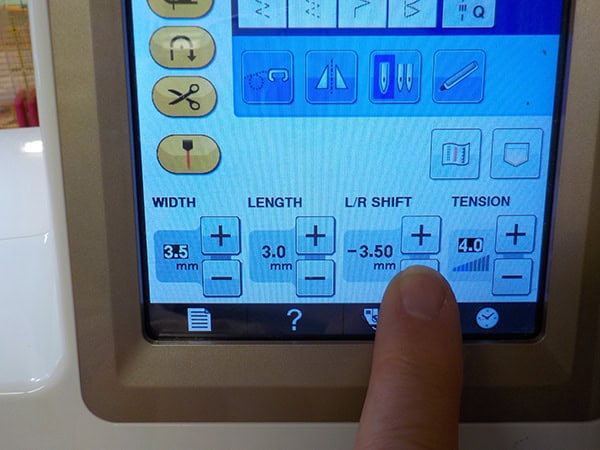
The needle is automatically set in the center position when I switch on my machine, but for my purposes I want to move the needle as far as it will go to the left of the center position – 3.5mm to the left, to be exact.
This gives me 1/8″ between the guide and the stitching line. I like to use a 3mm stitch length when edgestitching so it will look nice. You might chose to use up to a 3.5mm stitch length.
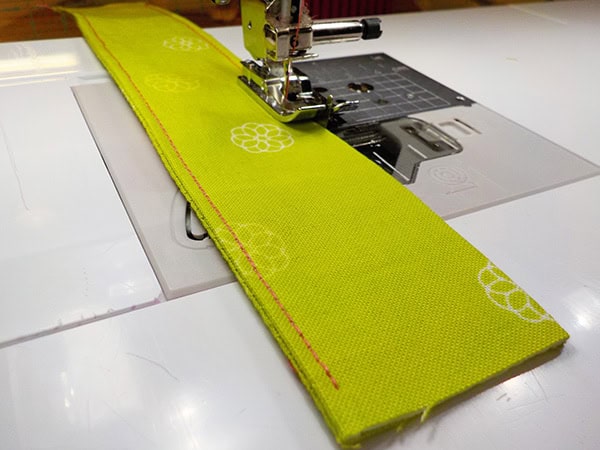
I adjust my sewing speed to the fastest it will go and place the strap against the guide.
From there I can whiz along quickly, creating an even edgestitched seam on both sides of my strap in no time flat.
Want more like this?
Sign up for our weekly email newsletter from Among Brenda’s Quilts & Bags and get a list of handy tips that will help you create a bag that’s perfect for you. We’ll let you know when we post new tutorials, plus you’ll be the among the first to find out about the latest patterns and video classes.
Enjoyed tutorial of bag strap.
Wondering if I am alreDy on yourlist, off this different
Hi Jane,
I’m glad the tutorial was helpful. Yes, you are on my email list, so you’ll be receiving more of these tutorials in future. Happy Sewing!
Brenda