Sew your own headband
This stylish headband uses quilting cotton and is a snap to make. There’s a little folding trick involved, but once mastered, you’ll be turning these out for fun, for gifts and maybe even profit!
These instructions make a headband to fit an adult head. Adjust the elastic length to make a smaller size.
Pattern Requirements
Quilters Cotton
- Headband: 7 ½” x 16″ rectangle
- Casing: 12″ x 2″ rectangle
Notions
- ½”, 13mm elastic – a 6 ½” piece
- 18″ length of narrow ribbon
- Safety pin
- Thread to match
- Pins
- Scissors
- Jean-a-ma-jig or Hump Jumper or a folded piece of heavyweight fabric
Instructions
Step 1
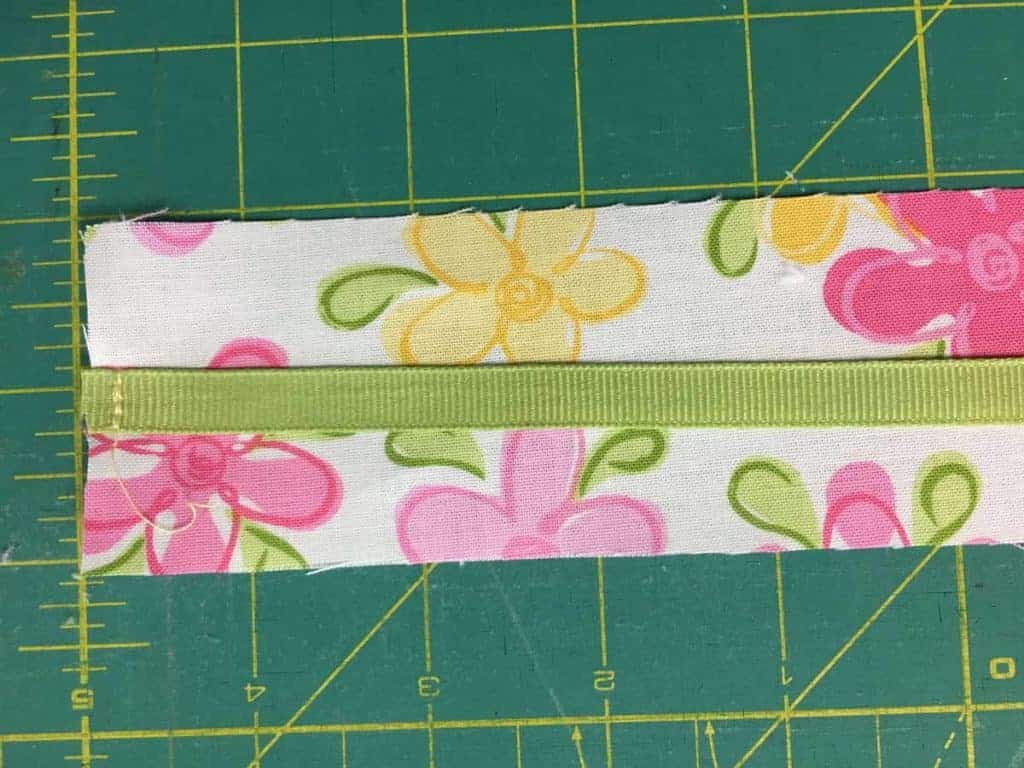
Stitch the 18″ length of narrow ribbon to the right side of the 12″ x 2″ Casing.
Step 2
Using a ¼” seam allowance and with right sides together, stitch along the length of the Casing backstitching at each end.
Step 3
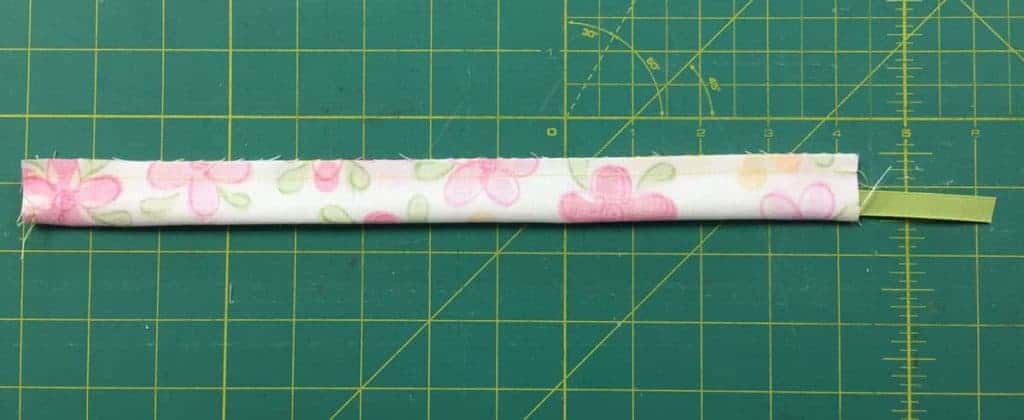
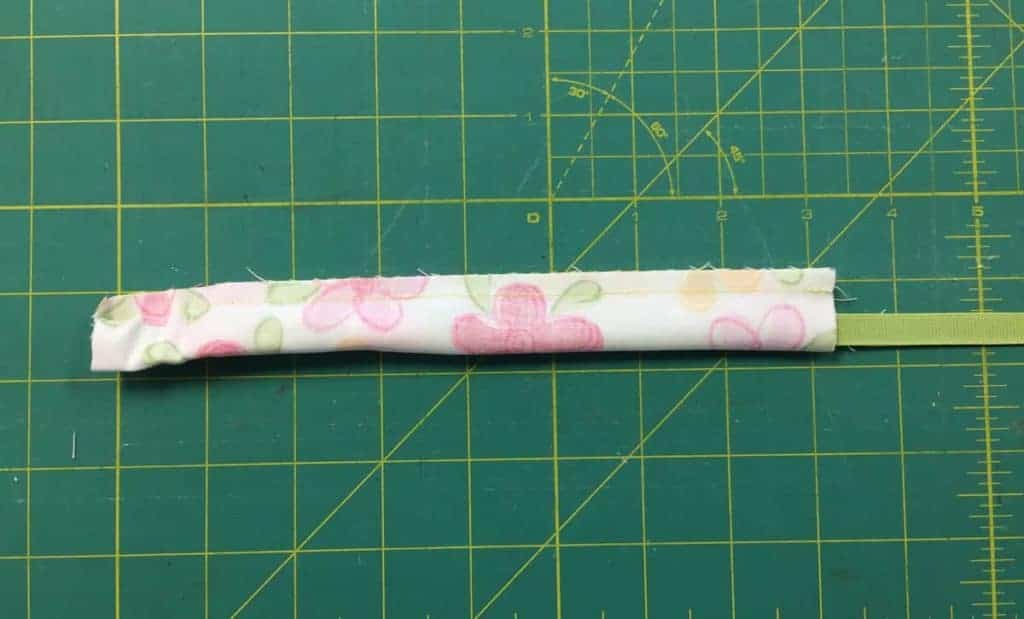
Pull on the ribbon end turning the fabric to the right side. Unpick the stitches holding the ribbon and press flat.
Step 4
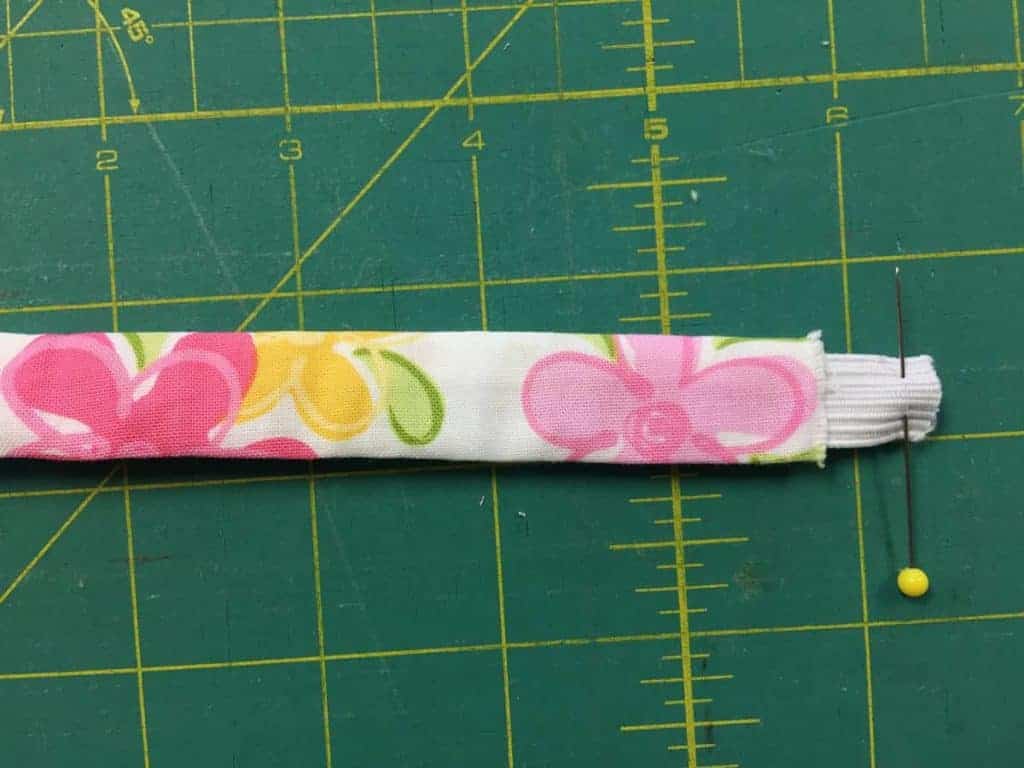
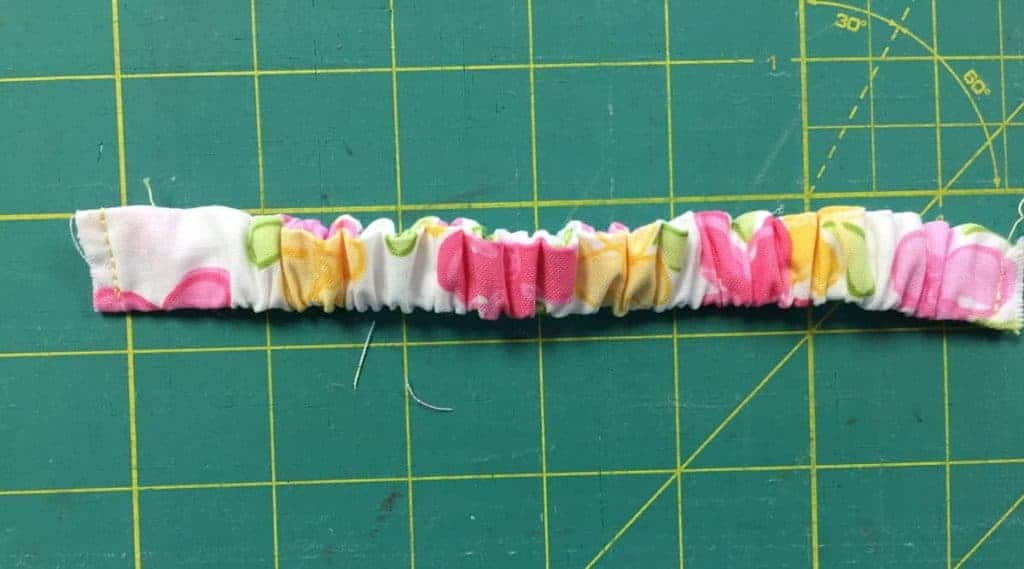
Pin the safety pin to the end of the 6 ½” length of ½” wide elastic and insert it through the Casing. Putting a pin on the end of the elastic as shown stops it from disappearing inside the casing.
Step 5
Stitch along both ends close to the raw edges to hold the elastic in place.
Step 6
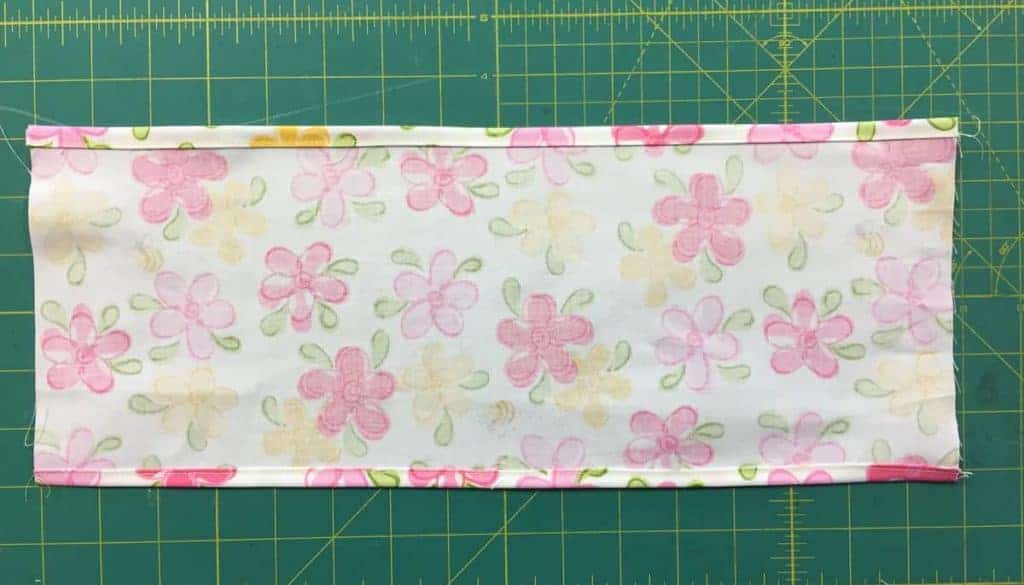
Turn under ¼” along both long edges of the Headband. Press. Repeat to turn again and press. Stitch close to the fold.
Step 7
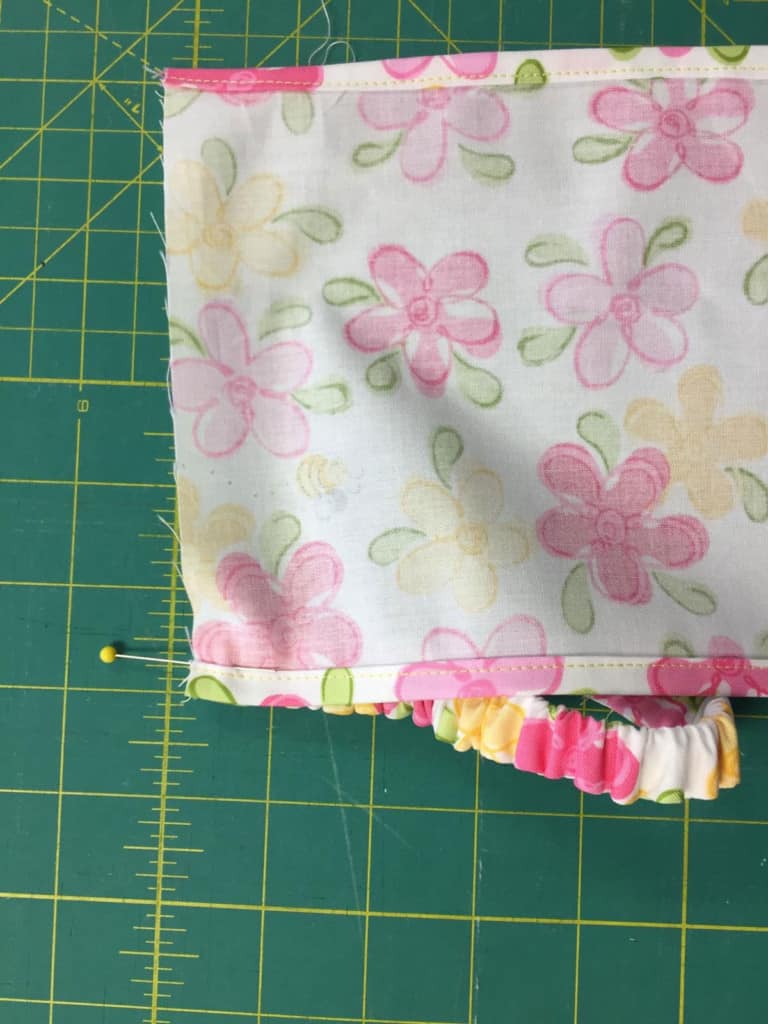
Pin the Headband as shown to one end of the Casing.
Step 8
Wrap the Headband to the back of the Casing.
Step 9
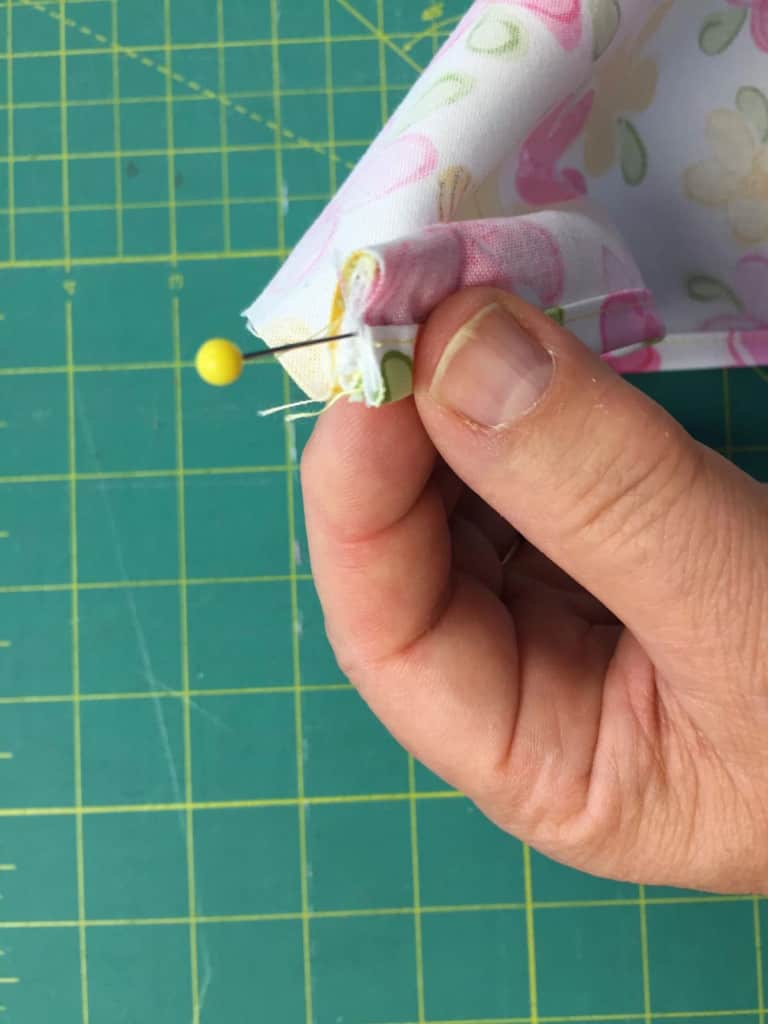
Accordion fold the fabric as shown along this back edge.
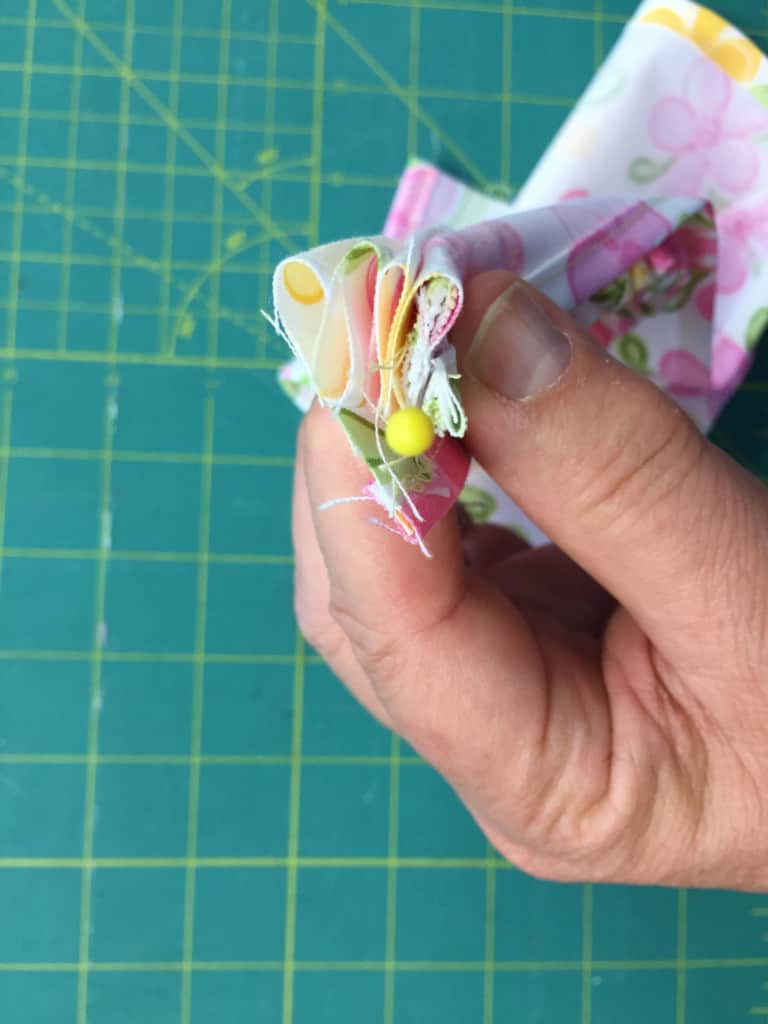
Step 10
Bring the end of the headband around to cover the beginning area and pin.
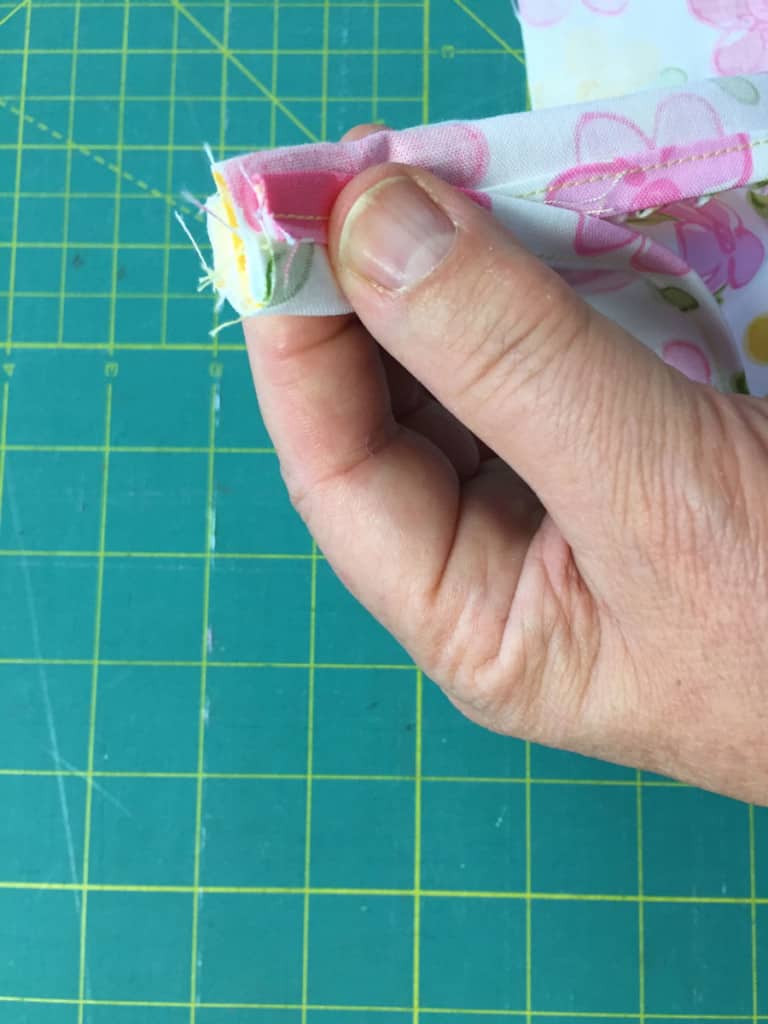
Step 11
Sew across using a Jean-a-ma-jig or Hump Jumper to secure. I start in the middle of the seam and backstitch to cover the entire seam. If you do not have the device you can fold a piece of denim and place it behind the sewing machine foot to level it out. Sewing machines will not sew uphill making this step necessary.
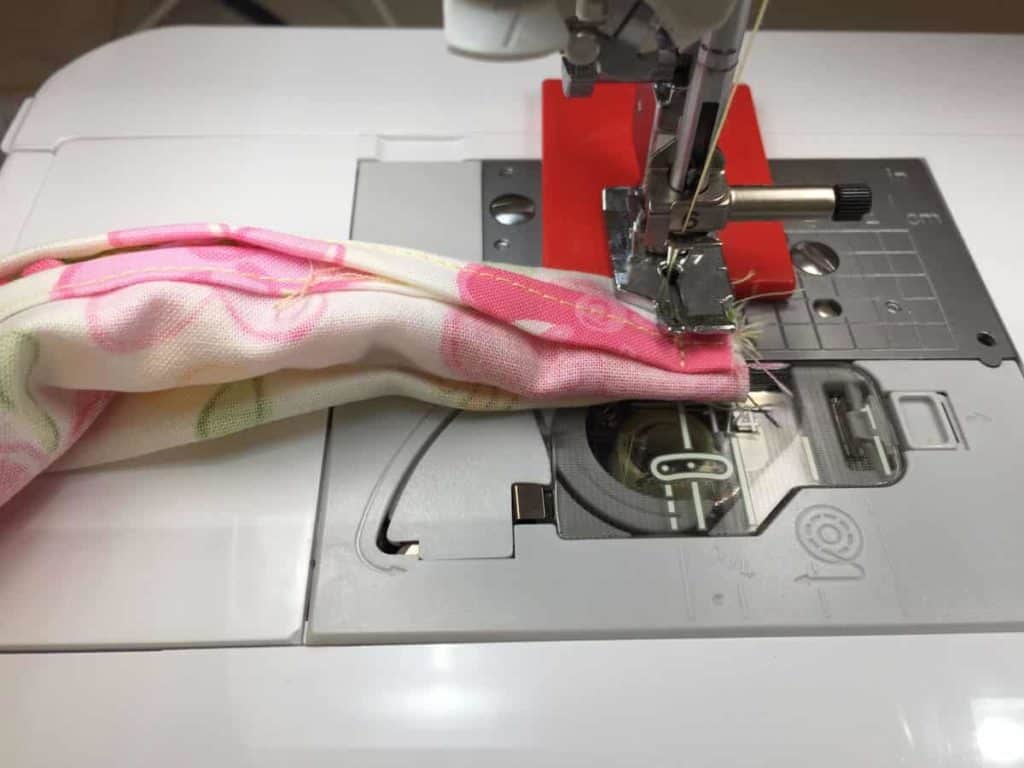
Step 12
Repeat the same process to pin the opposite side of the Headband to the casing. The Headband must wrap in the same direction as the opposite side. When accordion folding it does not matter if your accordion folds are even. What’s important is that you cover the seam of the starting point. Pin and stitch across like before. Turn to the right side to finish.
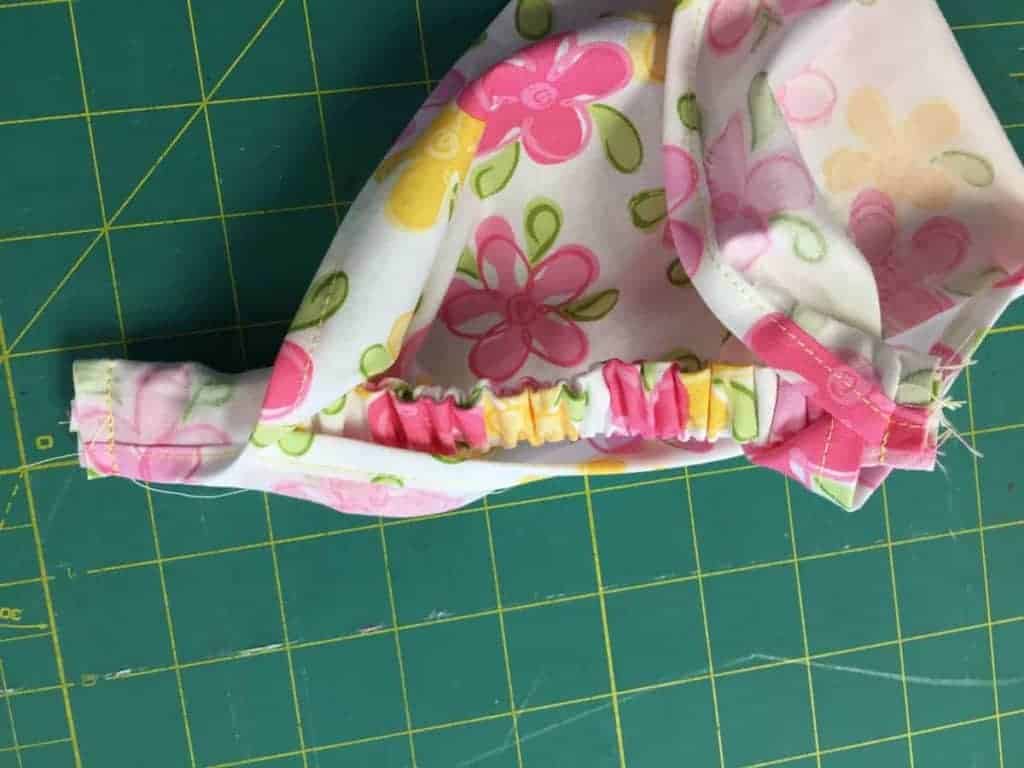
To print these instructions use the printer icon located beside the social media icons at the top or bottom of the page.
Get more like this
Like this pattern? Make sure you’re signed up for our weekly newsletter and subscribe to our social channels for more patterns, classes, and news from Among Brenda’s Quilts & Bags and ABQ Sewing Studio.
It would be helpful if one was able to download and print out these instructions.
Sorry – poor grammar! If one were able to download…..
Hi again Frances, My tech person has given me the solution. There is a printer friendly option. Scroll to the social media buttons that are above. It says “Like This, Share It” just above them. Click on the orange one on the right. Then you’ll see some more icons. In the right column, click Printer Friendly and print your PDF from there.
That sounds very sensible. I will work on making this so. Thanks Frances.
Thanks for the very easy to understand project and note on how to print it.