A Class for an Interesting Technique Turns into a Quilt Show Entry
When you run a small business, sometimes it’s tough to get away, but when I noticed a call to fill a guild-sponsored class, I signed up at the last minute. As it turned out, it was good decision, because I ended up creating my own art quilt entry for the Taiwan International Quilt Exhibit taking place next spring.
It’s called Where Have All The Bees Gone?
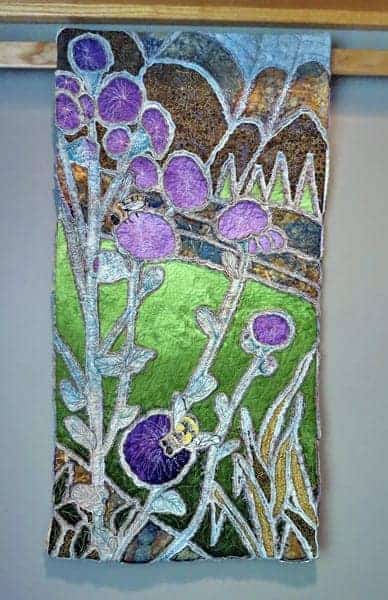
Taiwanese Art Quilt Society
I met the organizers of the Taiwanese Art Quilt Society show while I was teaching at a quilt show in China in 2014, and they asked me to collect entries from about 20 Canadian quilters for their show. I would also provide an entry myself.
I had to have a photo of my finished entry for the Taiwanese Art Quilt Society for the end of October and at that point all I had was a photograph and an idea. It certainly wouldn’t look good if the head of the Canadian Group couldn’t pull together her own entry on time.
Class by Al Cote
So when this class came around, the clock was ticking. I decided to put all my eggs in this one basket, get out the door and get something done. So I left the office in the capable hands of Michelle Minnelly, my assistant, and went off to learn something new.
What attracted my attention in the first place was the class description.
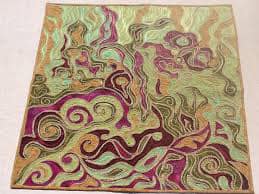 Using at least three and up to five ½ meter pieces of fabric in various colors and patterns we will create layers, including batting and backing. Using your own ‘doodle’ design stitched onto the top layer we will then cut through the layers to reveal the colors underneath. Using our free motion foot and colored threads we will finish with a decorative stitching to create a one of a kind quilted floor rug or wall hanging.
It sounded intriguing, especially since I was looking for a ‘new technique’ to make a wall hanging for the Taiwanese show. My thought was I could have a fun day out, and if I was really lucky, I’d be able to at least get a start on my entry for the quilt show, so I’m really happy with how things turned out.
 Our teacher, Al Cote and his wife Debbie from Niagara Falls, shared Al’s trunk show with the guild the day before the class. Al had several examples of this style of work with him to further explain the layered rug making concept.
An Interesting Technique
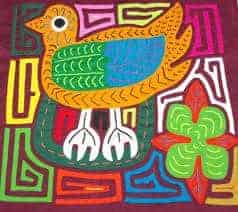
He likened the idea to South American Mola work, a reverse appliqué technique. Al’s background in visual arts led him to develop this faster raw edge technique giving the rug chenille ‘grout’ to divide the various shapes on the rug.
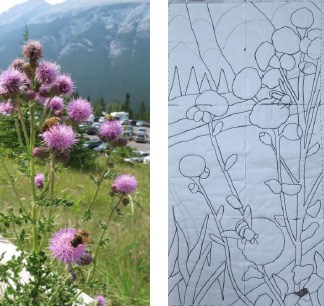
I couldn’t have been happier when I asked him if the technique could be used for representational work and he answered ‘yes’. He explained that for representational work I’d need to first complete a cartoon of my design drawn to exact scale.
He also shared a cheater tip that I took advantage of that night as I prepared my cartoon. Al suggested a quick and painless way to obtain full scale drawings – a program called Rapid Resizer. For $49.00 US I’d have use of this valuable computer drawing tool for a full year.
Here is the original photo, and the reversed cartoon image.
My Quilt Show Entry
The theme of the Taiwanese Quilt Show was ‘Protect the Earth’s Environment’. My goal was to speak to the issue of the loss of bees due to the use of neonicotinoids. Since spring I had been looking for honey bees in my flower and vegetable gardens hoping to get a good photo of bees. Sadly, I had not found any. Finally, while in the mountains of Alberta, I found my honey bees. How sad to think that I had to travel so far from home to find them! One of my pictures would form the basis of my work.
My wall hanging would use 6 fabrics, plus the backing, for a total of 7 layers. Al had us layer our fabrics together and then trim them square and to size. The entry rules for the Taiwanese show stipulated nothing larger than 15 x 30 inches.
The rest of the process
The next step was to either mark on the top of the layers for a doodle style rug, or in my case, pin the cartoon to the back of my work. Then it was time to stitch along the lines.
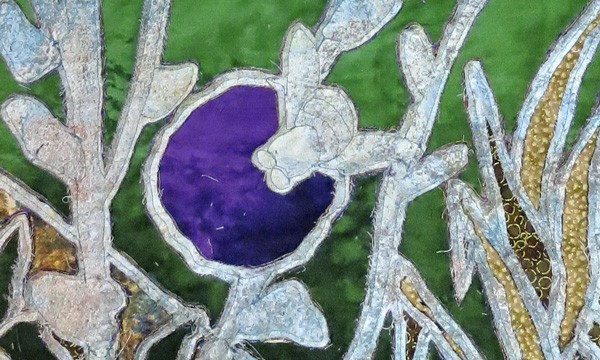
Keeping track of the color layers, the areas of the cartoon were cut back with scissors or a seam ripper to reveal the correct color. This is a time consuming and exacting process so one really has to concentrate to not cut into the wrong layer.
By the end of class many rugs were fully trimmed to expose some beautiful and surprising designs. I still had some work to do so took everything home, and after several more hours of work I had my piece trimmed.
For a simpler design we had been instructed to simply machine wash and dry our work. But the thing was, the bee area of the wall hanging would need to be embroidered. I had not trimmed back to the color of the bees because the areas were too tiny for the chenille technique. The question was, would I do this free motion machine embroidery before or after the piece was laundered?
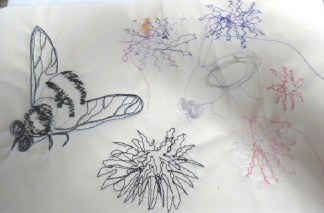
I decided to do it before, because I thought it would be easier before the wall hanging became lumpy with the chenille lines. It had been a while since I had used my free motion foot for embroidery so I did some practice work before tackling the wall hanging.
I thought I might add a bit of texture to the flowers themselves, as well as to the background areas where I’d do some simpler free motion quilting. I also felt the need to stipple some purple paint along the brown areas of the mountains behind the flowers to give the illusion of distance to the mountain range. I wondered how well the paint would stick after being laundered.
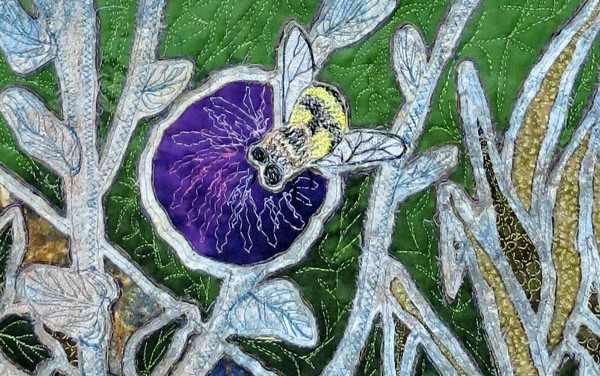
I had spent a considerable amount of time on the wall hanging at this point so it was a bit of a knuckle biter waiting to see the result of the wash cycle on my work of art… It looked a bit like my bees were stuck in cobwebs!
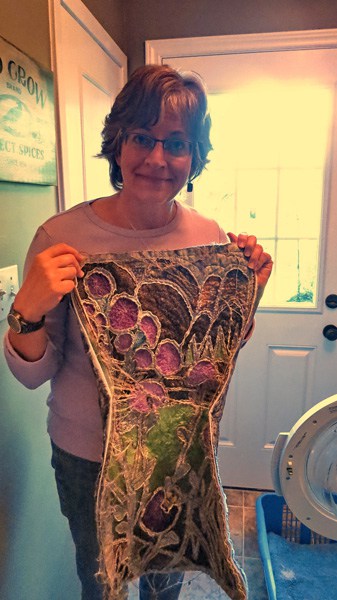
Next step the dryer! This was not nearly so stressful as the wash cycle. Some more trimming of long or loose threads revealed a very respectable panel.
Finally, I trimmed the panel to the exact size I required, added facing to finish the edges, and stitched on a hanging sleeve.
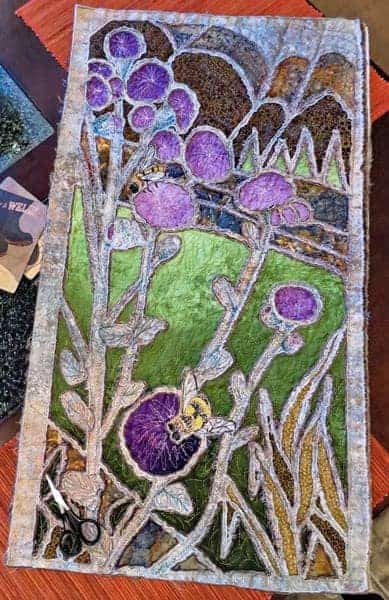
It’s a great relief to be able to know I completed my piece for the show and have learned some valuable new techniques from our most excellent teacher, Al Cote. Thanks Al!
Leave a Reply