Making the dress
You’ll recall that I made a cute wrap-around style dress using a retro pattern by Butterick #B4790 and one of our pretty new quilting cottons called Kindred Sketches.
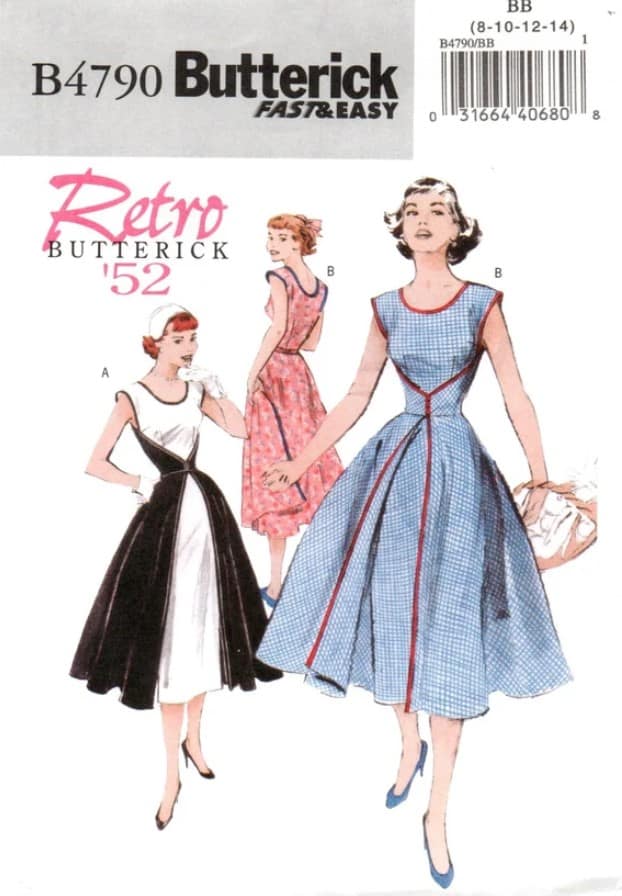
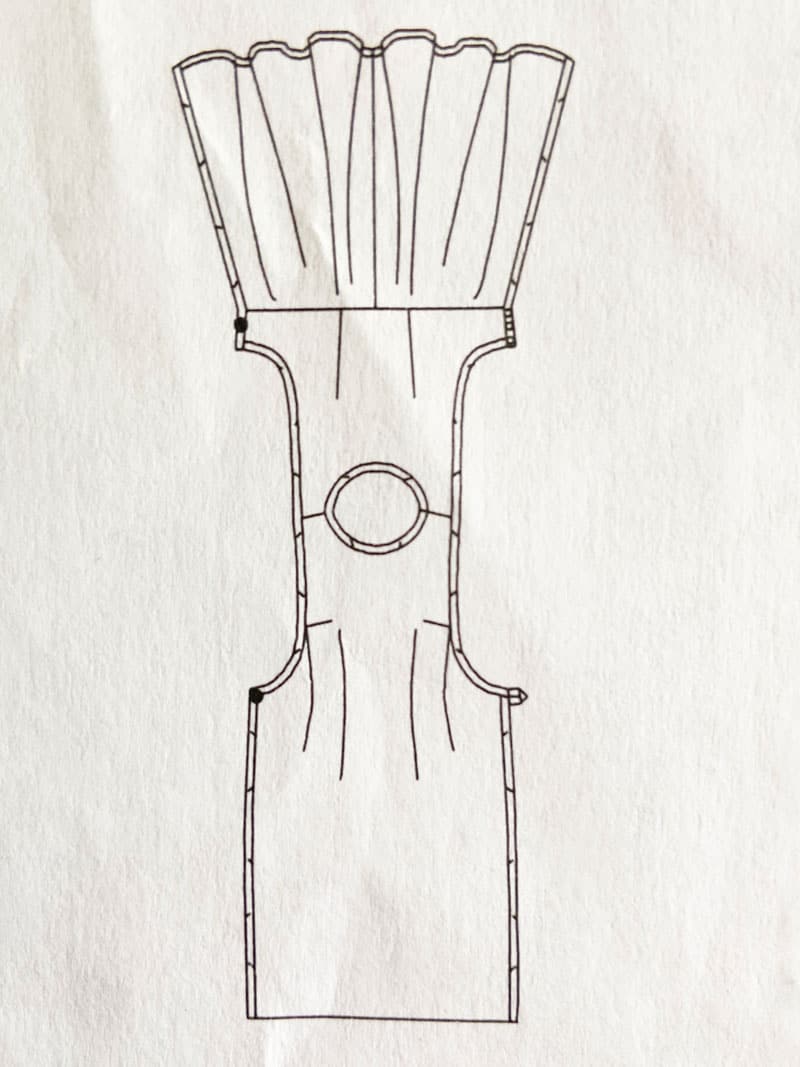
This dress has an interesting design – the front sides button around to centre back and the back wraps around and fastens at the front. The edges are bound in a contrasting color using double fold bias tape. The back, with a full circular skirt, is cut on the bias (at a 45 degree angle to the grain of the fabric), giving it some stretch.
According to the pattern instructions, one buttons the back to a loop you make with the bias binding. That worked fine. The instructions then state that the front is fastened using 3 metal dome snaps with buttons sewn to the right side to give the illusion that there is a buttonhole underneath.
This didn’t seem quite safe
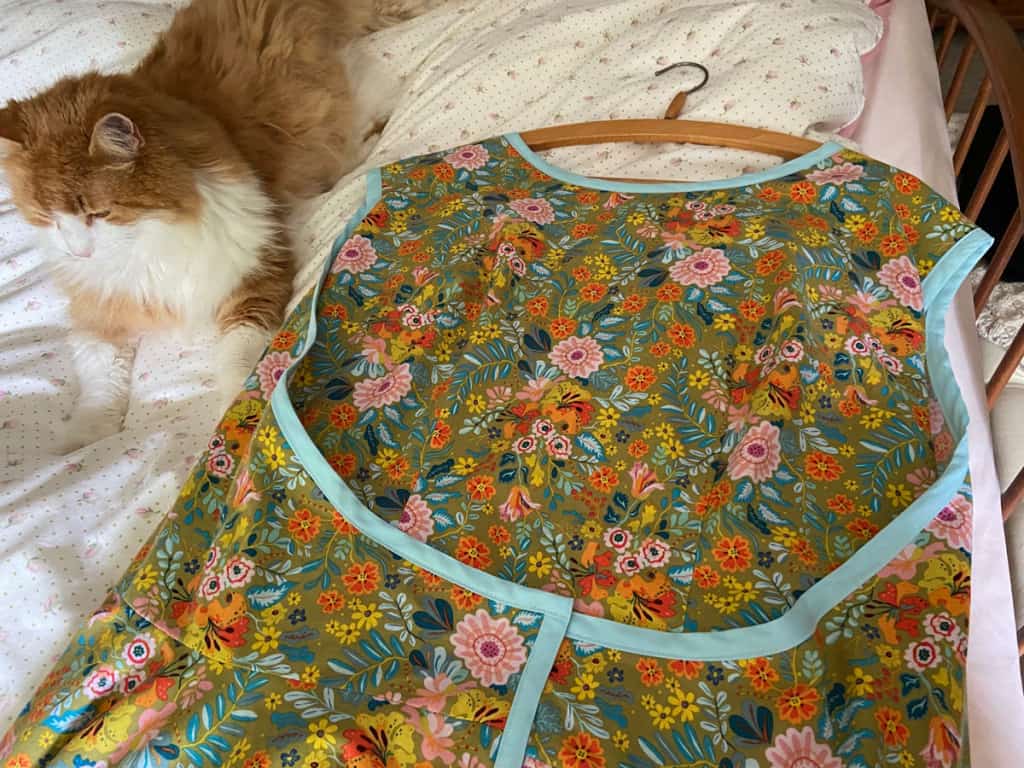
Now, I don’t know about you, but there is no way anything around my ‘waist’ is going to stay together using three small dome snaps. More surety was required to fasten that dress and I decided that a pant hook and bar would hold much better than 3 snaps. Not having any at the shop, I popped into the local Walmart to buy some and then securely stitched the hook on one side and the bar on the other.
It missed the fashion show
I had hoped to make the dress for the night of our fashion show but got caught up in the preparations so I didn’t get a chance to wear it till a week later. Good thing!
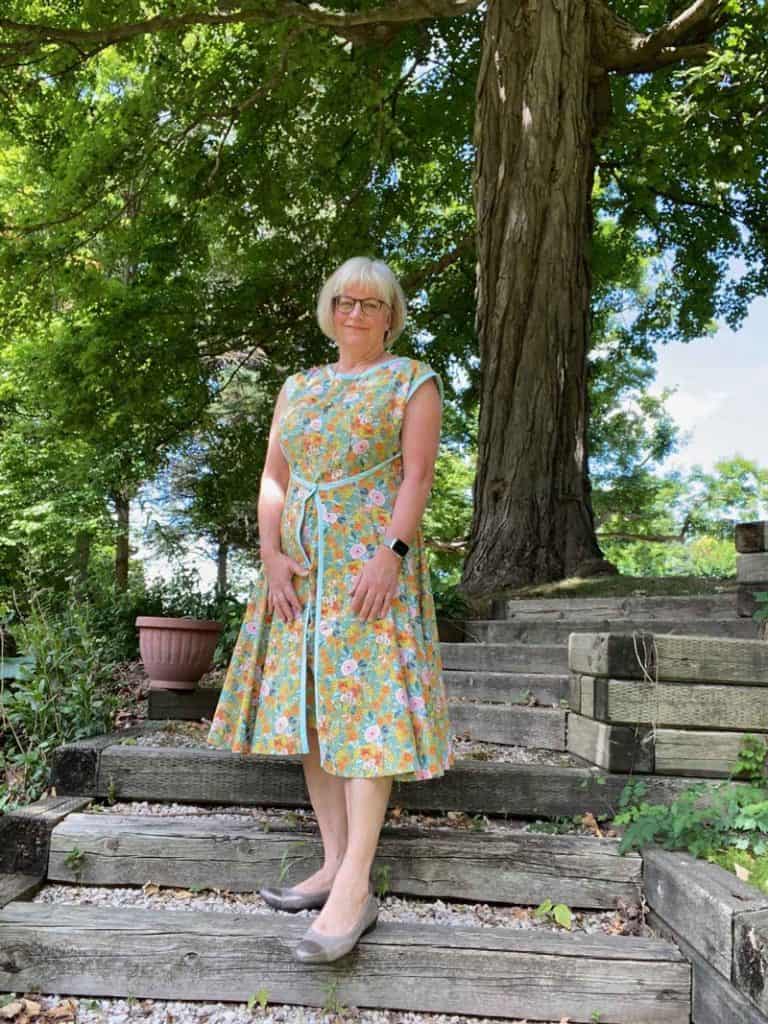
Here’s the dress when I first finished it.
My day wearing the dress
I arrived at work and the dress fit perfectly. Its full skirt was a bit awkward on the drive to work in the car but that didn’t really matter too much. I proceeded to show it off to the gals that came for classes and those shopping.
Wardrobe malfunction #1
As the day progressed I noticed that the circular skirt part that fastened at the front seemed to be getting larger and larger. Drat. I deduced that was because it was cut on the bias and with every move I made it was stretching bigger. As it got bigger, the area that crisscrossed under my arm got saggier and saggier. Now my bra band was showing under my arms. Double drat. I’d have to hold my arms to my side to hide that problem. I could walk like a penguin for a few hours…
Wardrobe malfunction #2
Every day brings different tasks at work but it’s a given that you’ll be serving customers and cutting fabrics behind the cutting table. Our main cutting table is just in front of my little office cubby where I keep all my bits and bobs. It was later in the day when, while cutting, I felt the pant hook and bar – what basically holds the dress together – pop free.
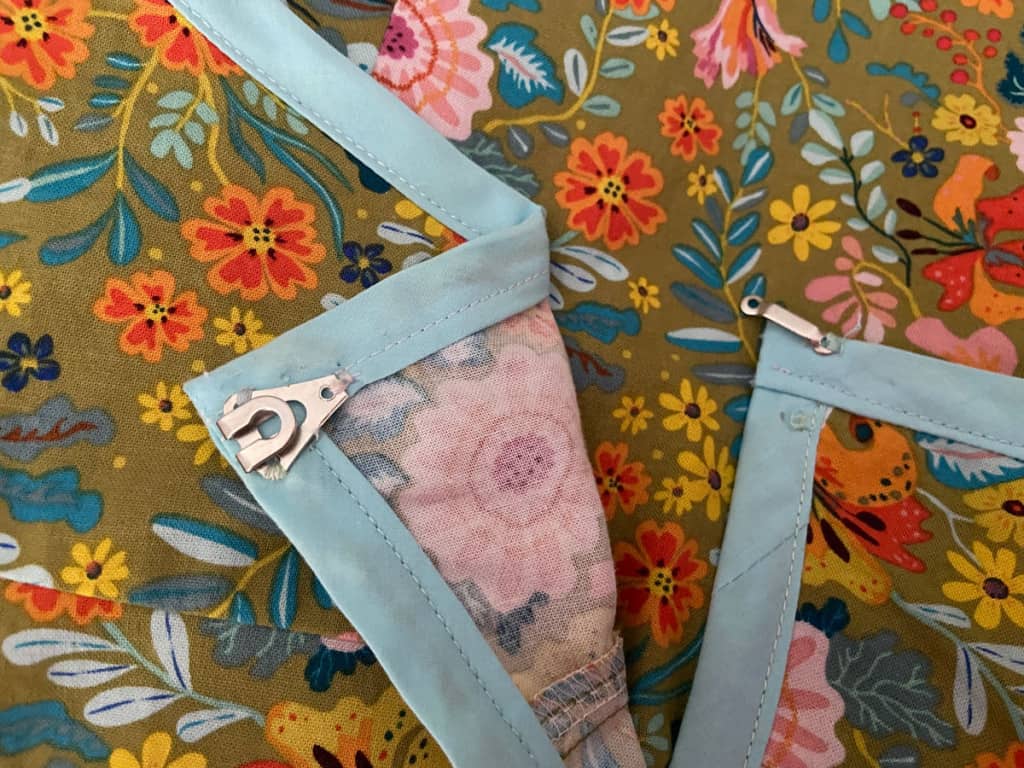
I clutched at the front of the dress, trying to hide from my customer the fact that I had just suffered a major wardrobe malfunction. Still holding my stomach, I asked her if she would mind if I paused for a moment to get something from the office behind me. Luckily there was a box of safety pins close at hand.
I reappeared and explained the situation and we both laughed when she said she imagined I had suddenly come down with a stomach ache!
Upon later examination, I could see that the rough and sharp back side of the pant bar from the hook and bar set had literally cut through my stitches. Gee, thanks Walmart.
Some changes were in order so I could wear this dress again
So now I had to try and figure out a solution to my problem to securely fasten the front of the dress. I also had to solve the change in size problem due to the bias cut on the back skirt.
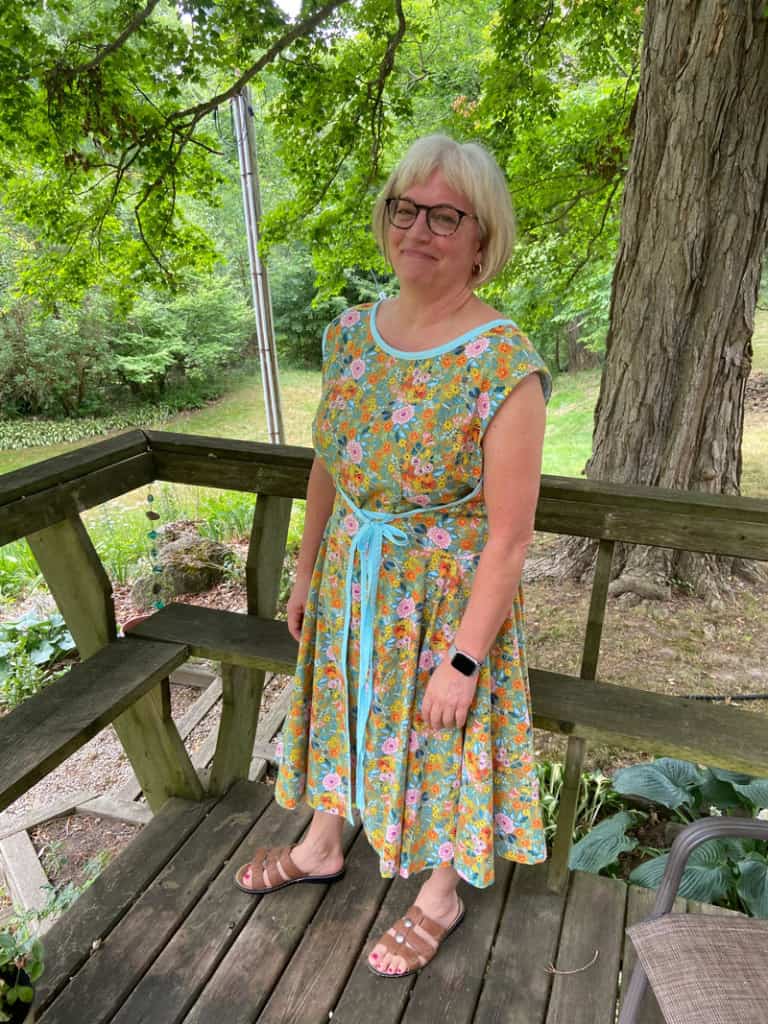
Here’s the dress after a few strategic alterations.
Some ties, correctly placed and made of the bias binding, are a good solution. That’s what garment sewing teacher Irene suggested.
The dress doesn’t look quite the same, but look on the bright side, at least I will be dressed!
P.S.
Thanks to the guidance of our garment sewing teacher Irene Mischkinis I was able to make a couple more changes to this dress. One of the things that’s great about learning how to sew is learning how to do adjustments.
Frankly, I was not a fan of the neckline. So I redrew it, trimmed out the excess fabric at the front and constructed a facing to replace the blue bias binding. Then I removed the excess fabric at the skirt centre front, losing more of the blue binding, and reapplied the ties as a fastener.
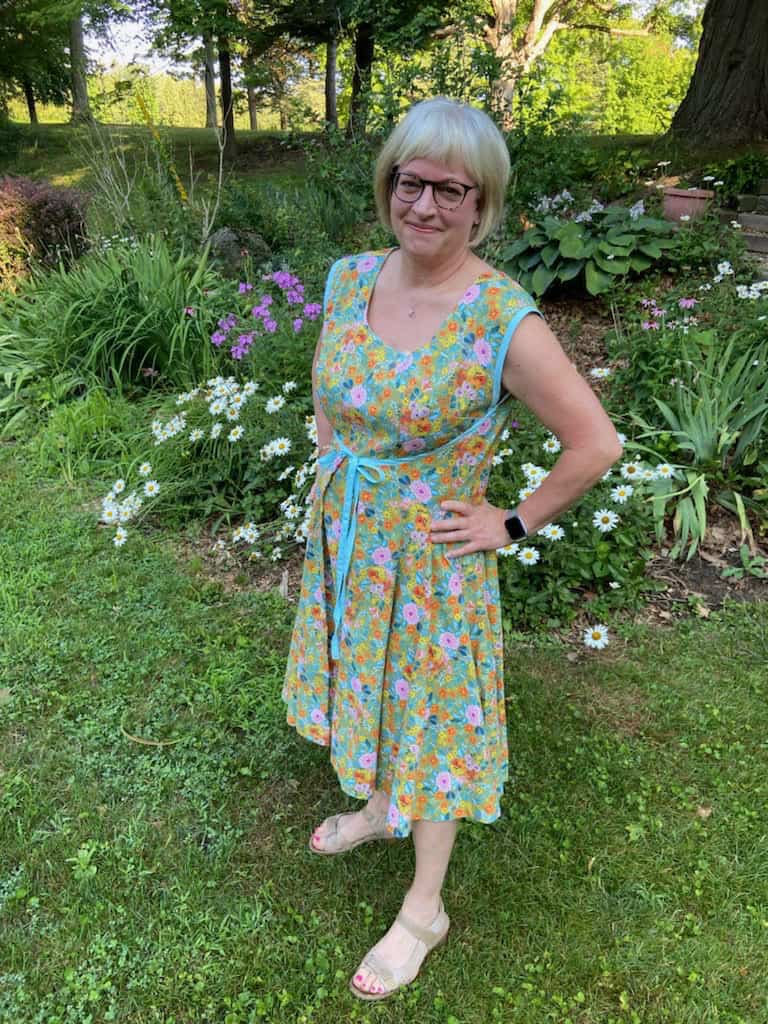
Presto, I think I’ve improved the look greatly and I’ve also pleased myself with a more wearable summer outfit. I’ll be trying it out again tomorrow and I’m sure it’ll work out much better than it did on it’s first test run! But just in case I will be hiding a safety pin in one of the seams. A girl can never be too careful…
Great story Brenda and I love the new neckline!
Thanks Sheila. It certainly was an adventure getting it right!
I love your story! It can be tricky getting clothing right, and your story is snort-worthy!!! So glad you got it fixed up and are packing some insurance LOL. Thanks for sharing with us.