The Tiara II Arrives!
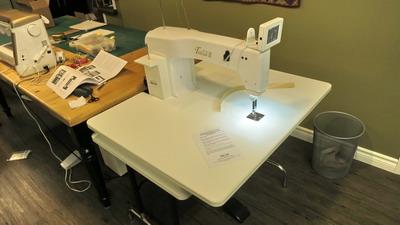
Hi everybody! I’m a Baby Lock Ambassador in Canada and as such I’ve been lucky to have Mason Sewing Machines in Vancouver outfit my sewing and quilting studio with Baby Lock sewing machines. Yesterday after much anticipation I took delivery of the Tiara II Quilting Machine, the Quilting Table with table overlay the Tru Stitch Stitch Regulator and the Variable Speed Bobbin Winder.
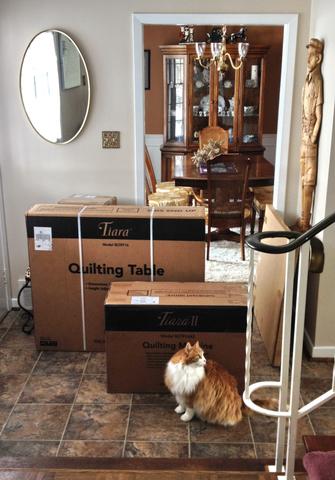
I have wanted to have the Tiara ever since my quilting friend Linda got one. I’ve had the chance to use hers a couple of times in the past and loved how easy it was to use and its compact size. Space is a big concern in my studio. I’ve got an ‘L’ shaped room and half of it is devoted to office space for my business Among Brenda’s Quilts & Bags. The smaller part of the ‘L’ is my sewing area. Space is always at a premium but I calculated the machine would take up about as much space as a card table. I decided to set it up at the end of my worktable…
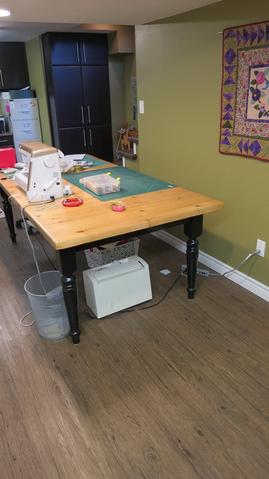
I’d planned on waiting until the next day to tackle set-up but really couldn’t wait so I began the process after supper. Hubby helped me carry the boxes down to the studio and I proceeded to unpack… All in all the set up process took about 2 and a half hours.
The table went up quickly. It’s very sturdy and fairly heavy. When you get your Tiara you might need help to stand it upright. The table legs adjust to the quilting height you’d prefer. I’m sure you could even stand to quilt if you wanted to although I’m going to be sitting.
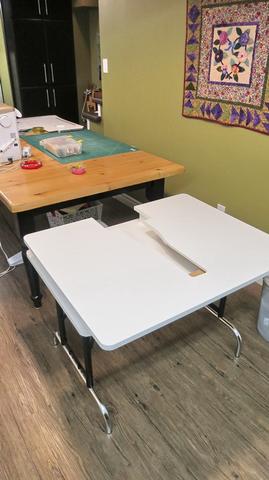
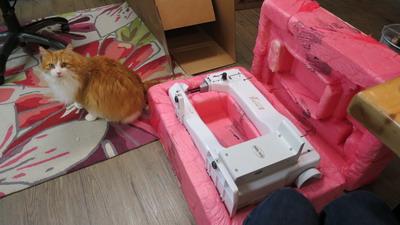
After removing the wooden shipping brace it was time to slide the machine into the cut out throat space on the table. I needed Rob’s help for this as the machine is quite sturdy and heavy. Harry got in a little me time before hubby arrived to help.
After that it was simple to attach the power cord, foot pedal cord and the Color Touch Screen. This screen is the brains of the machine.
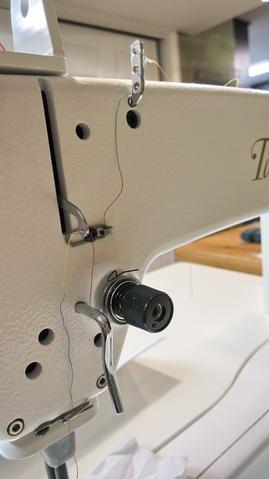
Threading the machine had me a bit worried but it’s really very simple. The only thing different is that you wind the thread through the three-holed thread guide three times back to front.
The bobbin is huge so it holds a lot of thread. Again, it’s exactly the same as in a standard machine. The only thing I found different was that when you insert it into the bobbin case you don’t pull out the little latch lever. Just push the bobbin, as is, into the bobbin case. Easy peasy!
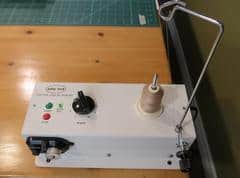
Next it was time to wind a bobbin using the variable speed bobbin winder. It needed a bit of assembly which took about 5 minutes. I had a bobbin wound in no time flat.
With the bobbin installed I focused my attention to the main menu on the Color Touch Screen. It offers needle up or down, always a good alternative to turning the hand wheel! You can control the foot pedal speed with the plus and minus buttons or with the percentage buttons. The large 0% button in the top right lets you know just how fast you are going in case there’s a speed limit in your studio!
There’s also a touch button to automatically put the needle up or down into your work. If you hold this button down for a few moments it ties off the stitching. As well as quilting you can baste layers. The smaller button with the needle and thread under the red is the basting button.
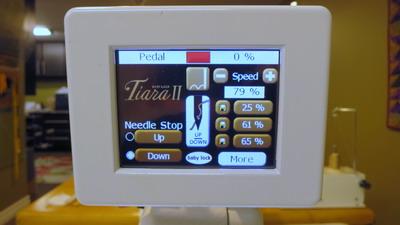
I didn’t go into the functions of the ‘More’ button as I really wanted to scribble a bit with the quilting! I’ll be exploring that button tomorrow as well as installing the Tru Stitch Stitch Regulator.
Video – Quilting with the Tiara
March 16, 2015
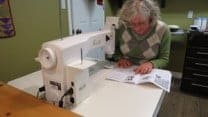
Follow me as a quilt my first project, a table runner, on the Tiara II by Baby Lock. I’ll show you how I pin my layers before quilting, explain how the machine is threaded, show you how I prepared my quilting design and finally how I quilted the project. See how easy it is to quilt using the Tiara!
Leave a Reply