Round Robin – Strip Robin Project
Here is a fun round robin quilt project that is suitable for guilds or quilting friends. We successfully ran this some years ago in our local guild, and those who participated enjoyed it immensely.
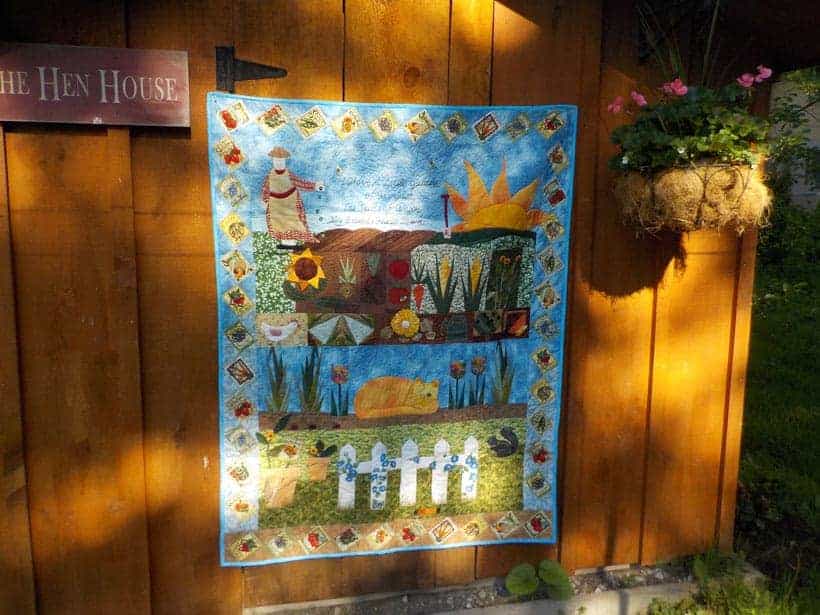
Generally, a Round Robin is created from a central block and borders are added to it until it is finished. In our case we organized a Strip Robin.
Use this example to plan your own project.
Organization and Signup
Once you know how many people will participate, divide them into groups.
In our case, a round robin strip quilt project was organized as a group activity for the guild. 19 members put their names forward to form four groups.
The goal of the project was to create an individual quilt top with all members of the group having the opportunity to work on each other’s quilt.
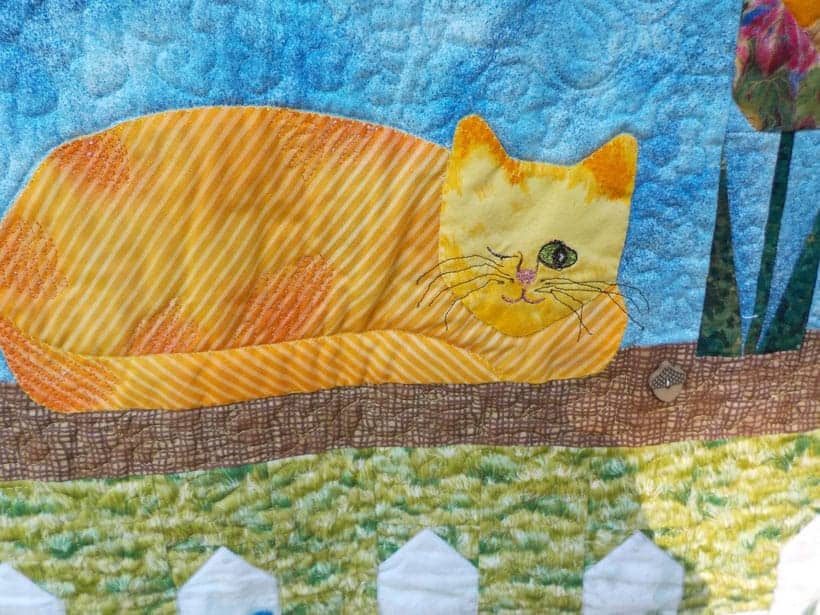
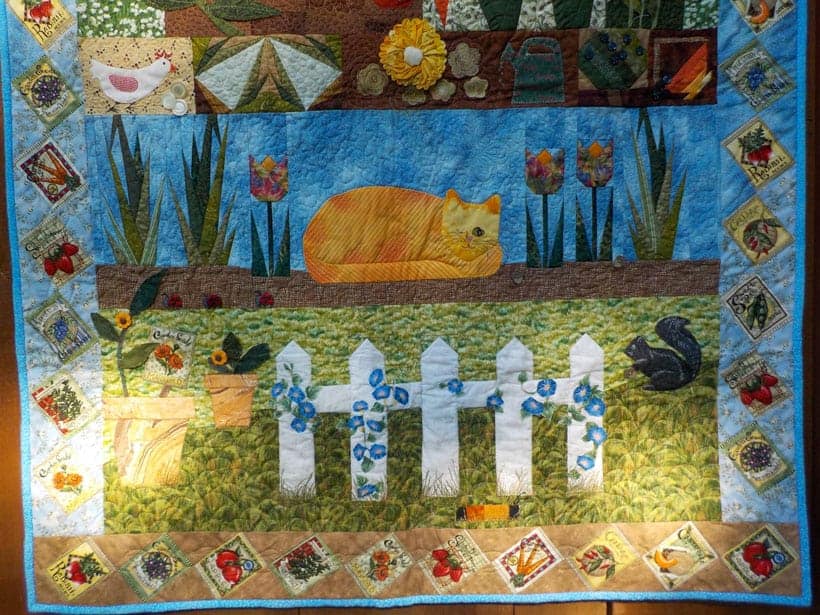
Make sure everyone understands the process
You can follow the example and do exactly as we did, or make changes to the project. Just make sure everyone understands what’s happening and distribute guidelines similar to those provided below.
In my guild, as a group, individuals were to add 36 1/2″ wide strips progressively every month to an initial strip made by each member of the group. Each quilt was to have a theme. The result of this exchange would be a finished quilt top for each group member (less the borders). The strips added could be as deep as needed to suit the design.
Timeline
Leave plenty of time for participants to complete their part of the project. A general guideline is one month per group member to make the strips, then another couple of months for finishing touches.
In my guild example, we had 19 members put their names forward to form 4 groups. We started organizing in September and by the end of the following February the Strip Robins were ready to be presented to their owners.
Finishing touches took another couple of months and the quilts were unveiled at the April meeting.
Guidelines:
- Remember, once you sign up for this exchange, you are committed to meeting the deadlines and finishing the project. Other people are depending on you.
- Trust your friends to use just the right design and additional fabrics. You will not see your block again until the quilt top is completed.
- Keeping this a secret is part of the fun. Please do not share your work with anyone, especially not the maker of the first strip or any other group members.
- Always measure your addition to be sure your strip is accurate before adding it to the last strip. (36 1/2″ wide)
- Look for or develop your own interesting design ideas. Talk to people outside your group for tips. Get inspired by what was done before the quilt came to you.
- Always, Always, use the best quality 100% cotton.
- Don’t whine or wince and expect to own a beautiful quilt, buckle down and just do it!
- Last, but possibly most important, work on another’s quilt as you would want them to work on yours.
Have each group member put together a box containing the items listed below:
- The quilt recipe page. Basically this is the theme, including some ideas you’d like to see. Download the Quilt Recipe.
- The first 36 1/2” wide strip. Remember the strips can be as deep as needed for your design.
- Add some of the main fabric or background fabric (or both) that you would like used throughout the quilt.
- Remember that the main fabric and the first strip will establish the theme for the whole quilt. If there is something or some particular colour that you definitely do not want in your quilt, send a note in the box with your project.
- Each group member should consider passing on a small amount of a fabric that you have featured in the strip you have added. It will help the next participant to link the design in future strips.
- The owner may also wish to add fat quarters, buttons, design ideas, embellishments or anything they wish to have included in the quilt.
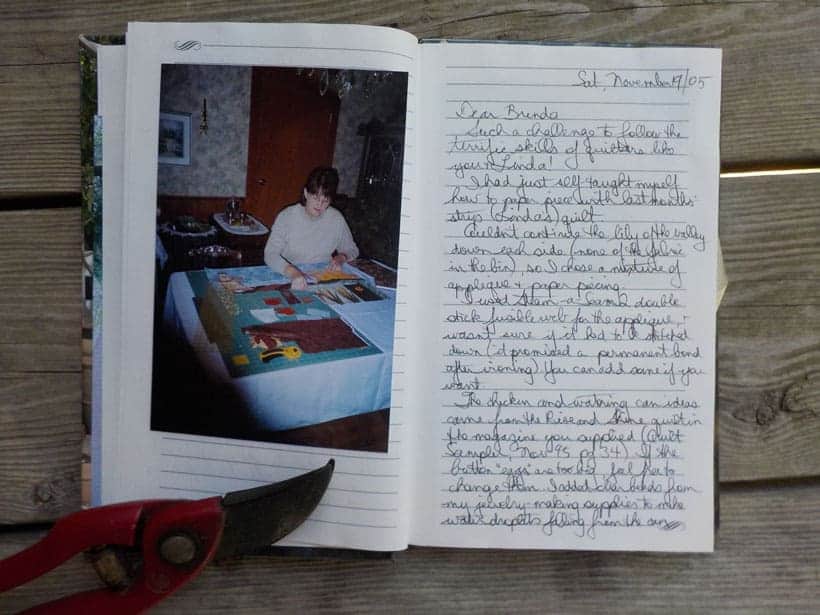
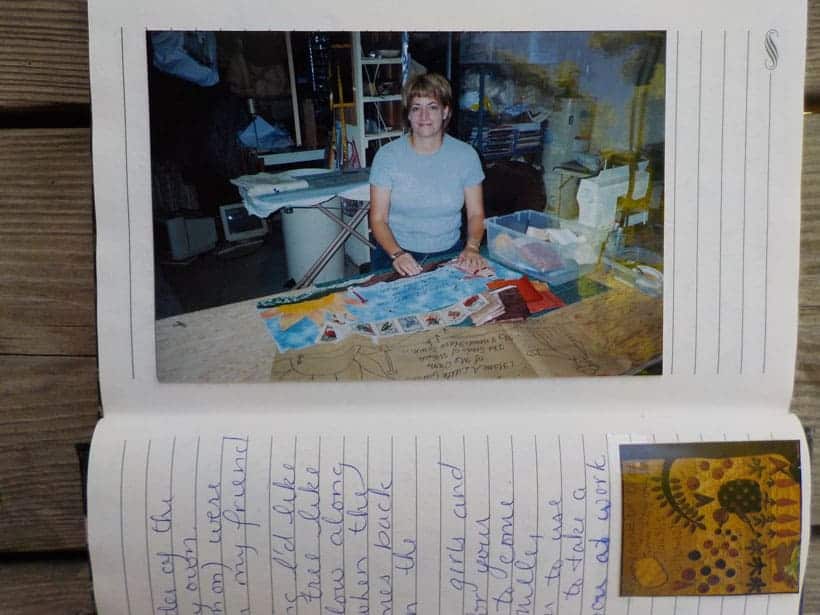
- It would be fun to include a disposable camera to document the making of the quilt by each group member.
- Be sure to include a label for each of your group members to sign. An easy label is made by ironing a piece of muslin to freezer paper and including a Sharpie Marker in the box.
- In the box include a small notebook. This notebook will be used by each participant to give credit for patterns used, names of patterns, block names or anything pertinent to the strip they have added. This information is especially important if you wish to submit your quilt to a quilt show in future. Remember copyright laws!
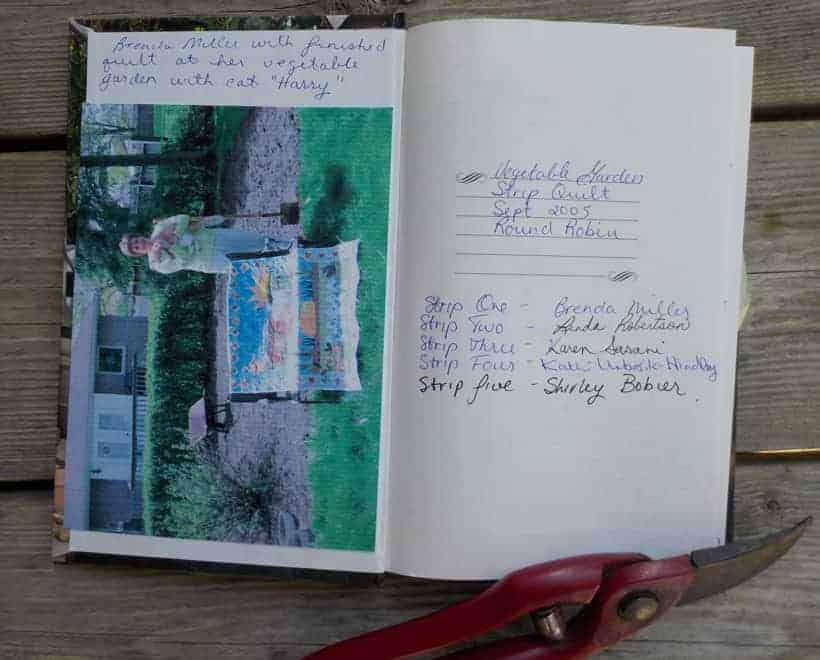

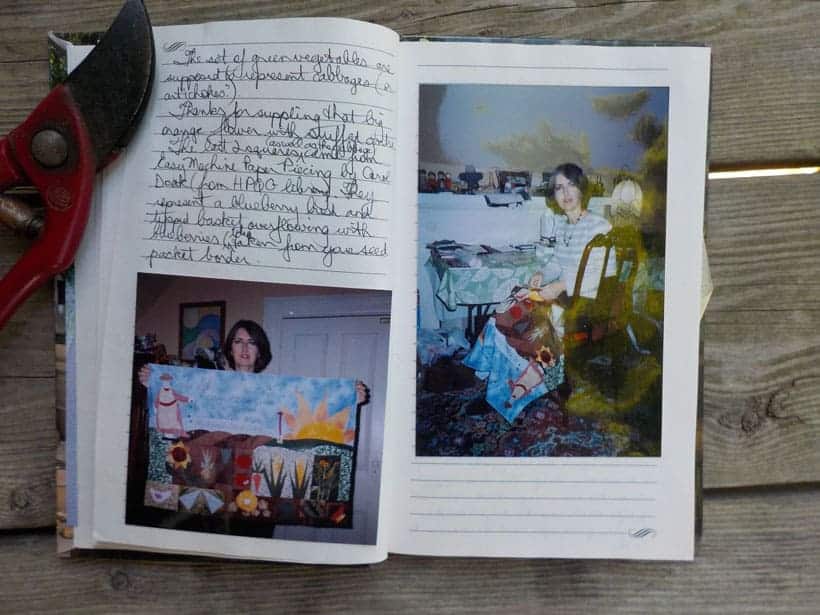
Presentation time
This was an exciting time in our guild, seeing how other group members had interpreted recipe page directions and seeing all the thought and unique design ideas that had gone into the quilts.
The participants did not show their tops to each other but took them home to add borders and other special touches before the unveiling at the April Meeting.
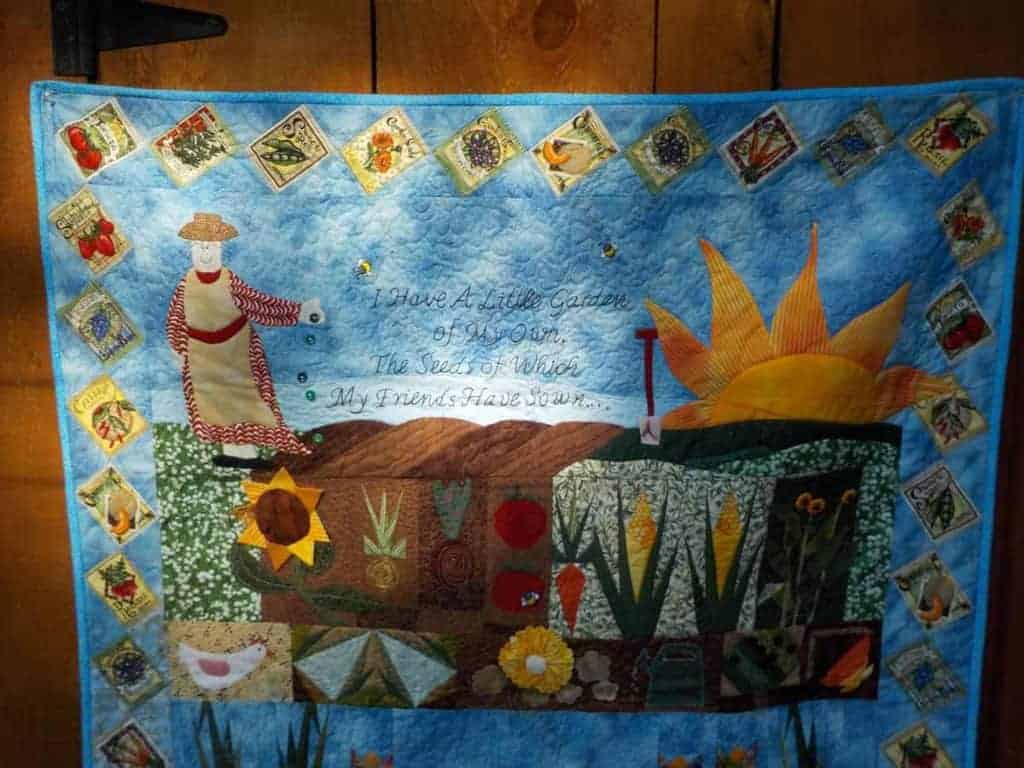
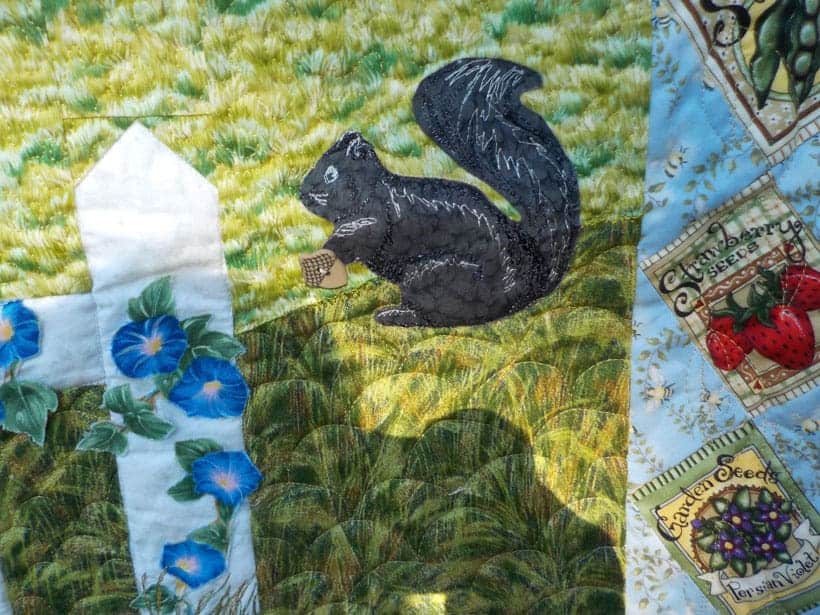
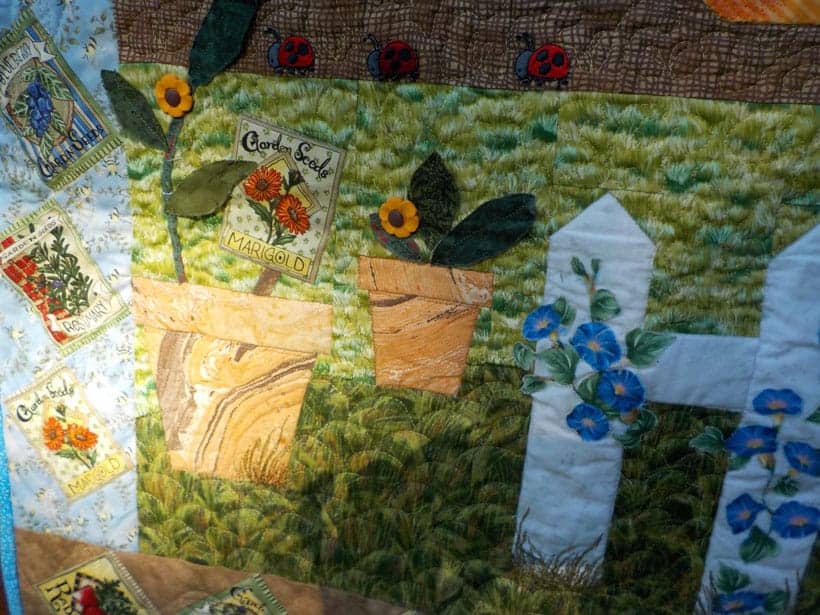
Of the 19 group members who started the project ten finished. Have a look at some of the creative designs!
This project was very well received by group members who were able to complete their projects. The level of experience in the groups varied, with beginners joining more experienced quilters. The beginners were challenged by the project but all did a wonderful job and learned a lot in the process.
All were in agreement that they had learned to “think outside the box” and had enjoyed participating. Several guild members who had been wary of trying the strip robin project and had sat it out mentioned later that they wished they had participated, after seeing the great results.