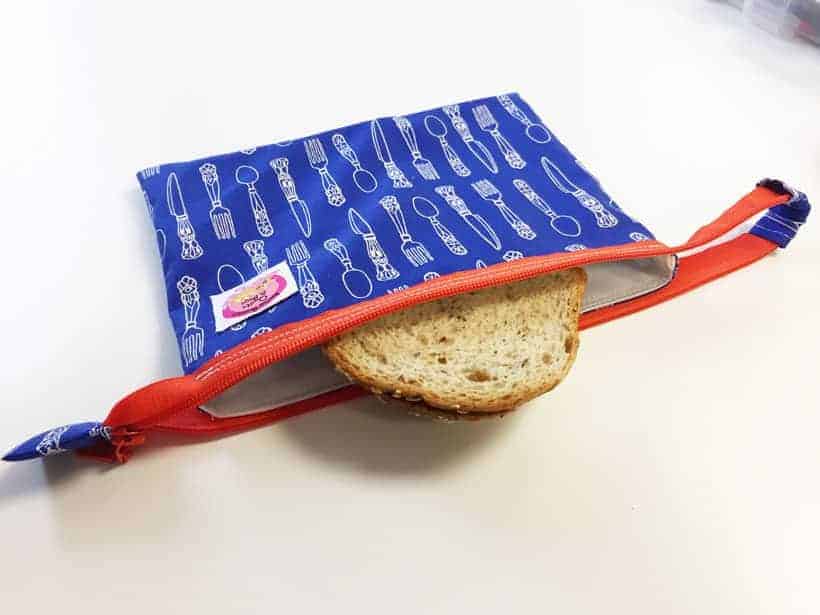
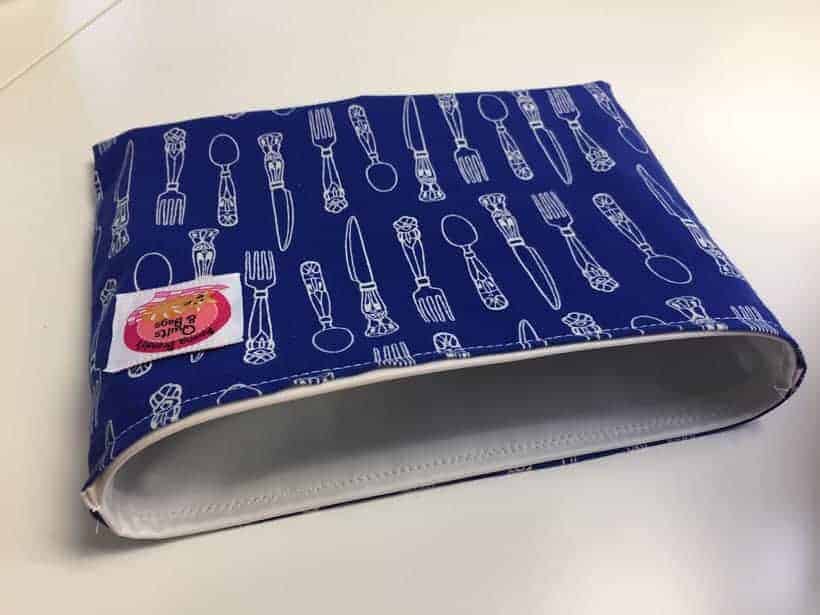
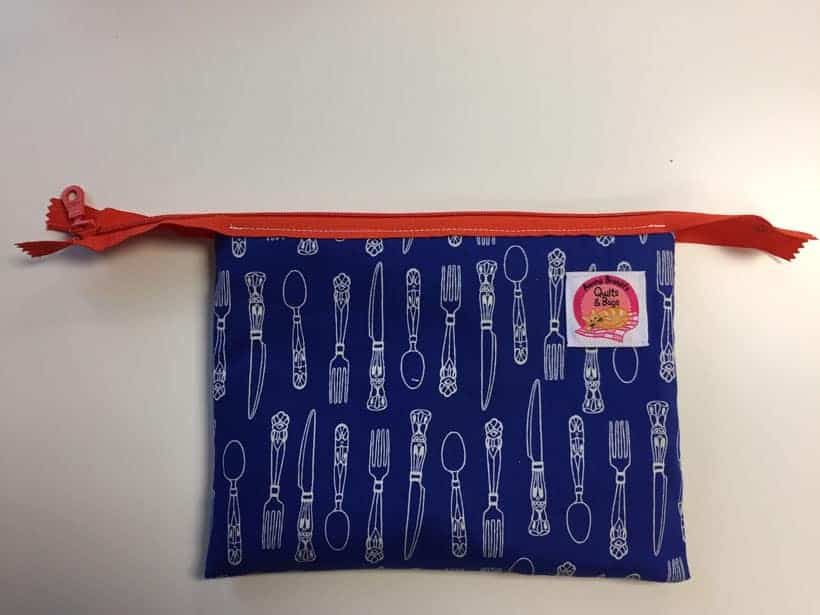
Snack Sack is a reusable bag you can use for lunches and snacks
With stories of plastic waste infiltrating everything from our oceans to our bloodstreams you might be ready to create your own reusable lunch/snack/sandwich bags and say ‘bye bye’ to excessive plastic bag waste.
Take your time making your first Snack Sack and then you’ll be ready to re-create them for yourself and loved ones. Feel free to change the size to suit your needs.
With food safety in mind, I’m using Fabri-Quilt P.U.L. It’s a food-safe polyurethane coated knit that stands up to hot water washing. You can order it online at the ABQ store.
I’ve jazzed up my sack using a cute fabric by Cotton & Steel to add a bit of pizzazz to my lunch hour.
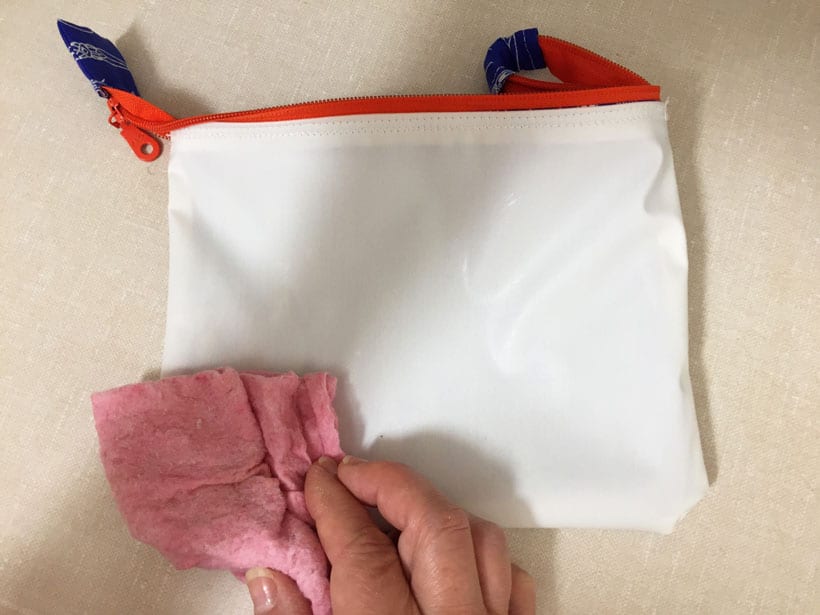
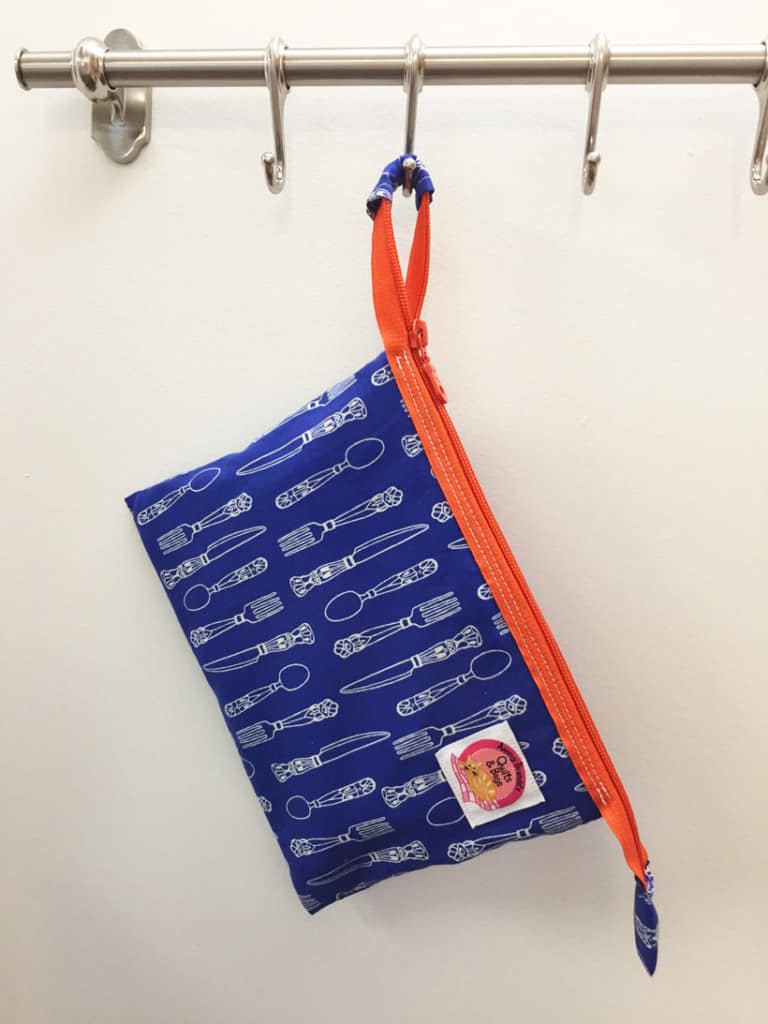
The 14″ zipper I’m using is my own brand, the ABQ Designer Bag Zipper. It has a wide zipper tape, essential to making this bag, and a nice double-jointed pull. The exposed oversized zipper opens well beyond the edges of the bag to make for unhindered packing and unpacking of your sack. It also makes wiping the interior lining very easy. The extended zipper creates a loop allowing you to hang your bag to dry after wiping or washing.
Make the Snack Sack
Fabric Requirements and Cutting
Fabri-Quilt P.U.L. – 1/3 yard, .25m
- Front and Back Lining:
- Cut (2) 8″ x 10″
Quilting weight fabric 42″ wide – 1/3 yard, .25m
- Front and Back: Cut (2) 8″ x 10″
- Zipper Loop Cover: Cut (1) 2 ¼” x 3 ¼”
- Zipper Tab: Cut (1) 2″ x 3 ½”
14″ ABQ Designer Bag Zipper (a nylon zipper with a 1 ¼” wide zipper tape), thread to match, zipper foot, clips, regular rotary cutting and sewing supplies. Use a removable marker to draw lines.
Instructions
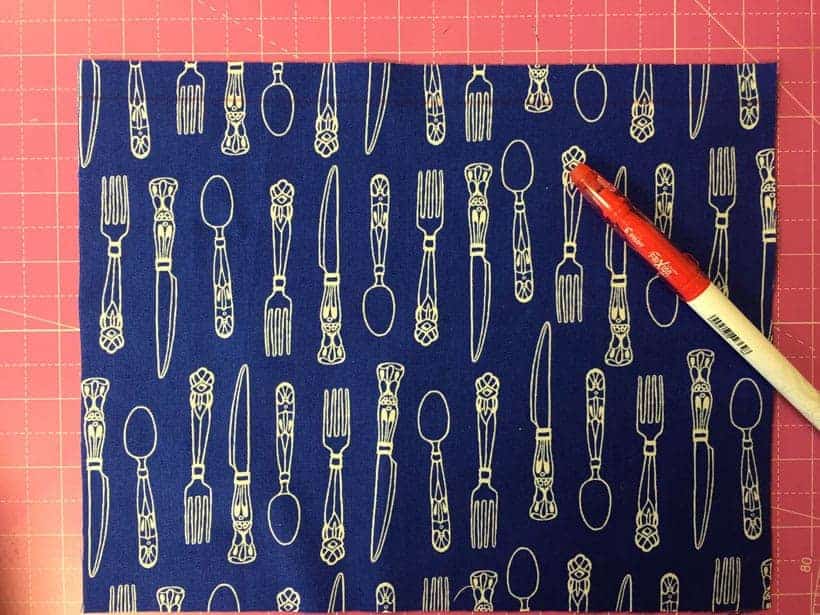
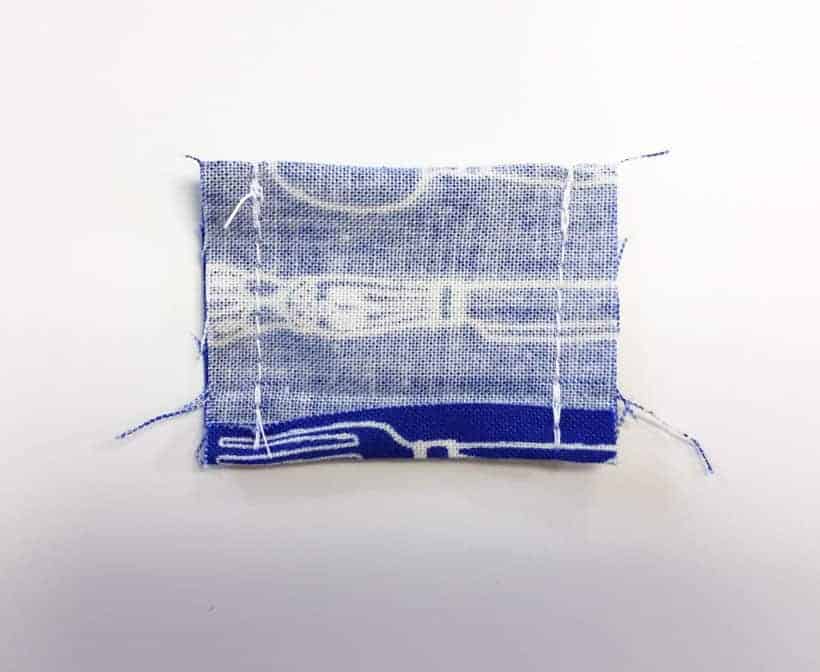
On the right side, draw a line ½” from the top long edge of the Front and Back fabric.
Repeat to draw a line ½” on the wrong side of the P.U.L. The wrong side is the knit side. Fold over the P.U.L. to the wrong side and stitch ¼” from the fold.
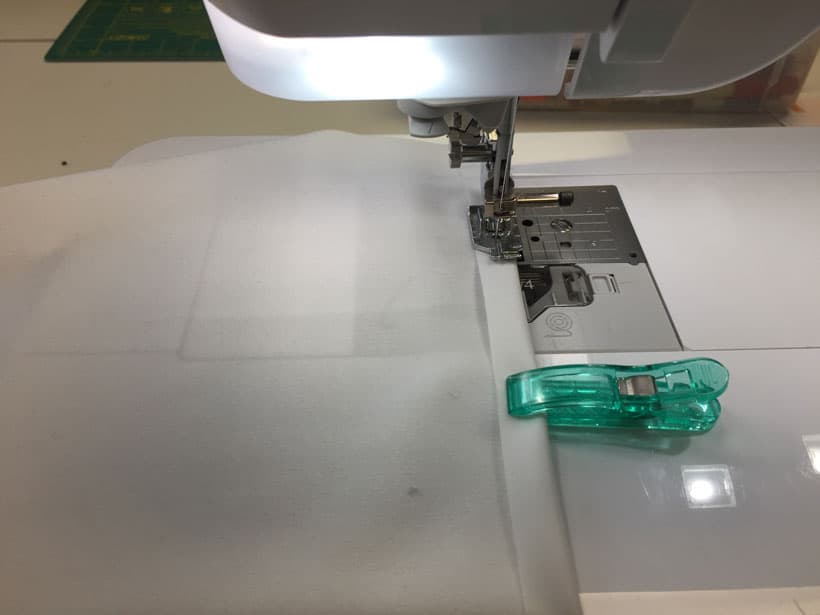
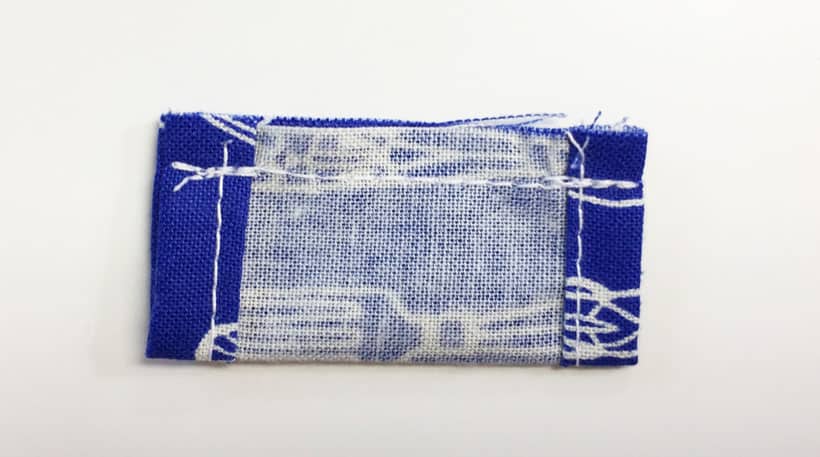
Pin the fabric pieces right sides together matching the edges.

Next we will stitch around the piece leaving the folded upper edge open. But, I’m going to show you a way to achieve near perfect corners. If you are feeling lazy you can just stitch around, but otherwise do as I do…
Start stitching a 1/4″ seam at the folded edge backstitching to secure. Sew all the way to the first corner, sewing right off the fabric. Break your thread. Turn the fabric and fold over the seam allowance. Start stitching again backstitching to secure.
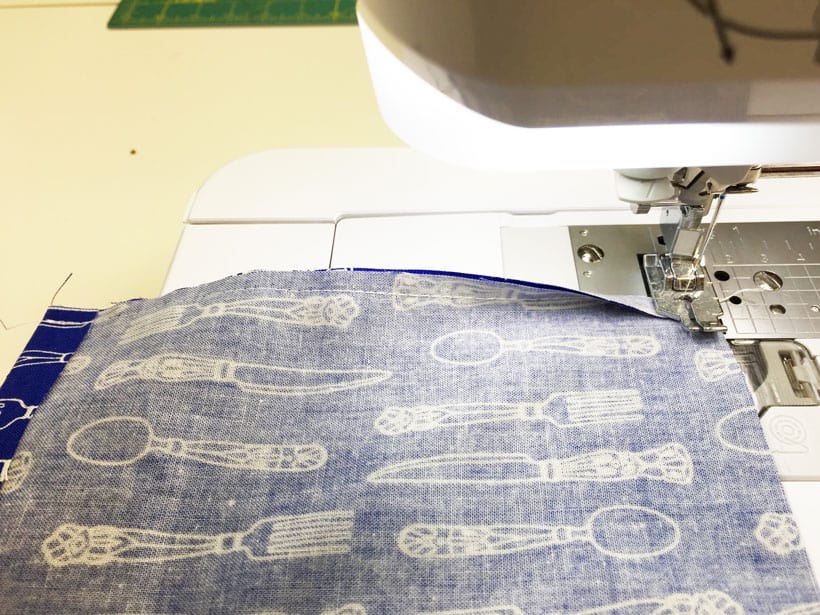
When you get to the next corner, stitch right off the fabric. Break the thread, fold over the seam allowance, backstitch and sew to the folded top edge backstitching to complete.
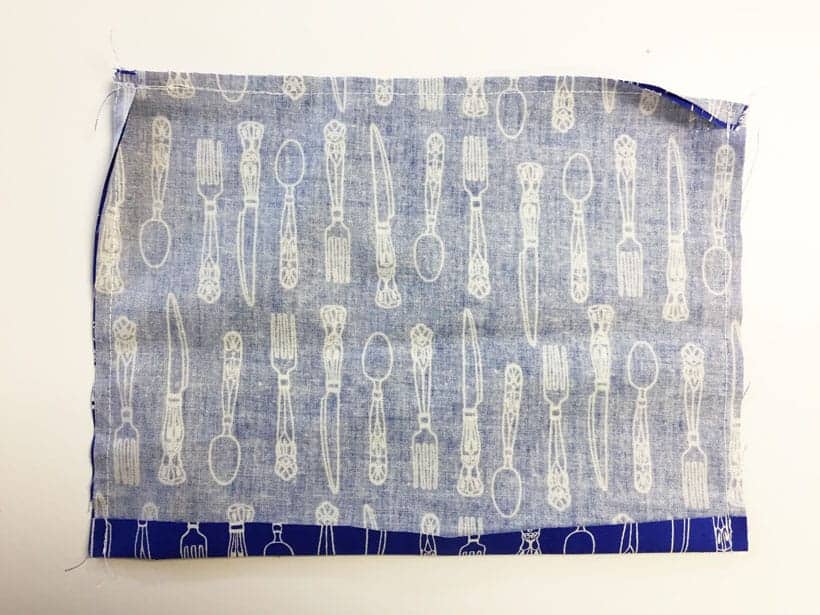
Turn to the right side and press. See how nice your corners can look!
Repeat this procedure to sew the P.U.L. right sides (waterproof sides) together but this time use a larger 3/8″ seam allowance. It’s wider so that the lining fits nicely into the bag.
Insert the lining inside the fabric exterior. The P.U.L. waterproof lining side is showing.

Sew around the top edge through all layers using a ¼” seam allowance.
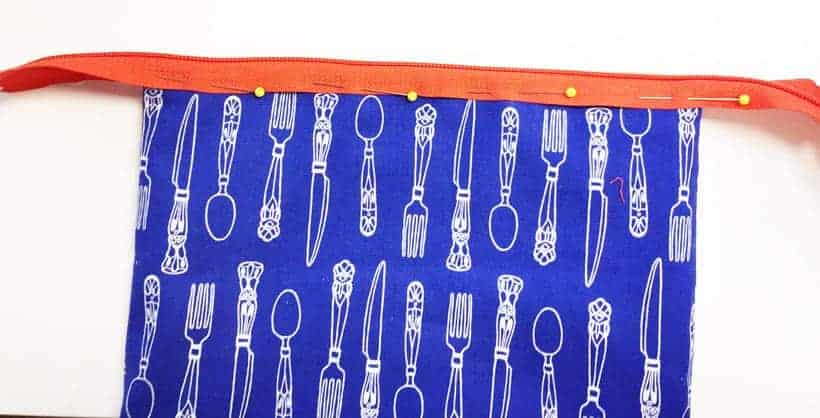
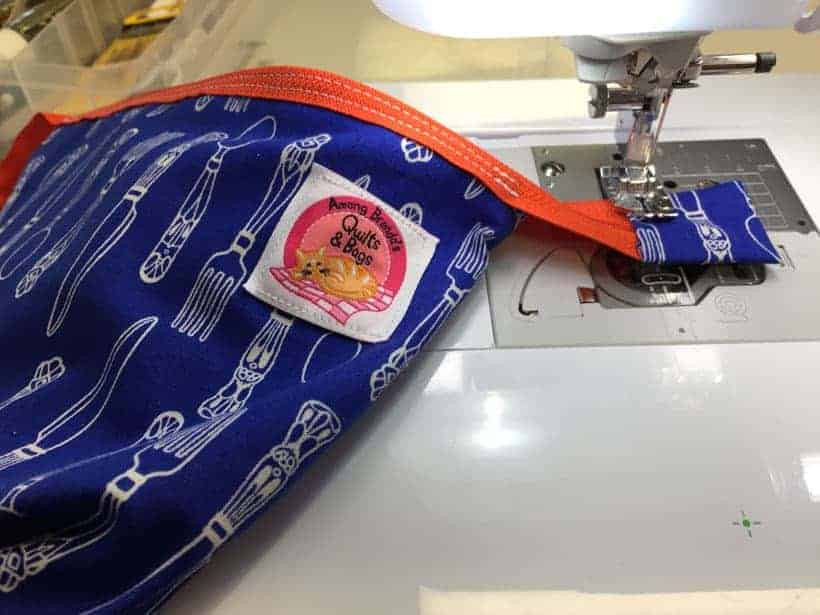
Center and pin the 14″ bag zipper along one side. Pin through the fabric only. When you pin leave ¼” of zipper tape between the teeth and the edge of the bag.
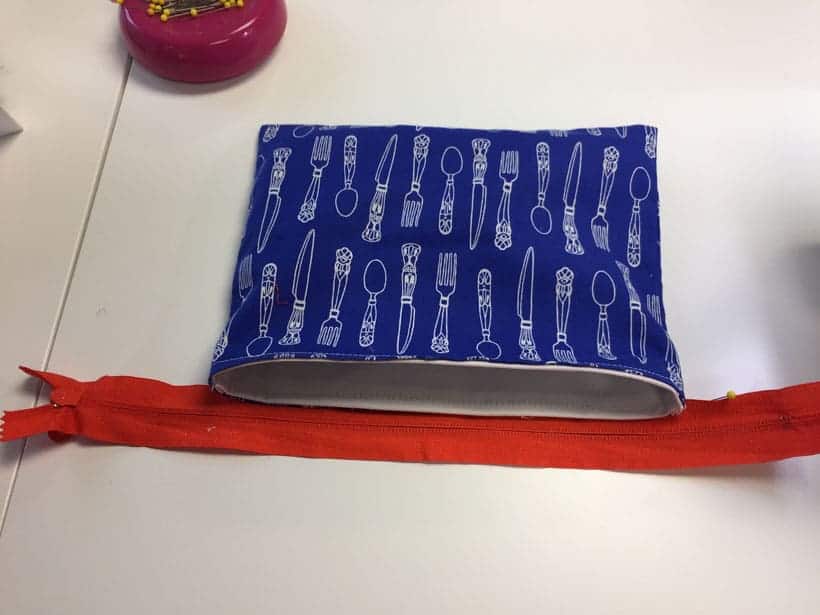
Here is a view from the opposite side. The zipper is exposed. This is as X-rated as a zipper can get.
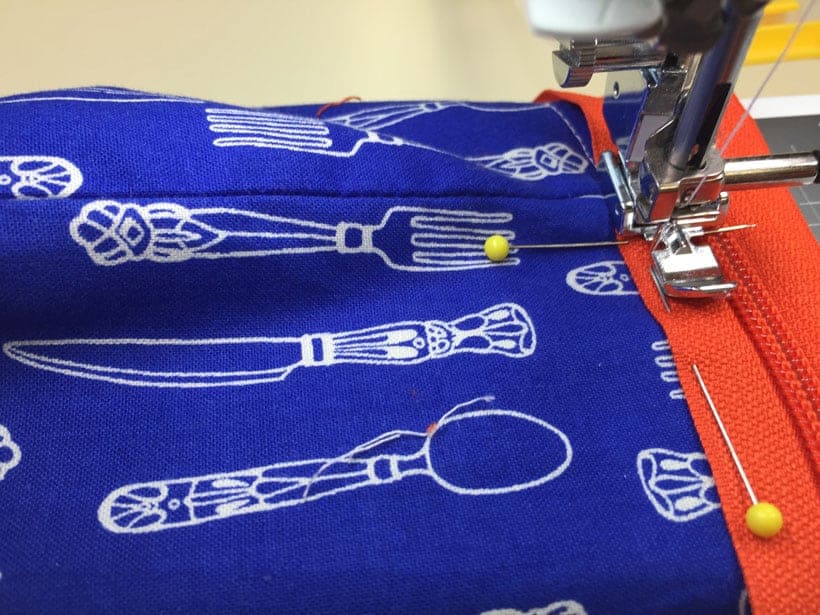
Sew close to the edge of the zipper tape starting ½” from the side seam. End your stitching ½” from the opposite side seam. Backstitch at each end.
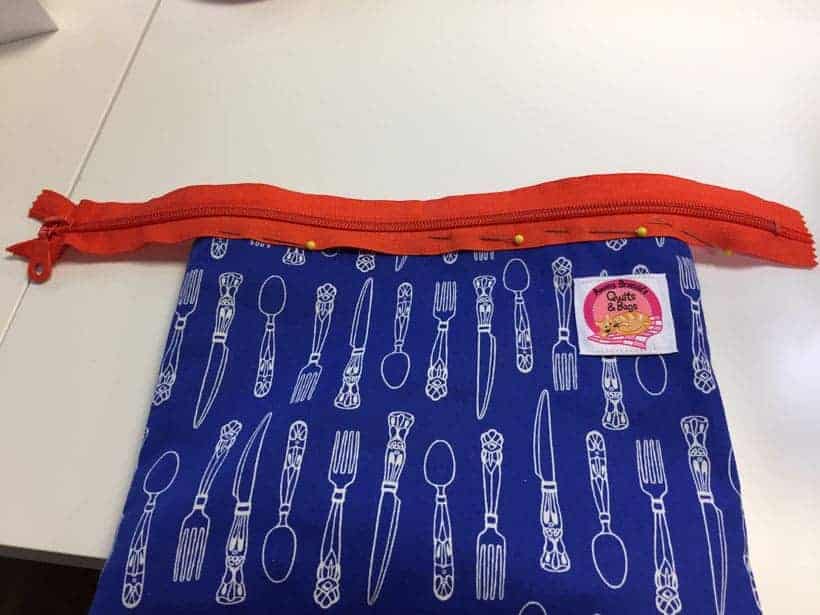
With the zipper zipped, fold the zipper to the opposite side and pin in place so that the zipper teeth are 1/4″ from the top edge of the bag like before. Unzip the zipper. Repeat the last step to sew it in place.
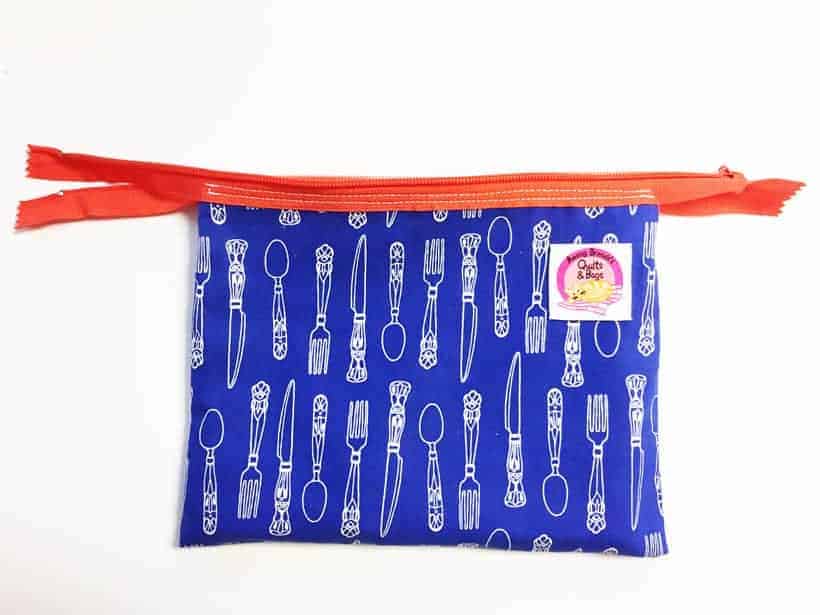
Here’s what it looks like.
Add another line of stitching above the existing stitching line. Make sure your next line of stitching catches the fabric.
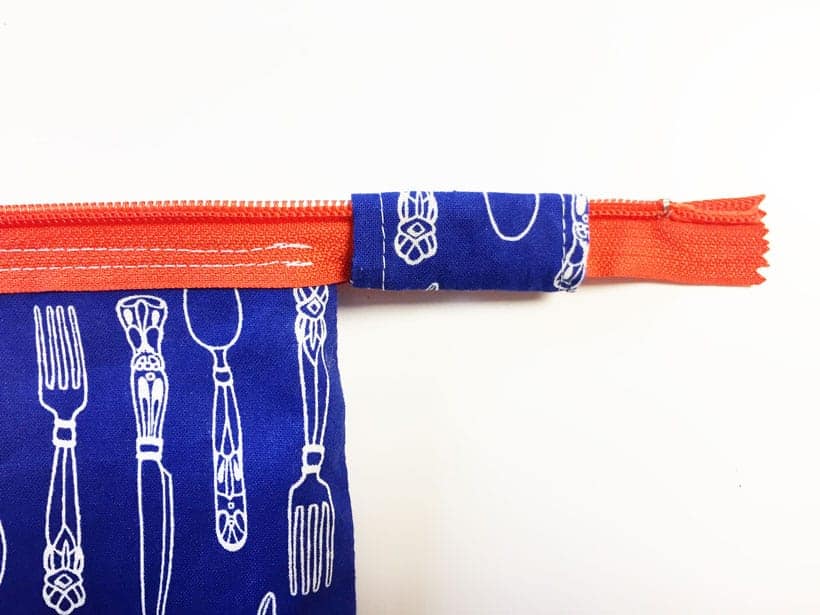
Now to hide the open ends of the zipper. Fold over ¼” of fabric on the short edges of the Zipper Loop and press. Fold again to enclose the raw edges and press. Stitch close to the folded edge.
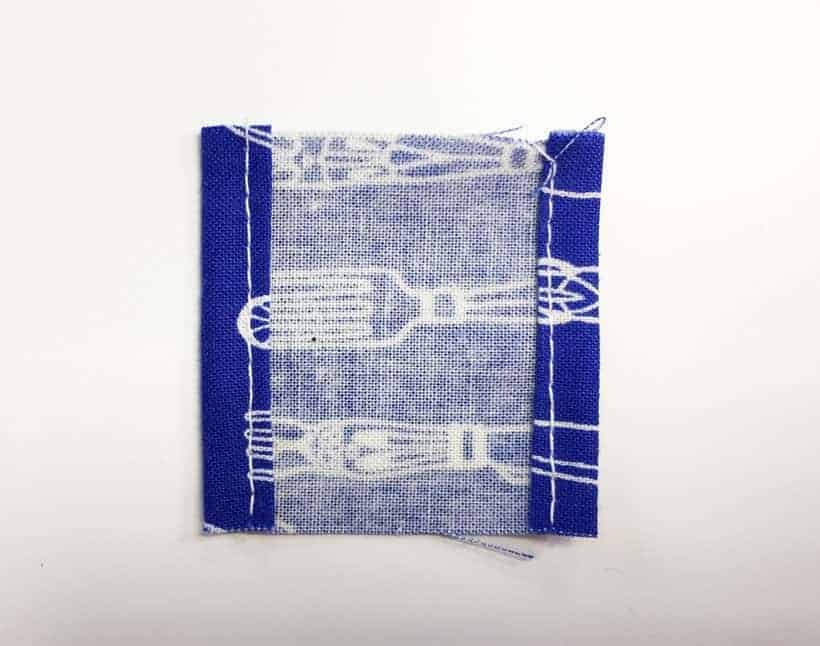
Fold in half with right sides together and stitch a ¼” seam.
Turn to the right side and press. Insert one open edge of the zipper tape through the loop.
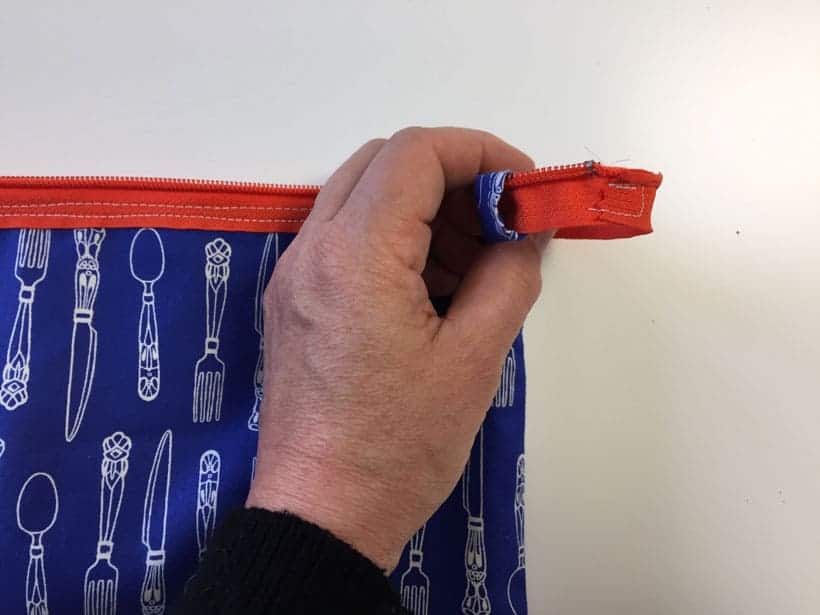
Overlap the ends of the zipper tape and stitch to secure.
Slip the loop over the overlapped area to hide the raw edges of the zipper. This forms a bit of a handle for your bag.
Fold over ¼” on the short ends of the Zipper Tab and press.

Fold in half and stitch along the sides. Turn to the right side and press.
Insert the end of the zipper into the Zipper Tab. Stitch across to close making sure you will not be stitching into the metal zipper stop.
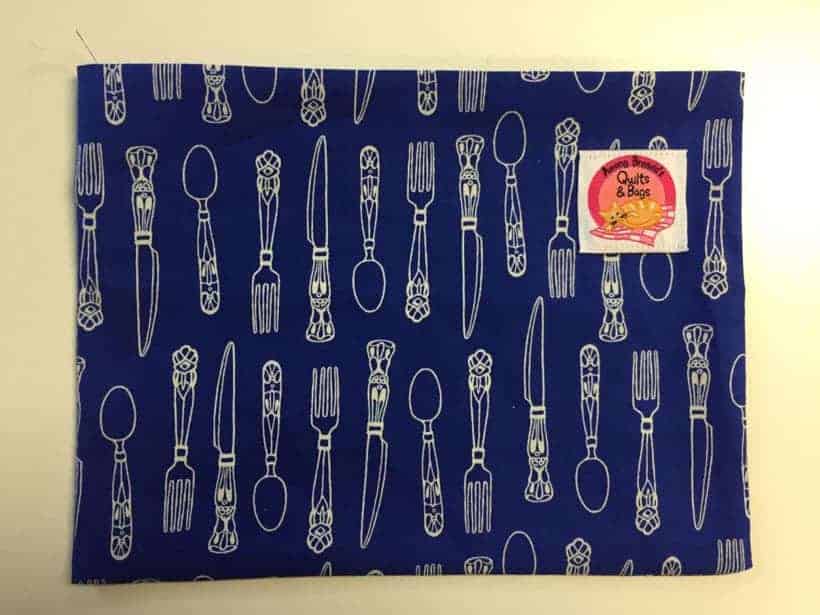
Enjoy your new Snack Sack!

If you found this free pattern useful, you may also enjoy bagmaking video classes at Make Bags With Brenda.
Leave a Reply