In this quilt binding tutorial, we guide you through the process of creating a charming quilt-as-you-go table runner using fabric scraps. Whether you’re a beginner or looking to refine your skills, this step-by-step guide will ensure you can confidently tackle the binding of your quilted projects.
What’s inside
- Introduction to the Project
- Selecting Fabrics and Materials
- Preparing the Fusible Batting
- Cutting the Fabric Strips
- Creating the Quilt-as-You-Go Design
- Finishing the Quilt Top
- Preparing for Binding
- Cutting Binding Strips
- Joining Binding Strips
- Attaching the Binding
- Sewing the Corners
- Finalizing the Binding
- Hand Stitching the Binding
- Showcasing the Completed Runner
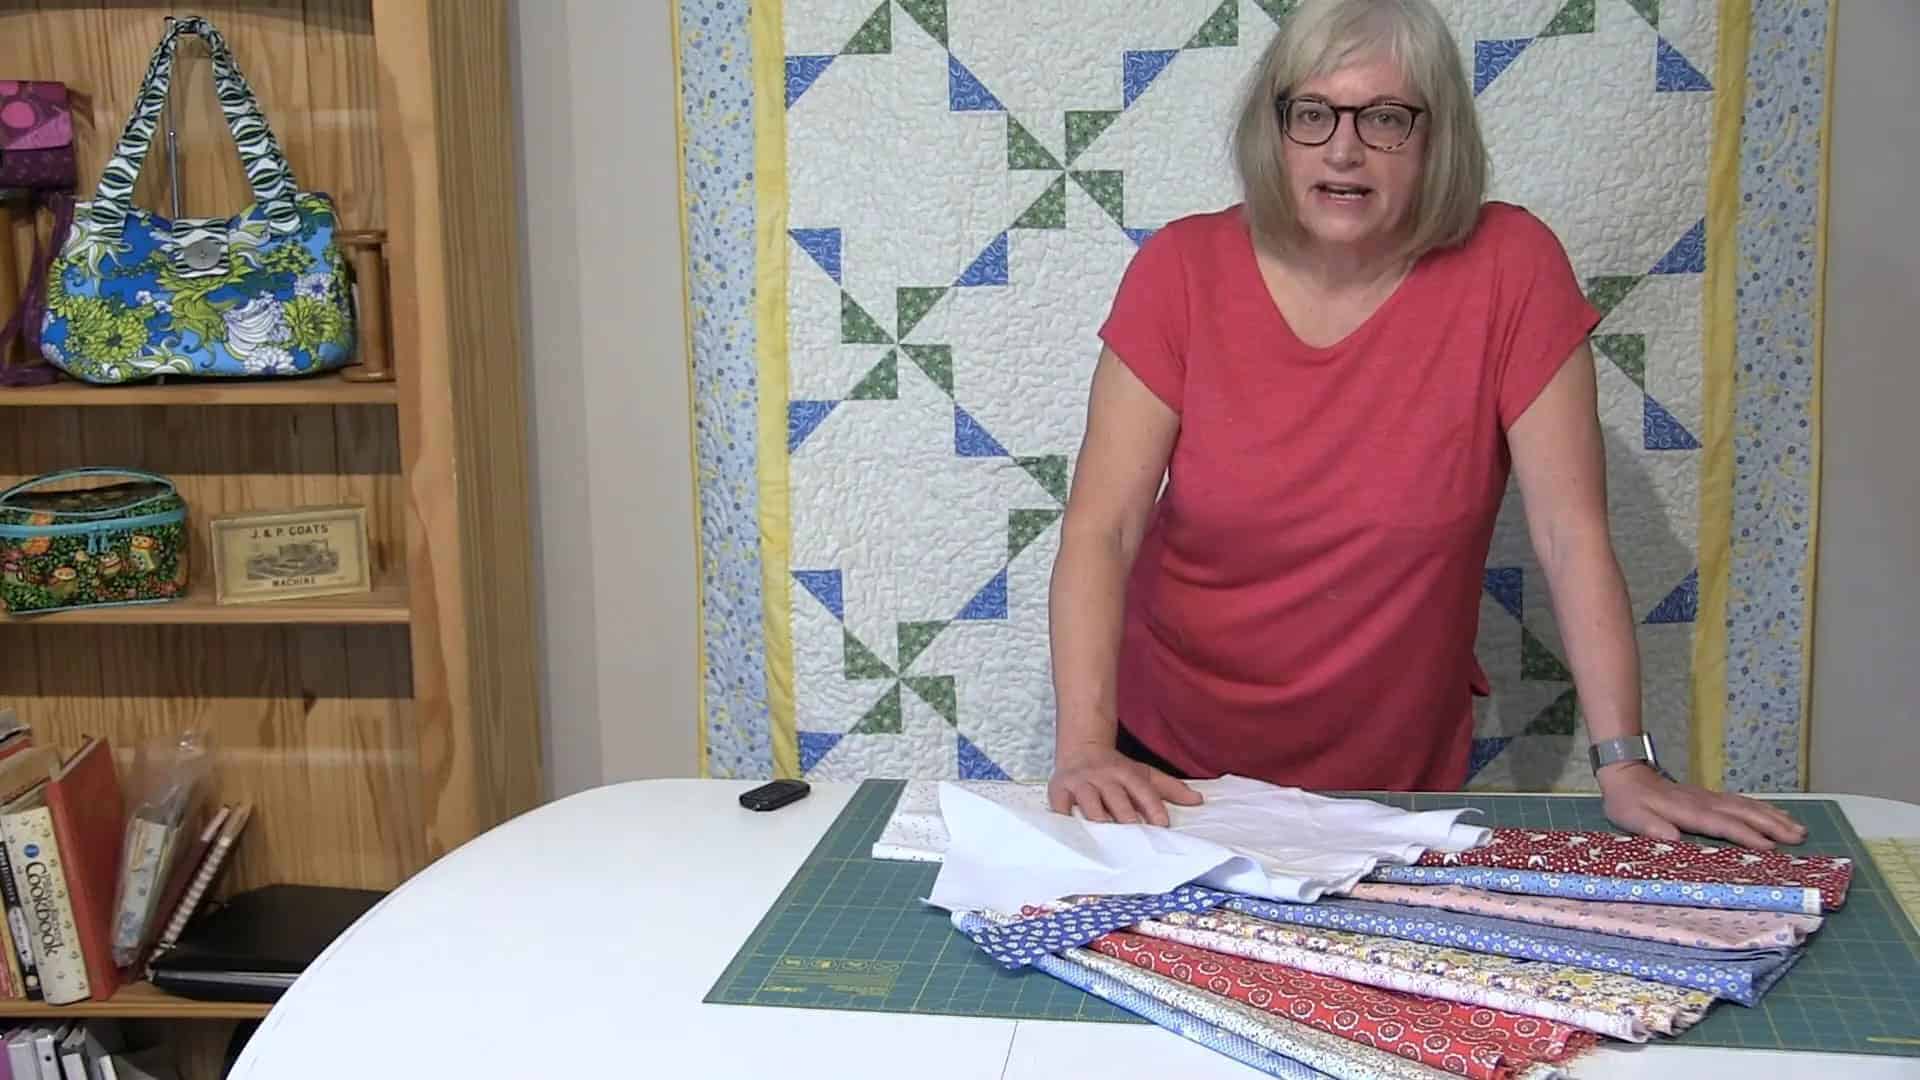
Introduction to the Project
This quilt binding tutorial guides you through creating a stunning quilt-as-you-go table runner. Designed to utilize fabric scraps, this project is perfect for both beginners and seasoned quilters looking to refine their binding techniques. The fun and fast approach will have you completing your table runner in no time, bringing a touch of charm to your home.
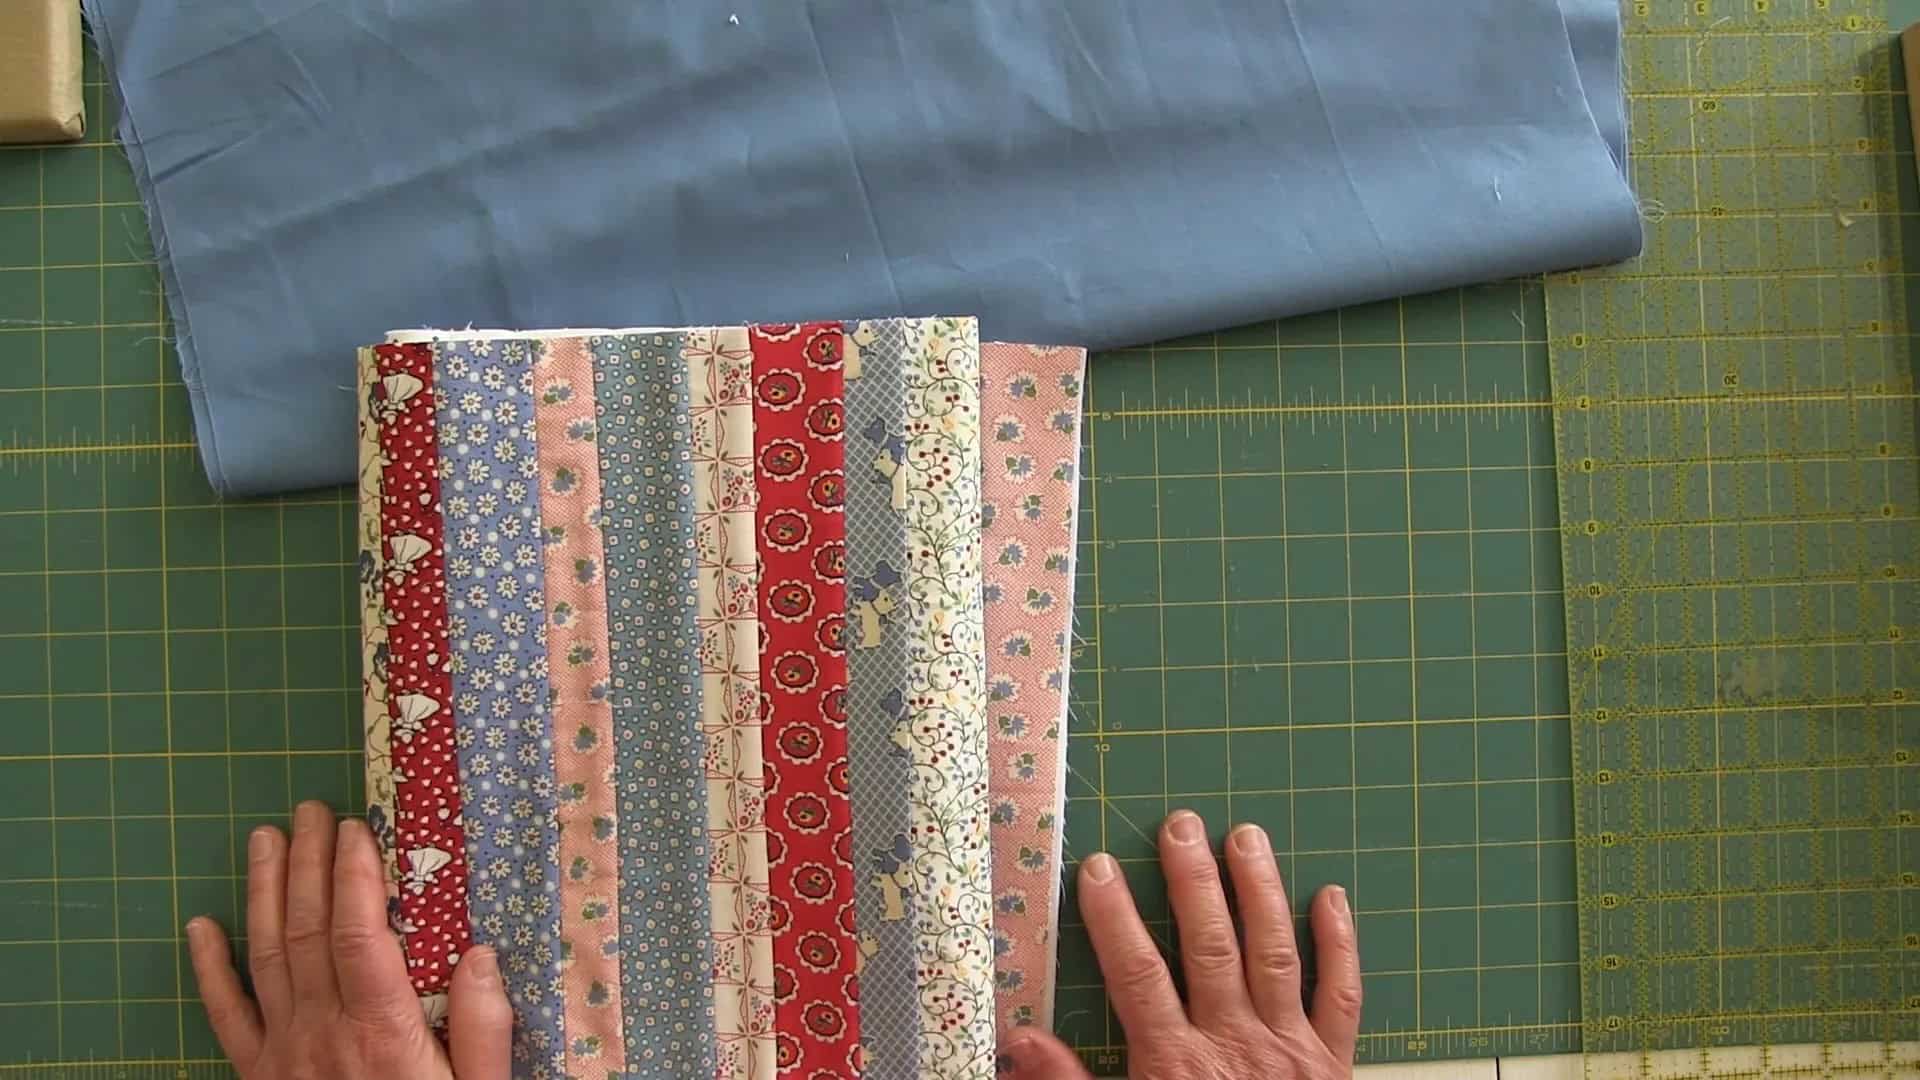
Selecting Fabrics and Materials
Choosing the right fabrics is crucial for achieving a cohesive look in your quilt-as-you-go project. Aim for a selection of prints that complement each other. For this project, a mix of blues and reds with a vintage 1930s feel adds a nostalgic touch.
- Gather approximately 10 different prints, or fewer if you prefer a simpler design.
- Don’t forget to include backing fabric that will support your runner.
- Fusible batting is essential; it adheres easily and simplifies the process.
Make sure to prepare a variety of fabric strips to incorporate multiple colors and patterns into your design.
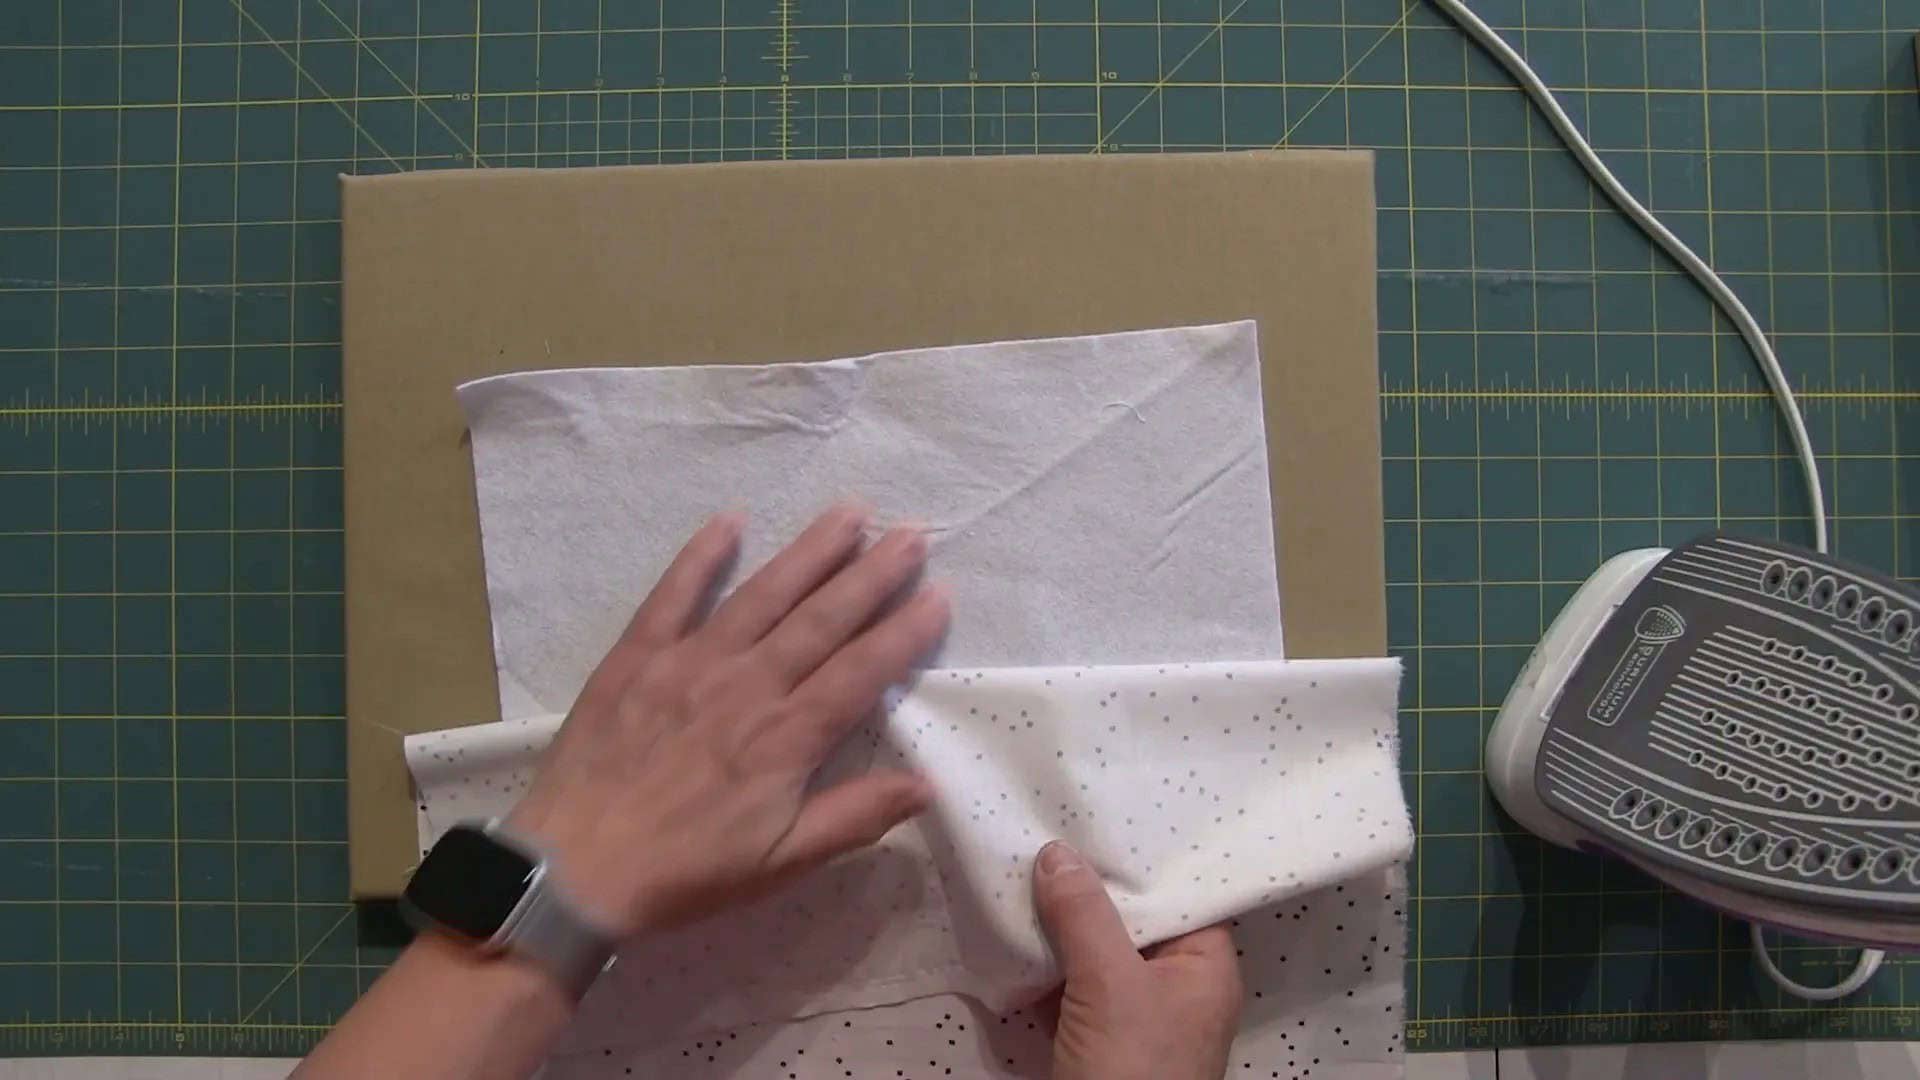
Preparing the Fusible Batting
Start by cutting your fusible batting to the desired width for your table runner. A width of about 12 inches is ideal. This will provide a sturdy foundation for your quilted project.
- Lay your batting on a cutting board, ensuring one edge is straight.
- Use a rotary cutter and ruler to trim the batting to a perfect 12-inch width.
- Remember that the bumpy side of the batting is the fusible side, which will adhere to your backing fabric.
Once trimmed, place the batting on top of your backing fabric, bumpy side up, and use an iron on high heat with steam to activate the adhesive.
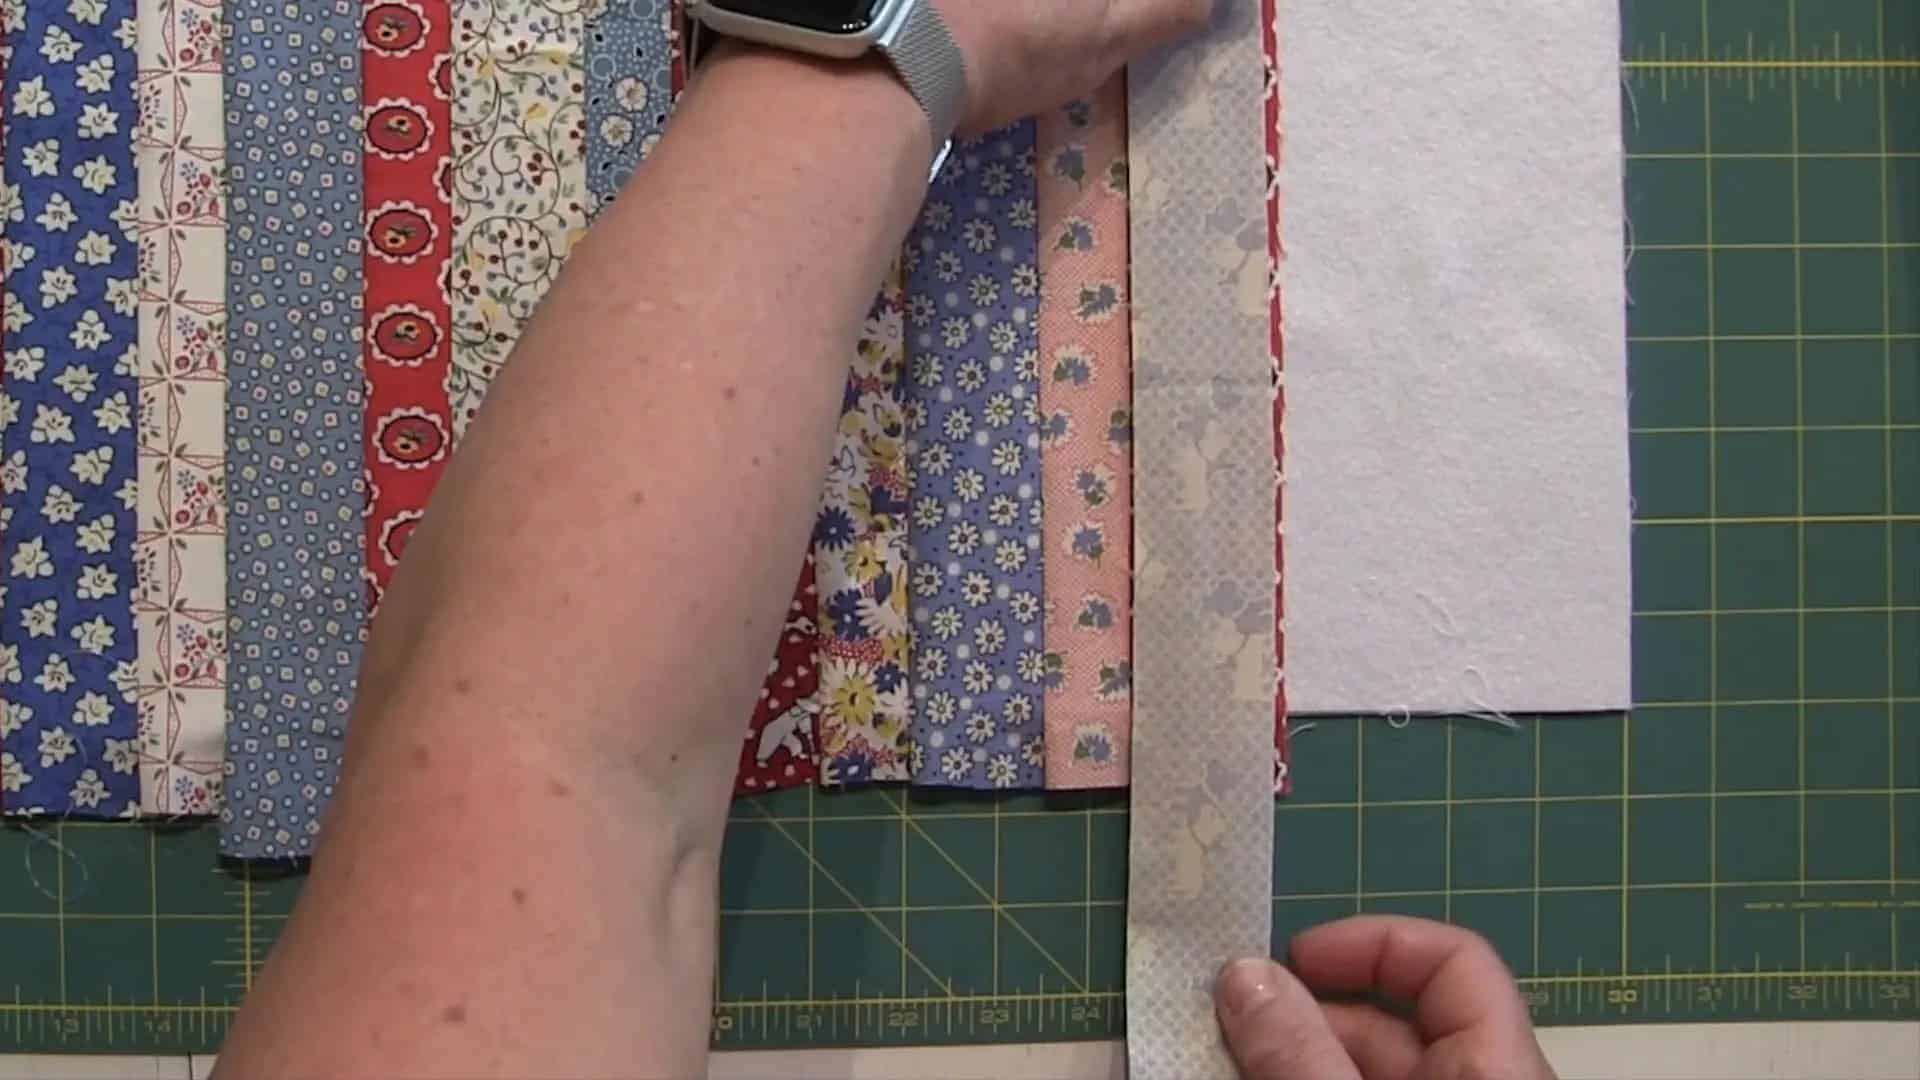
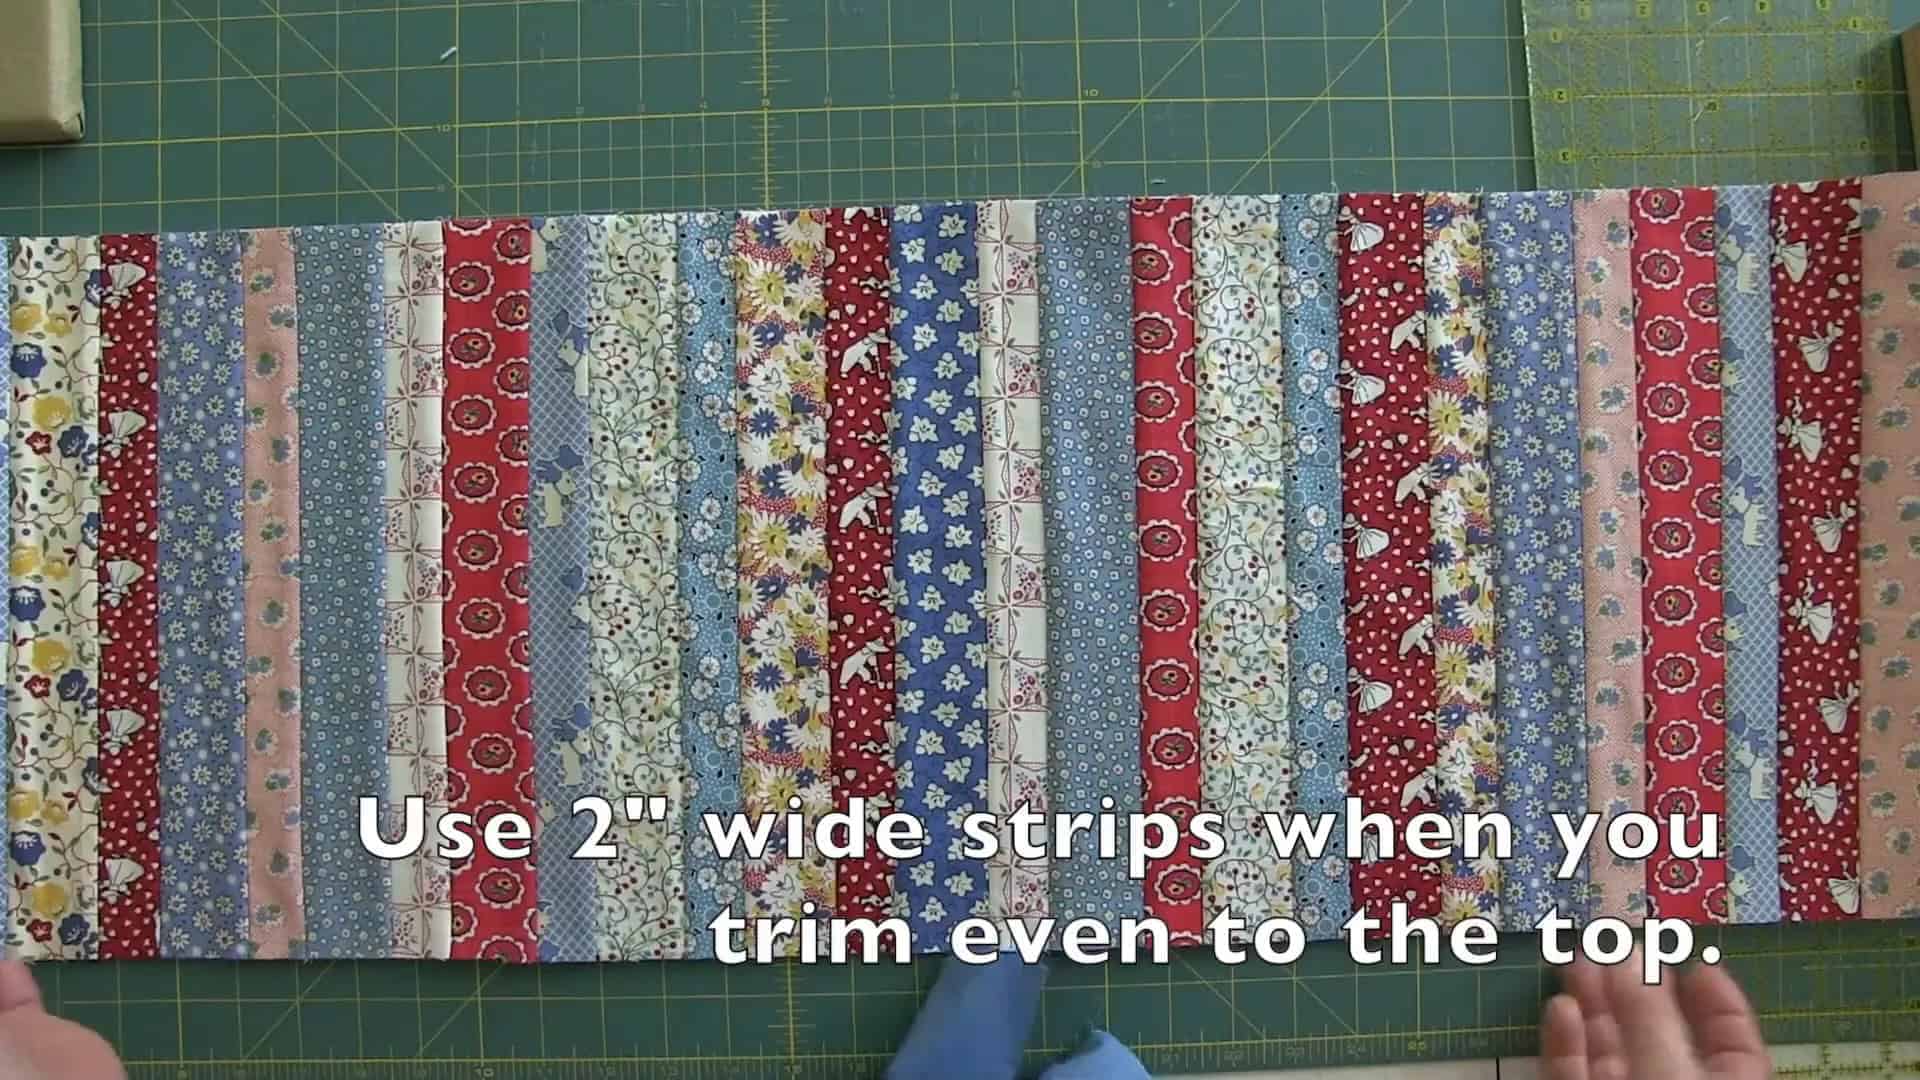
Cutting the Fabric Strips
Next, it’s time to cut your fabric strips. For this project, using both 1.5-inch and 2-inch strips will create a beautiful layered effect.
- Start by cutting off the selvage edges from your fabric to ensure clean edges.
- Cut two strips of each size from your fabric choices, making sure to keep the cuts straight.
- Set aside any leftover fabric for future projects—it’s perfect for smaller items like face masks!
After cutting, you should have a variety of strips ready to be sewn onto your batting. This variety will add interest and depth to your table runner.
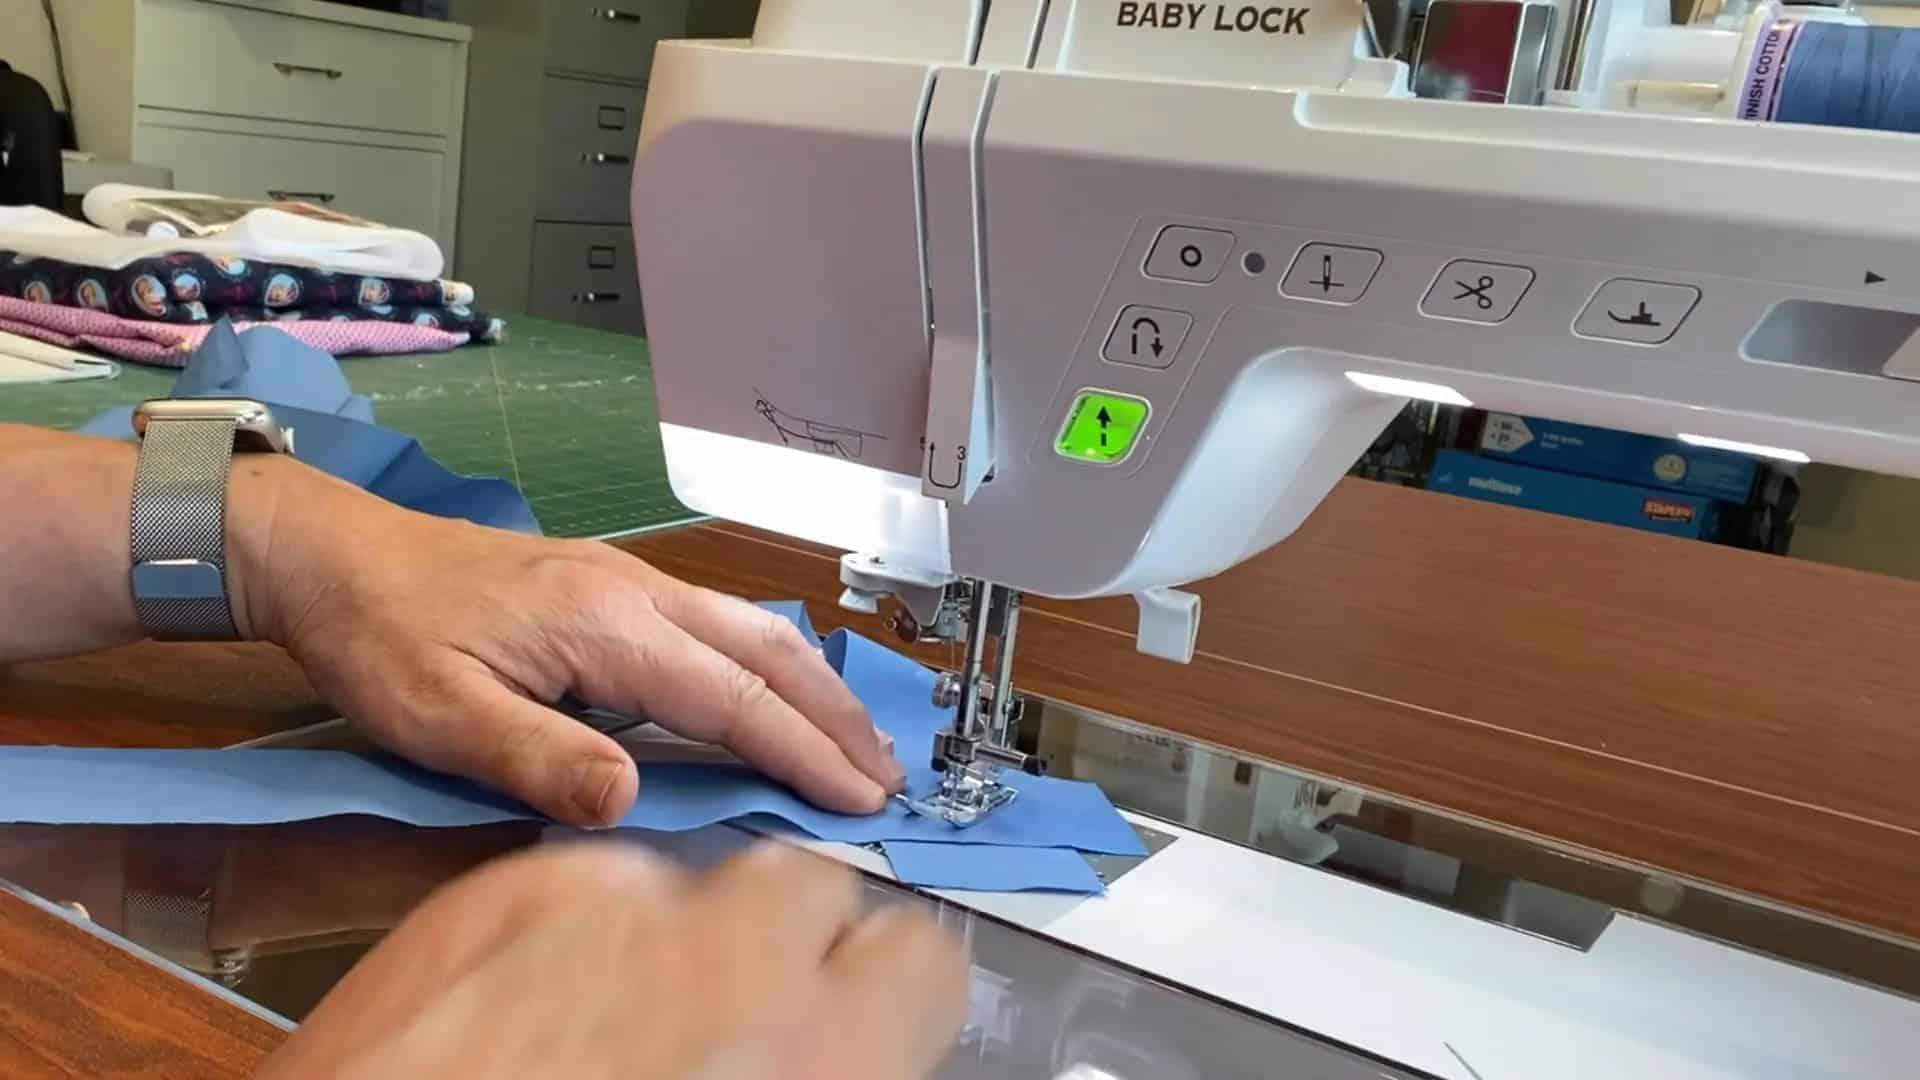
Creating the Quilt-as-You-Go Design
To begin assembling your quilt-as-you-go design, fold your backing and batting in half to find the center. Create a strong crease to serve as a guide for placing your fabric strips.
- Open it back up with the fleece side facing up.
- Start attaching your fabric strips by pinning them along the center crease, alternating between the 1.5-inch and 2-inch strips.
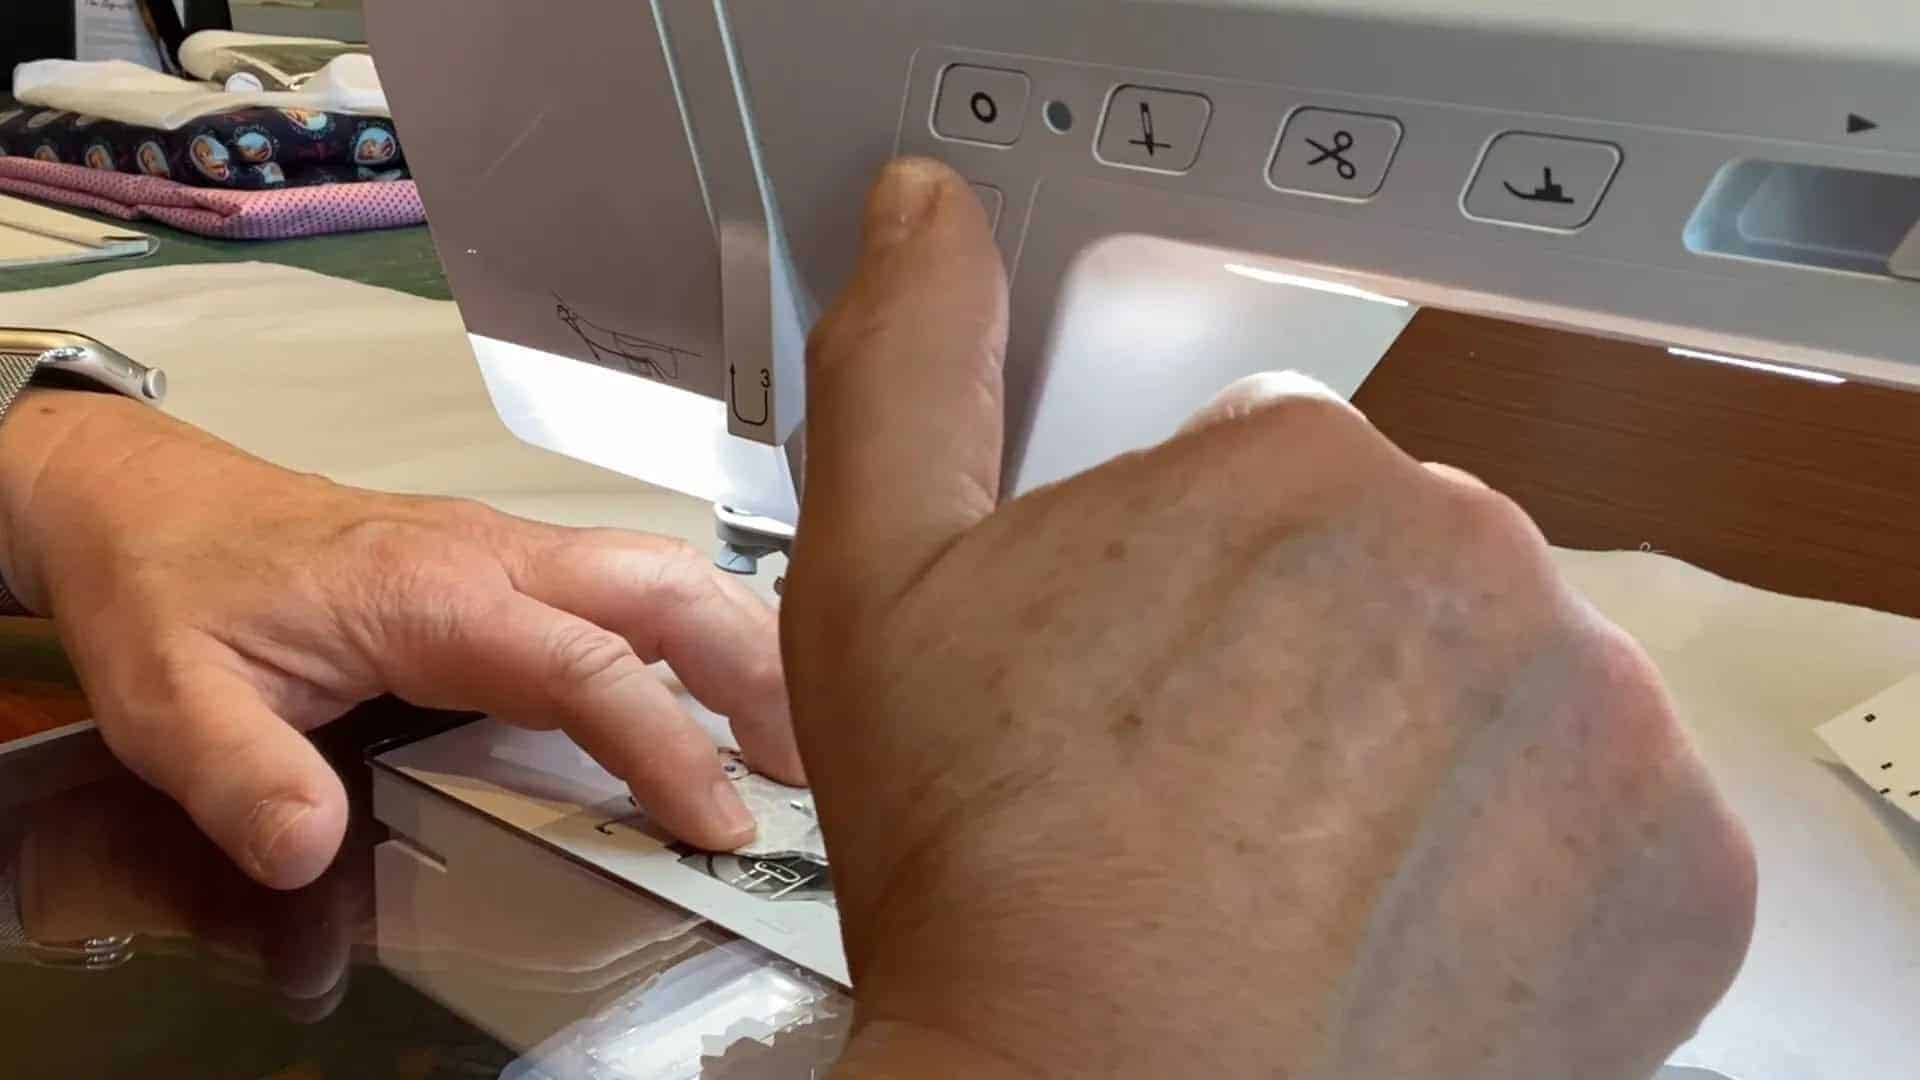
- Stitch a quarter-inch seam along the edge of each strip, ensuring to backstitch for stability.
Press each strip open after sewing to ensure a flat finish, which is crucial for keeping everything square as you continue adding strips.
Finishing the Quilt Top
As you work your way down the runner, continue to alternate between the different strip sizes. This technique not only adds visual interest but also showcases your fabric choices beautifully.
- Once you reach the end of your runner, trim any excess fabric to ensure a clean edge.
- Square up the edges if necessary, using a ruler to ensure everything is even.
- Flip the runner over to trim any raw edges that are sticking out, creating a polished look.
At this stage, your quilt top should start to take shape and look fabulous!
Preparing for Binding
Now that your quilt top is complete, it’s time to prepare for binding. Selecting the right binding fabric is key; choose a color that complements your quilt without overwhelming it.
- For this project, a solid color binding will provide a resting point for the eye amidst the busy patterns.
- Cut your binding strips to a width of 2 inches for a neat finish.
- Join the strips together to create a continuous length that will fit around your table runner.
With your binding prepared, you are ready to move on to the final steps of attaching it to your quilted project.
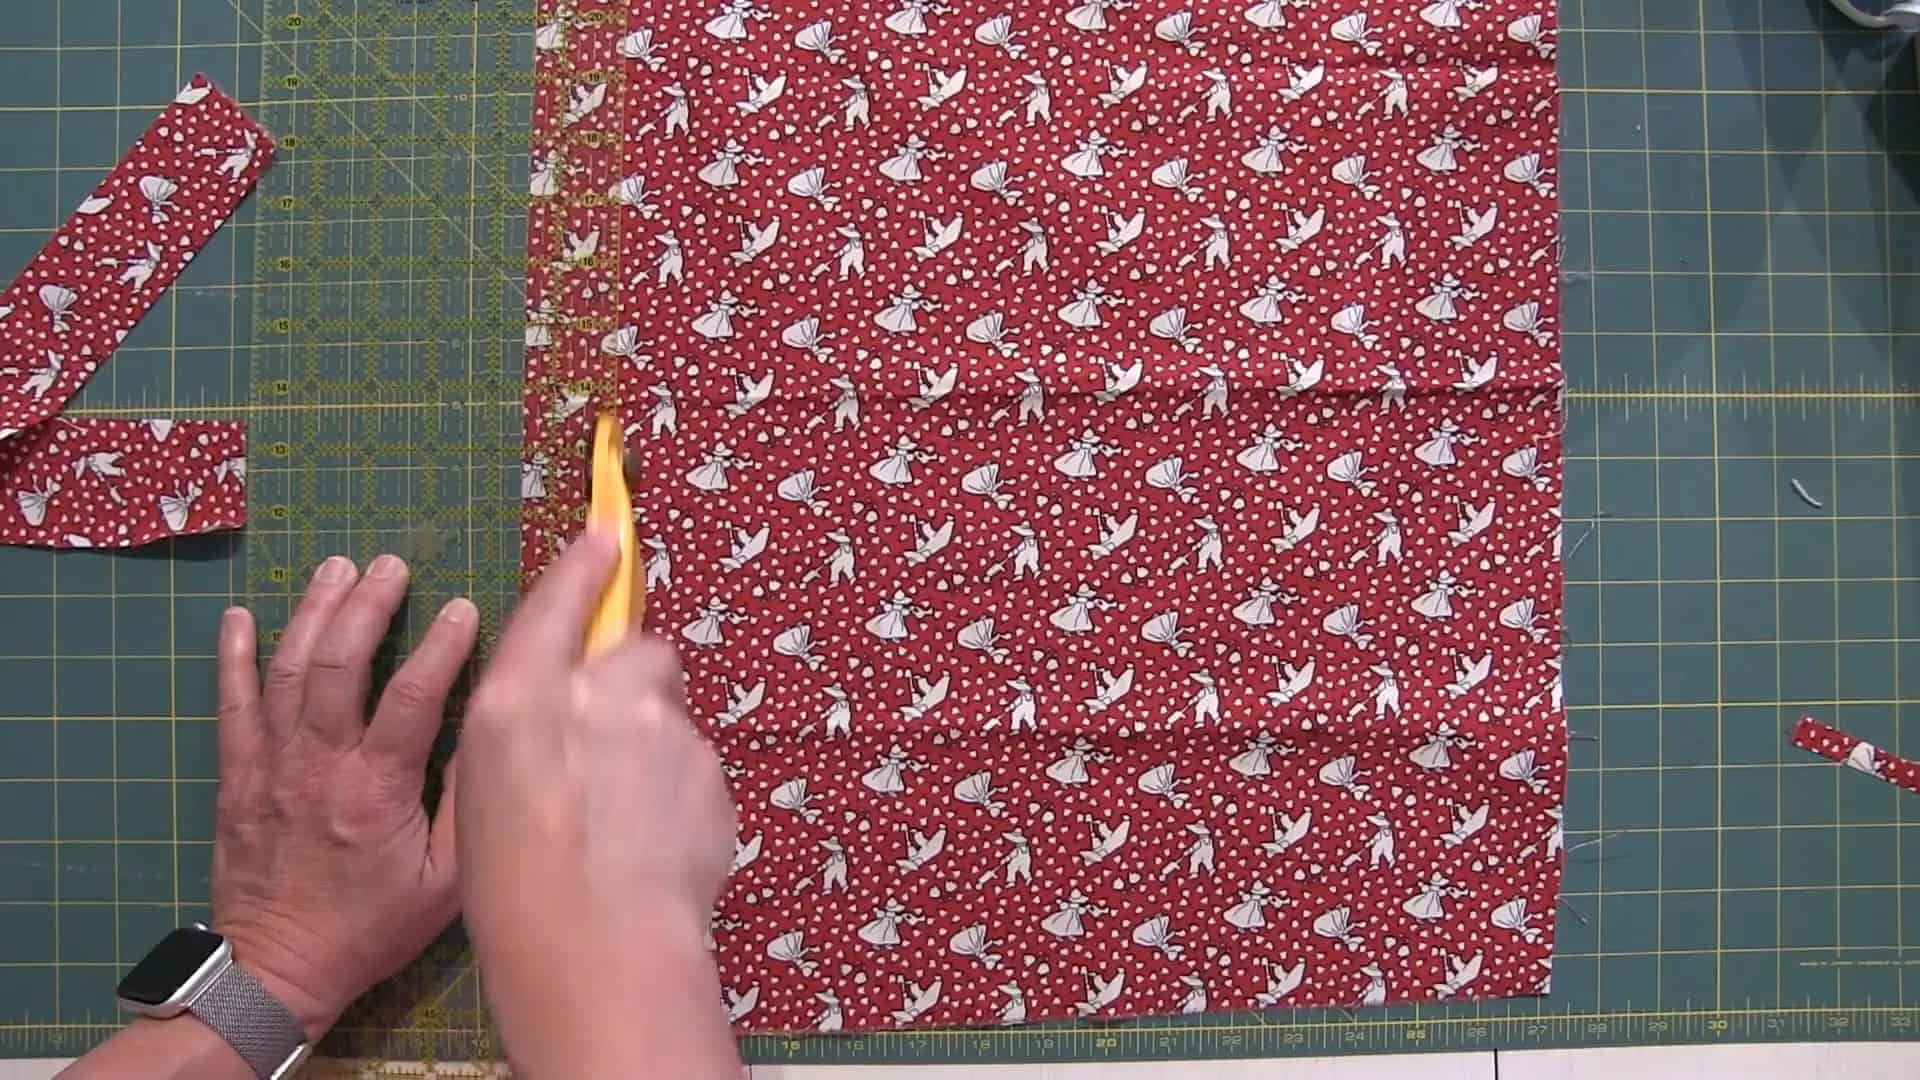
Cutting Binding Strips
To create the perfect binding for your quilt, start by cutting strips from your chosen fabric. For this project, we will use 2-inch wide strips. Begin by folding your fabric in half to ensure an even cut.
- Using a rotary cutter, align your fabric at the top and make a clean cut.
- Flip the fabric and cut two more strips of the same width, totaling three strips for your binding.
- Ensure that your cuts are straight to avoid any uneven edges in your binding.
With your strips cut, you are ready to join them together for a continuous length of binding.
Joining Binding Strips
Joining your binding strips correctly is essential for a polished finish. Instead of sewing them end to end, we will join them at right angles. This method helps maintain the integrity of the binding.
- Place two strips of fabric right sides together, aligning them at a 90-degree angle.
- Draw a line from the top left corner to the bottom right corner.
- Pin the strips together to prevent shifting while sewing.
- Sew along the drawn line, then trim excess fabric to a quarter-inch seam allowance.
- Press the seam open to reduce bulk.
Repeat this process until all your binding strips are joined, creating a long continuous strip.
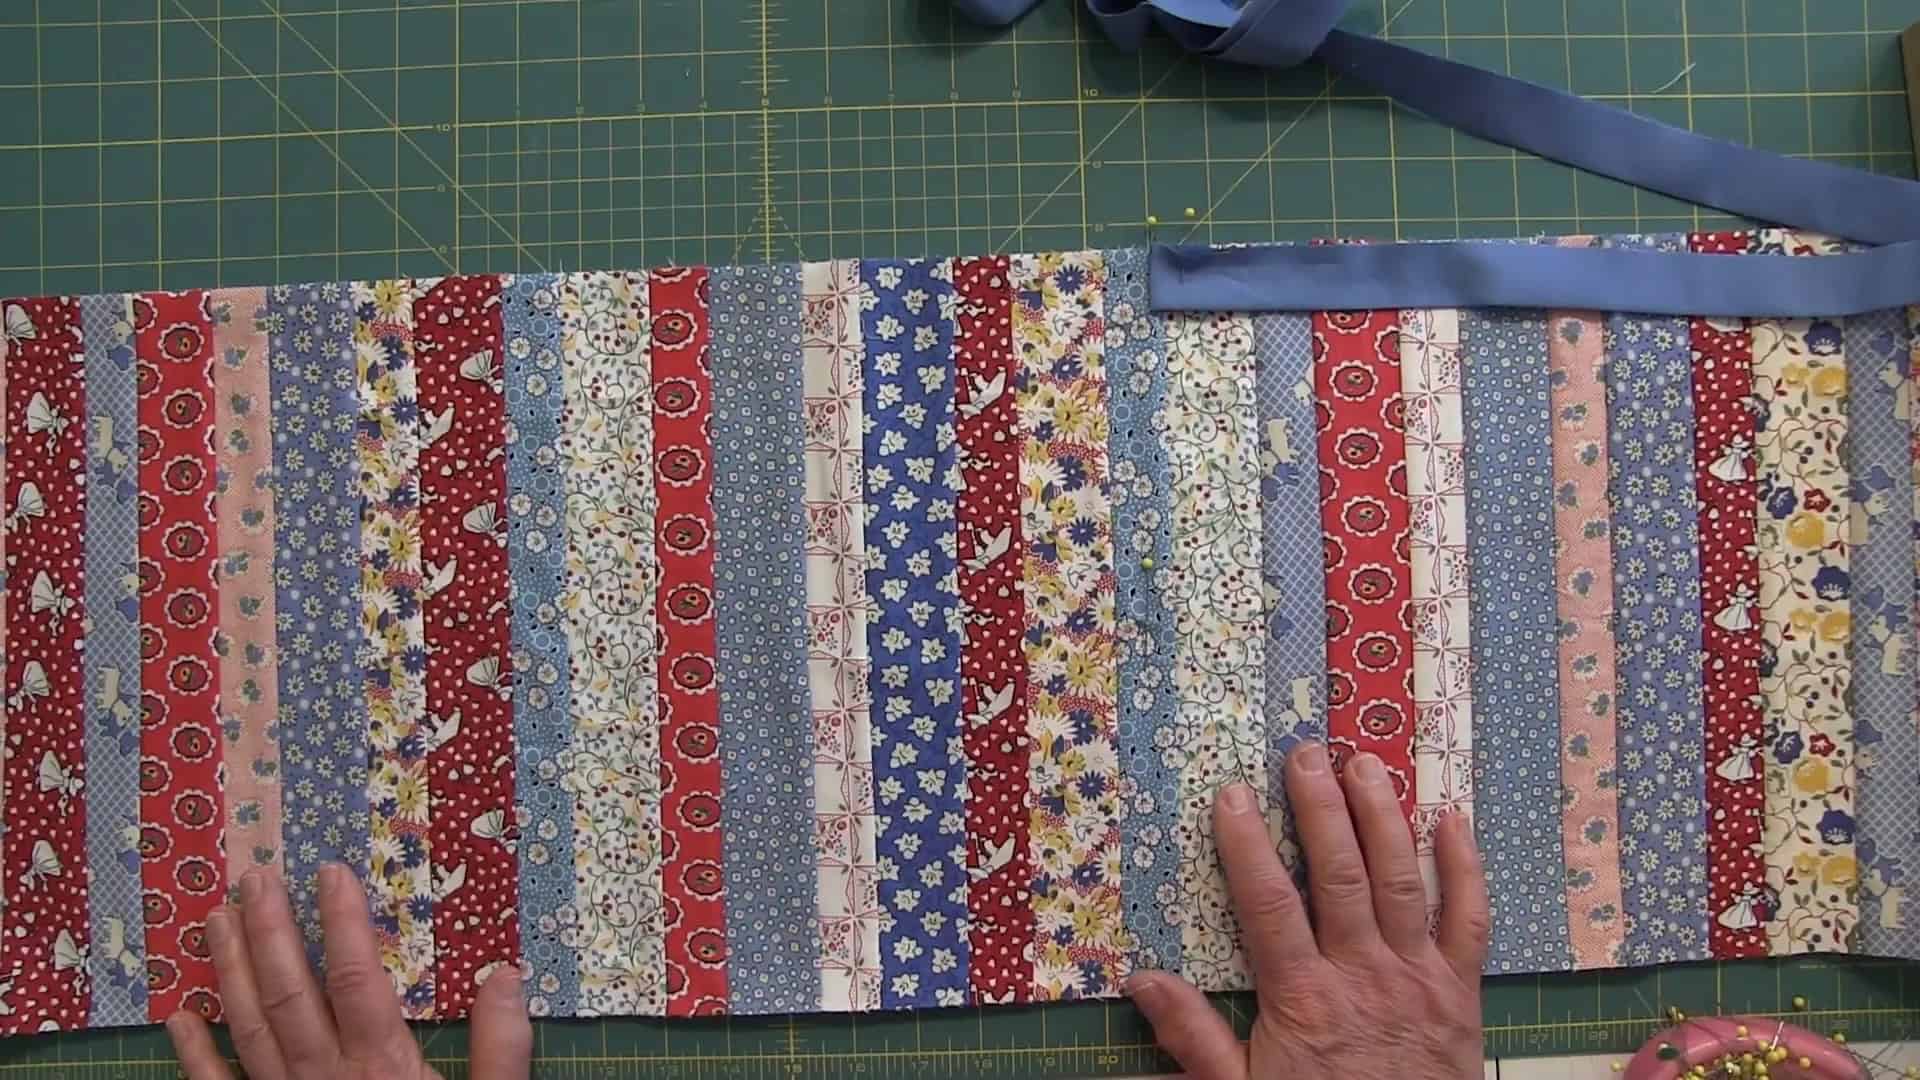
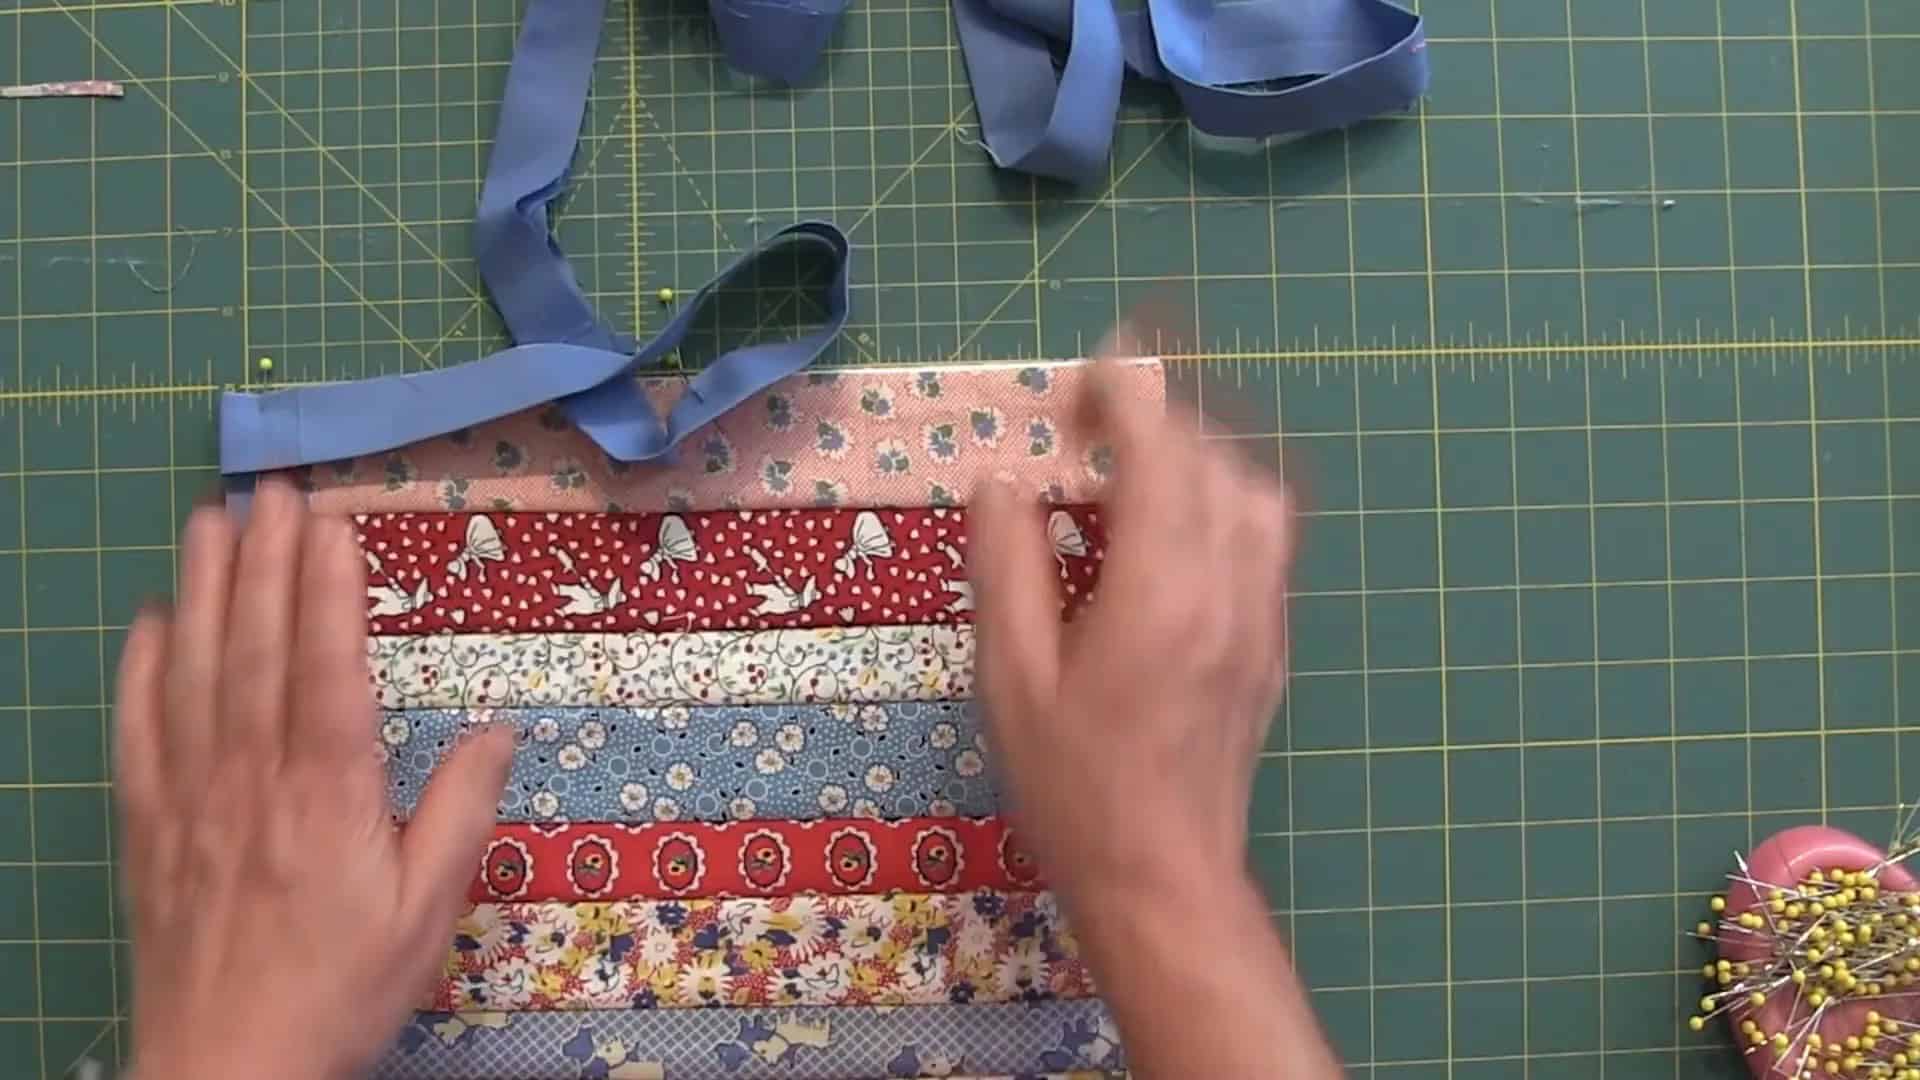
Attaching the Binding
Now that your binding strips are prepared, it’s time to attach the binding to your quilt. To do this, we will start at the center of one long edge of the runner.
- Find the center of your quilt runner and mark it with a pin.
- Align the raw edges of your binding with the edge of the quilt, ensuring that the folded edge of the binding is facing inward.
- Begin pinning the binding to the quilt, securing it in place.
- Sew the binding onto the quilt with a quarter-inch seam allowance, backstitching at the start and end for durability.
This method will ensure that your binding remains straight and secure as you sew around your quilt.
Sewing the Corners
When you reach the corners of your quilt, it’s important to sew them correctly to achieve a professional look. Follow these steps to create perfect corners:
- As you approach a corner, stop sewing about a quarter-inch away from the edge.
- Lift the presser foot and pivot the quilt, folding the binding at a 45-degree angle towards the edge of the quilt.
- Pin the folded edge in place and continue sewing along the next edge.
- Repeat this process for all corners, ensuring that the binding lays flat and smooth.
With careful handling, your corners will look sharp and neatly finished.
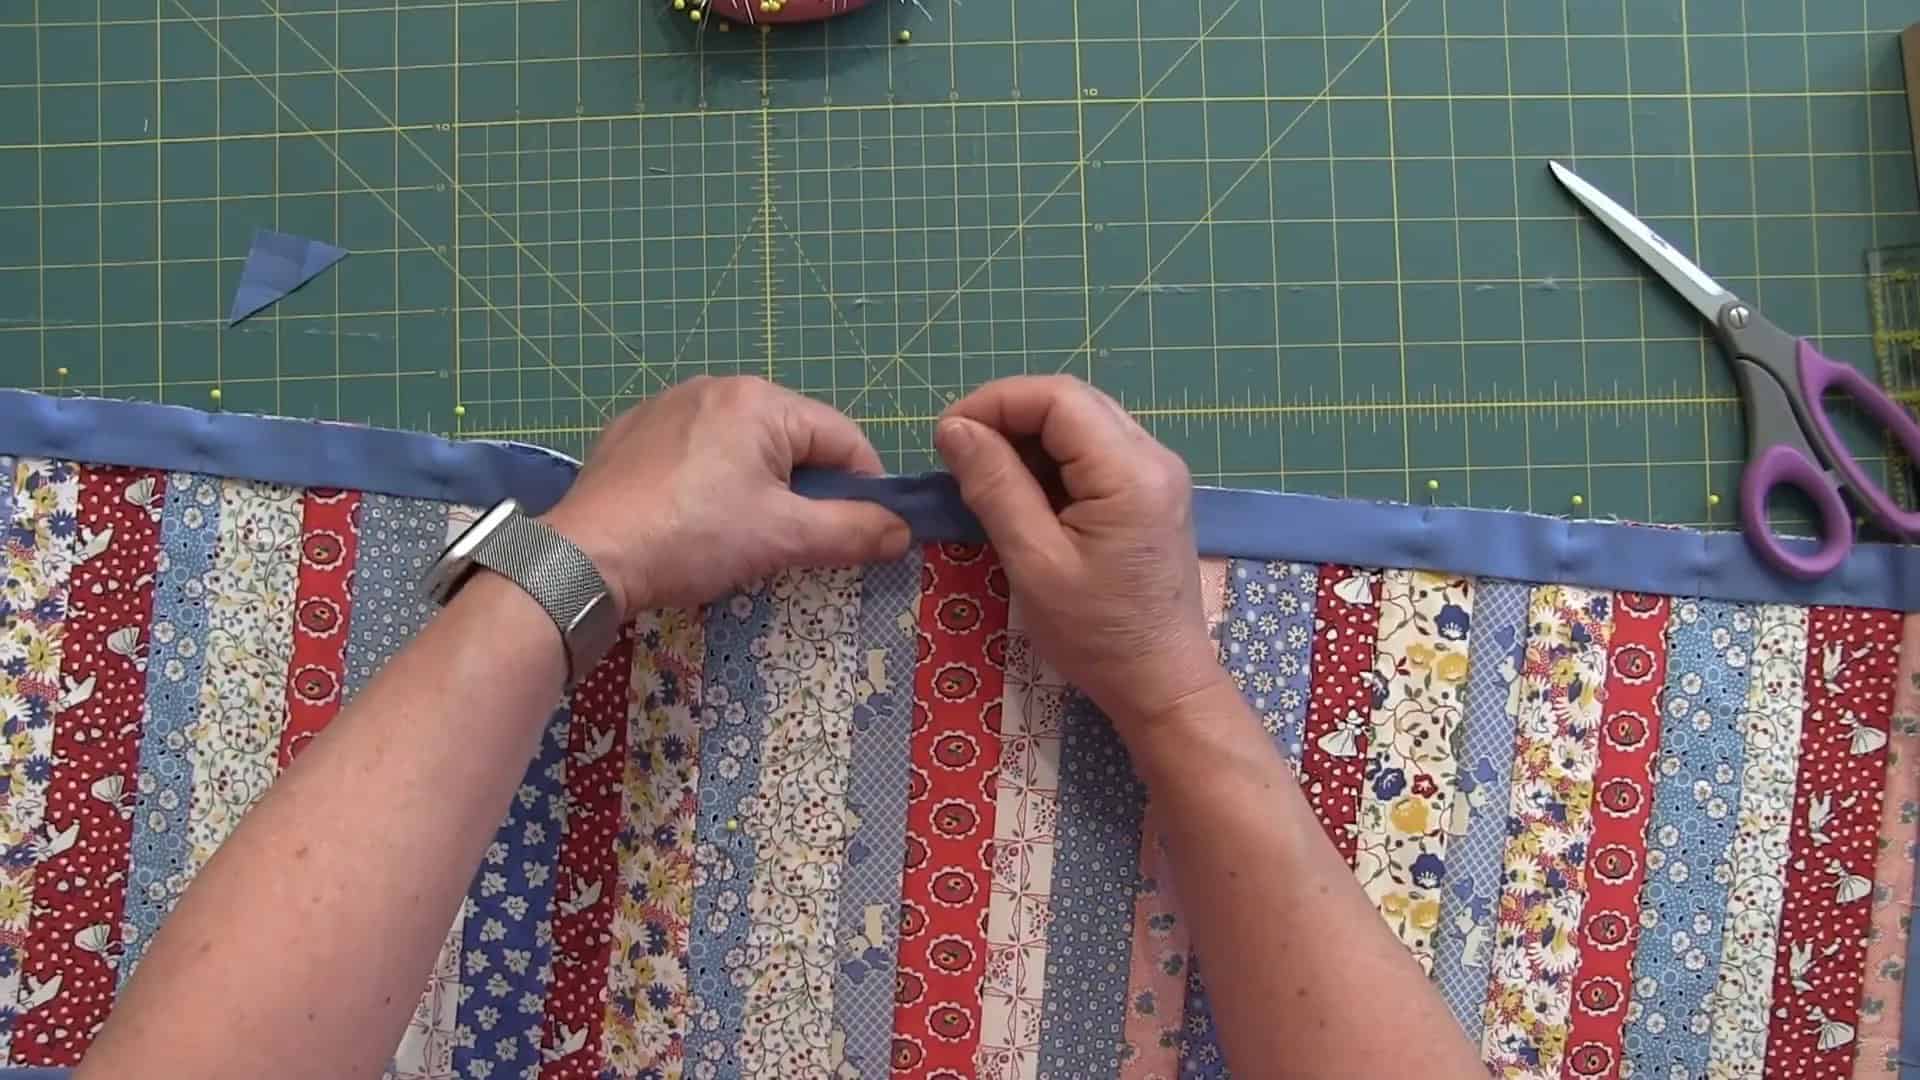
Finalizing the Binding
After sewing all around the quilt, it’s time to finalize the binding. This involves ensuring that everything is secure and looks neat.
- Trim any excess binding fabric at the ends, leaving about an inch for overlap.
- Fold the ends of the binding under to create a clean edge.
- Pin the ends in place, ensuring they align with the quilt edges.
- Stitch down the ends of the binding to secure them.
This step is crucial for achieving a polished look on the edges of your quilt.
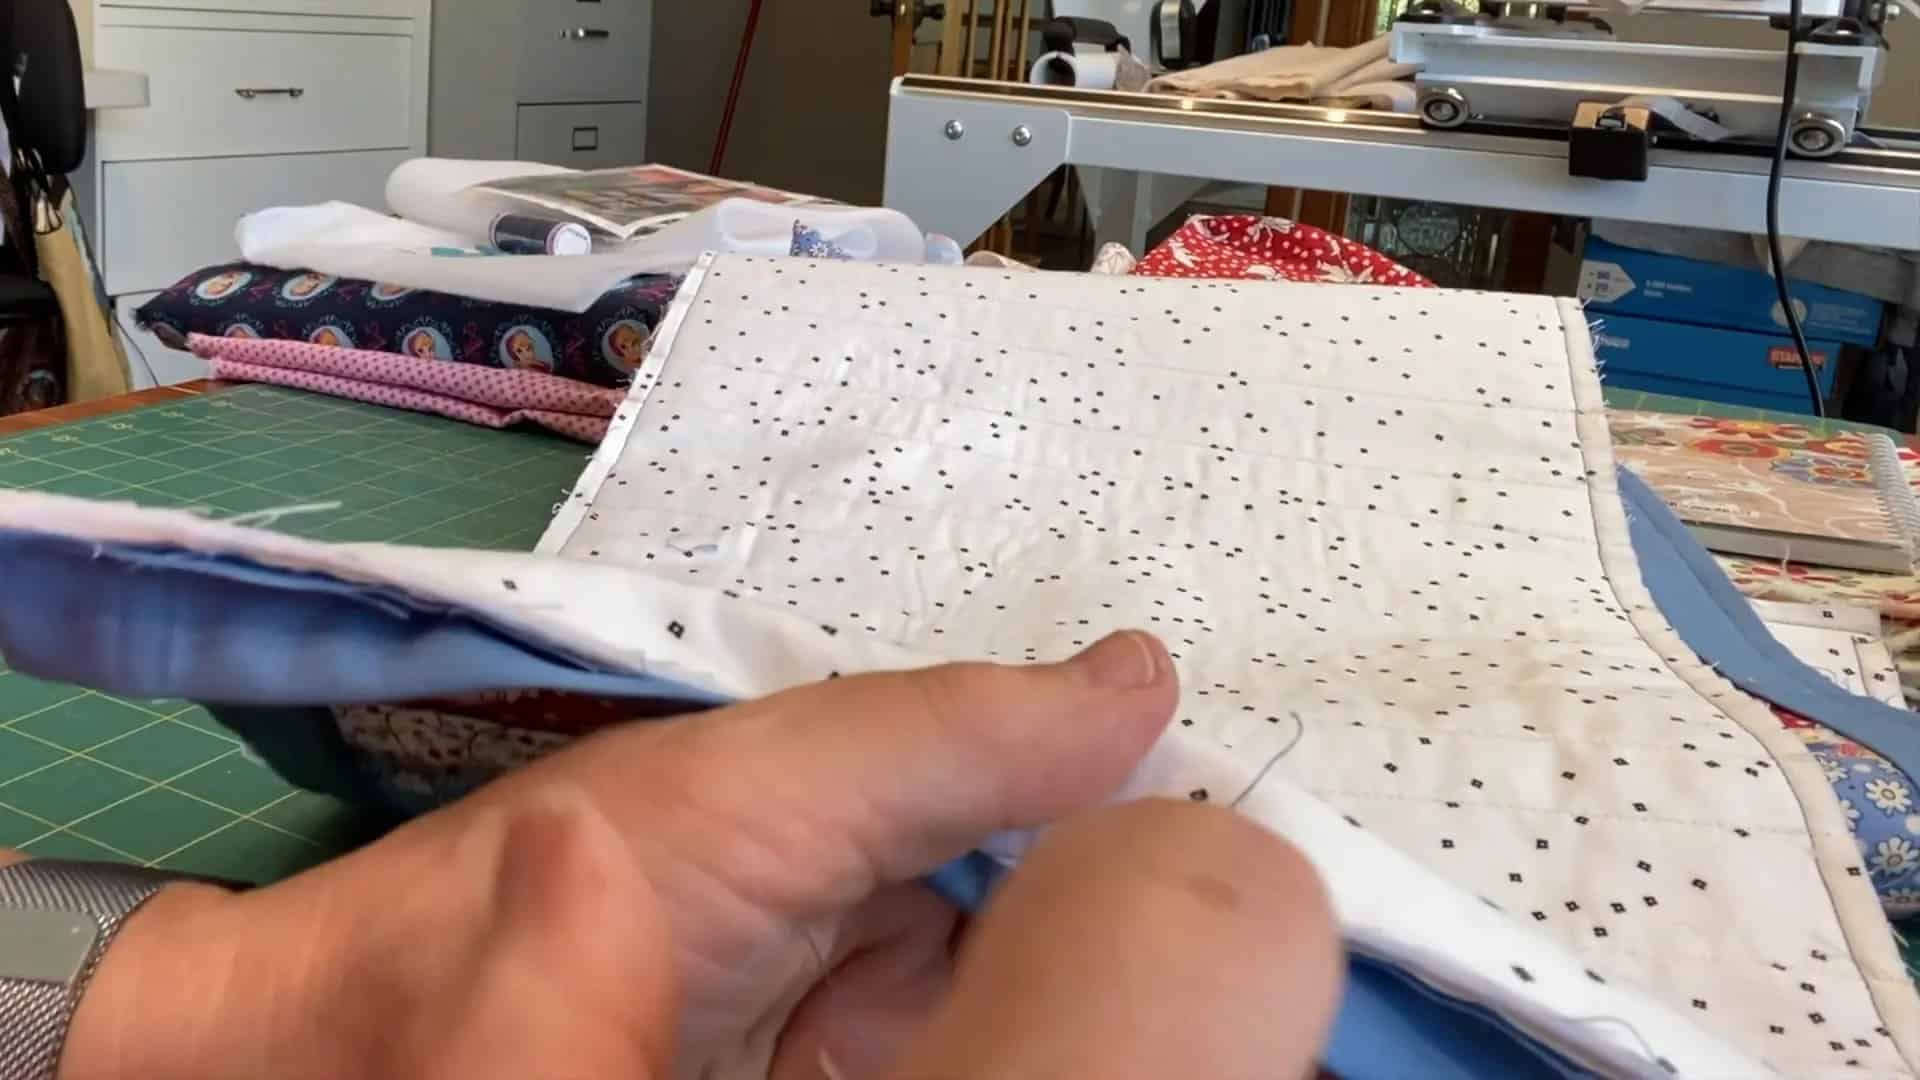
Hand Stitching the Binding
The final touch is hand stitching the binding to the back of the quilt. This technique provides a clean finish and is often used for a more professional appearance.
- Fold the binding over to the back of the quilt, ensuring it covers the stitching line.
- Using a needle and thread, start stitching the binding down with small, discreet stitches.
- Work your way around the quilt, taking care to hide your stitches in the binding.
- For corners, fold the binding at a 45-degree angle and secure it with a few stitches.
Once complete, your binding will be beautifully secured, giving your quilt a finished look.
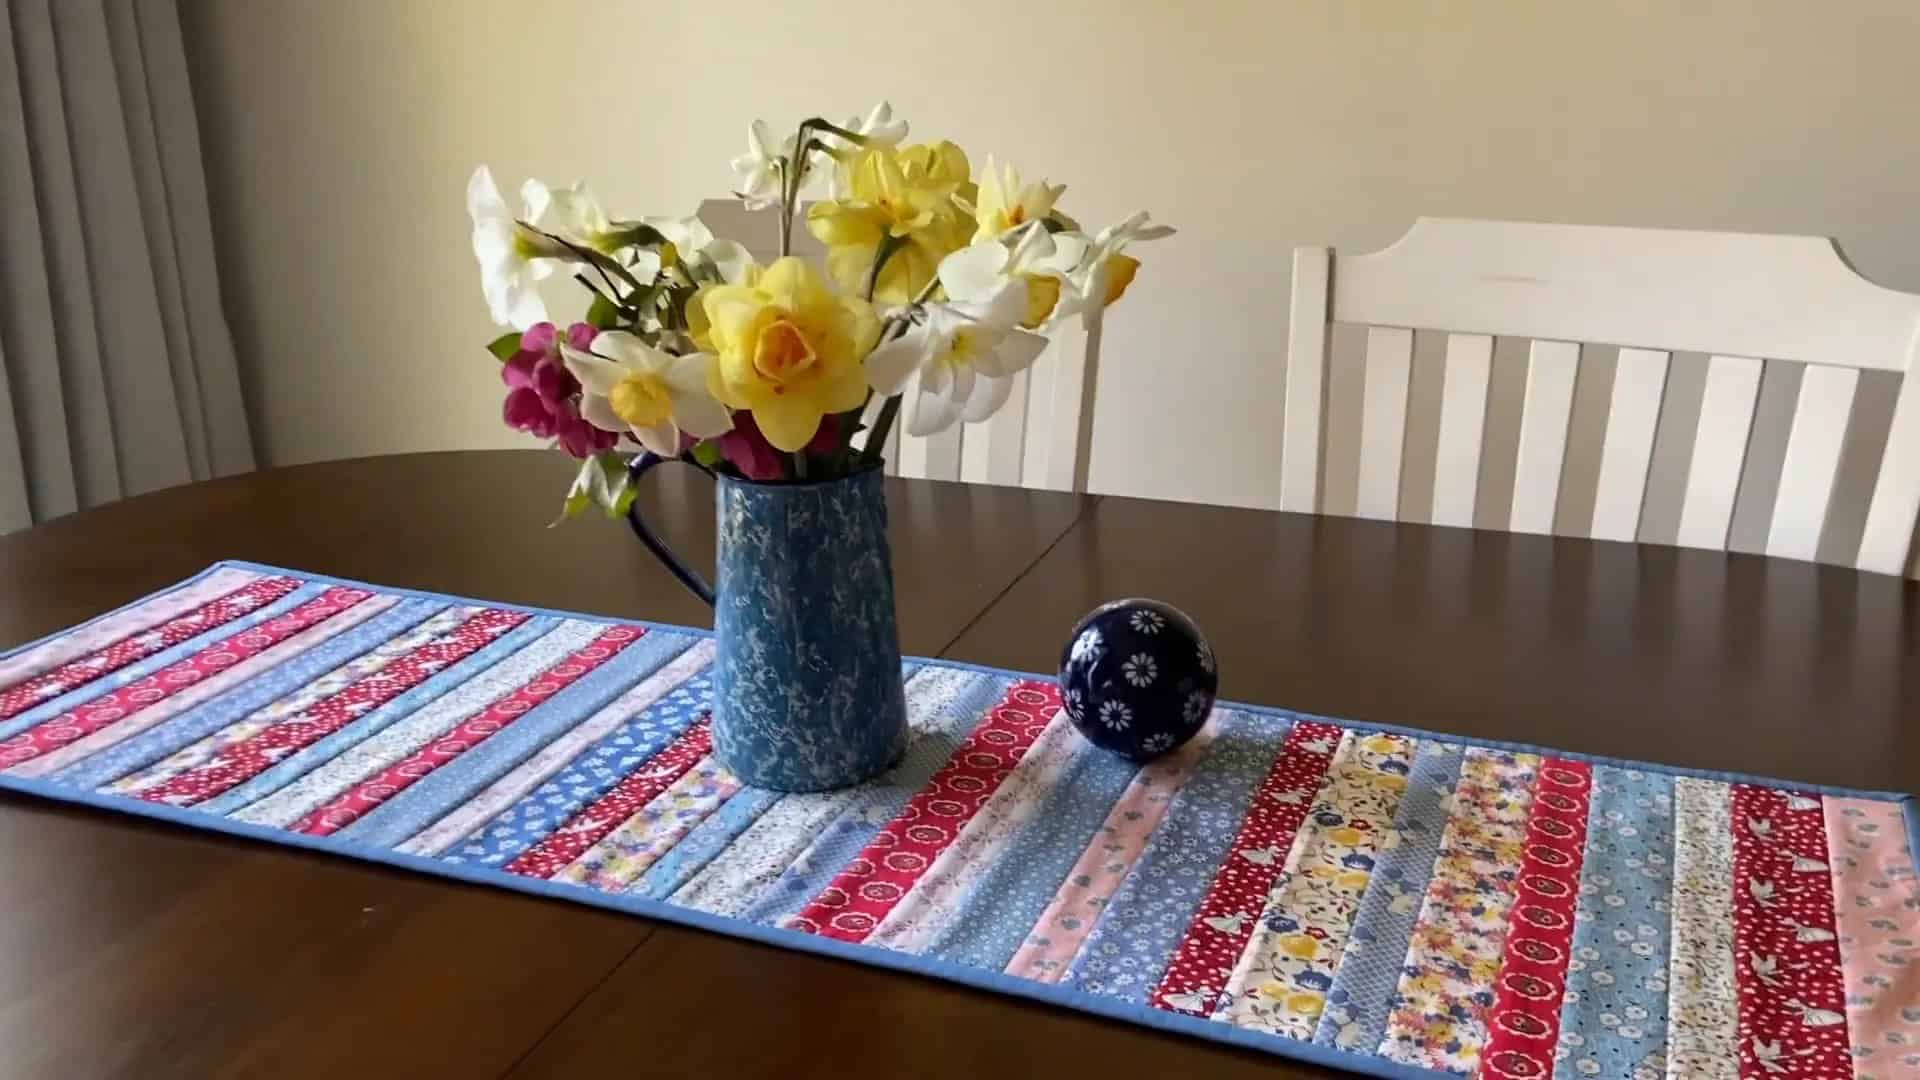
Enjoy the Completed Runner
Congratulations! You have successfully completed your quilt binding tutorial and created a stunning quilt-as-you-go table runner. This project not only beautifies your space but also showcases your quilting skills.
Consider adding variations to your design by experimenting with different fabrics, widths, or patterns. The possibilities are endless!
ABQ Sewing Studio, for all your sewing needs
Supplies
From sewing machines to fabric and notions. Visit us in person or shop online.
Classes
Enjoy in-person guidance in our sewing classes. Choose from garment making, home decor, quilting, or bag making classes. View our class calendar.
Take a virtual class at Make Bags With Brenda.
Leave a Reply