A Tutorial Using The Baby Lock Destiny Sewing Machine
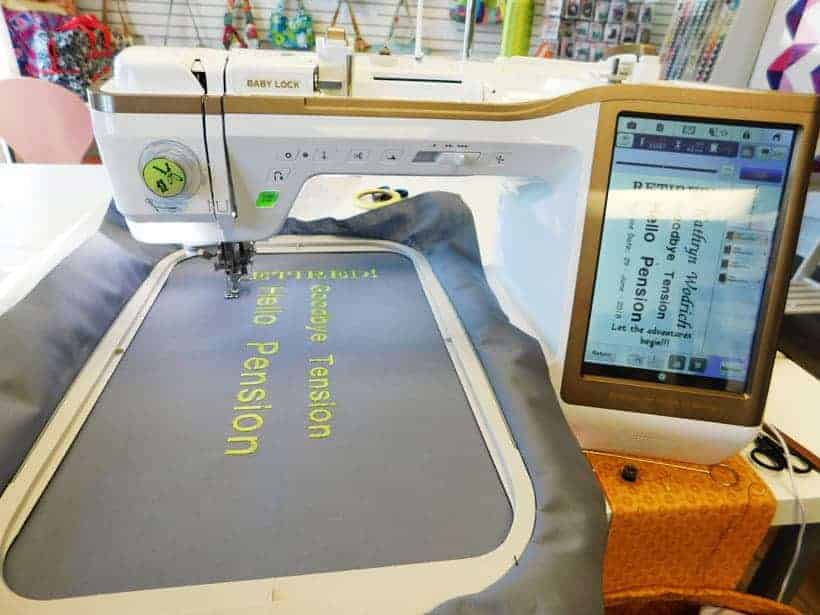
Lots of us have sewing machines with embroidery capabilities but often we don’t use them as much as we might. Here’s a tutorial on making a single color custom pillow for a special occasion using several different fonts and changing the direction of the wording to create a one-of-a-kind gift.
I’m no pro at this so I’ll go through the process I used step by step assuming you and I are at the same level of expertise. Then I’ll tell you what I learned from my mistakes.
I’m using a Baby Lock Destiny to make my custom embroidered pillow.
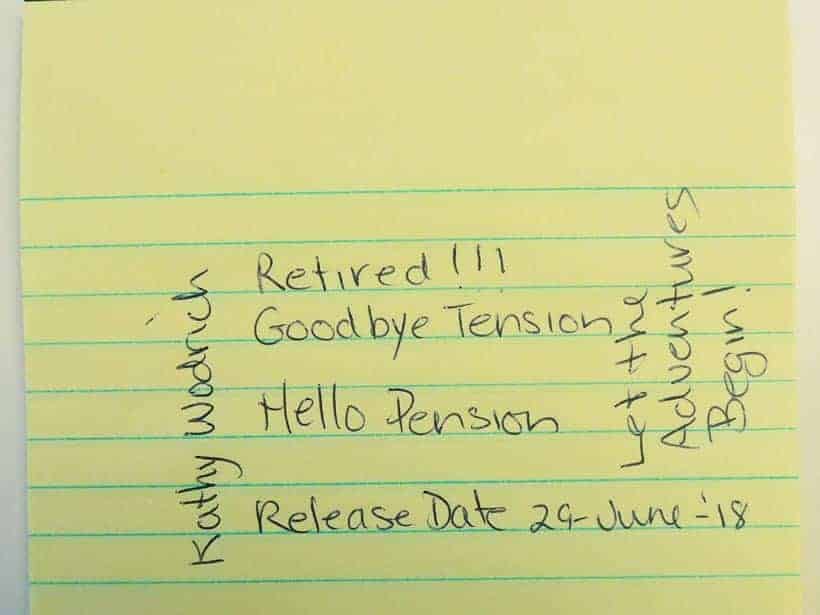
The custom cushion I’m making is for my sister-in-law Kathy. I am going to incorporate her name, retirement date and a couple of catchy sayings. I need to have an idea of how this layout is going to look so I draw it out on paper first.
Put your embroidery carriage, ‘W’ foot and embroidery needle on at this point or later – your choice. If you do it later you are going to have to turn off the machine beforehand. Follow the instructions in your manual for this step.
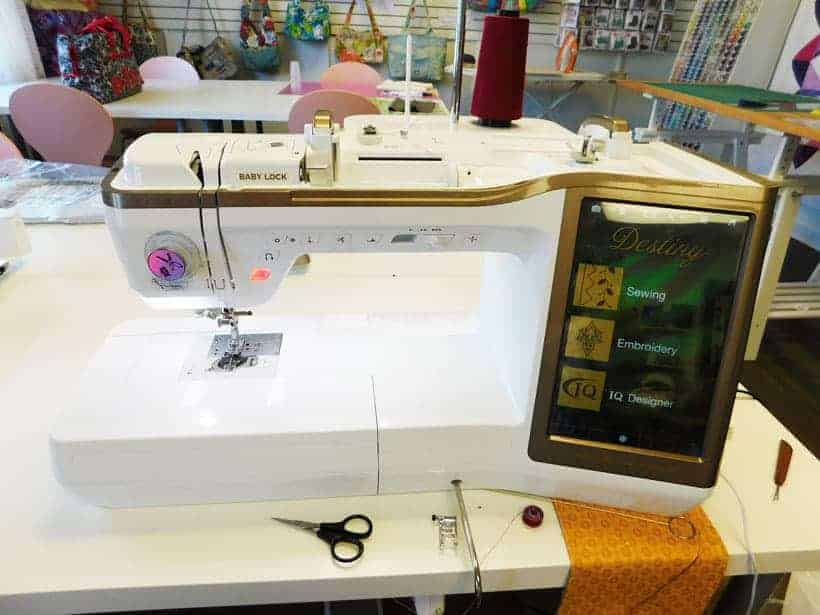
On the home screen, hit the embroidery icon.
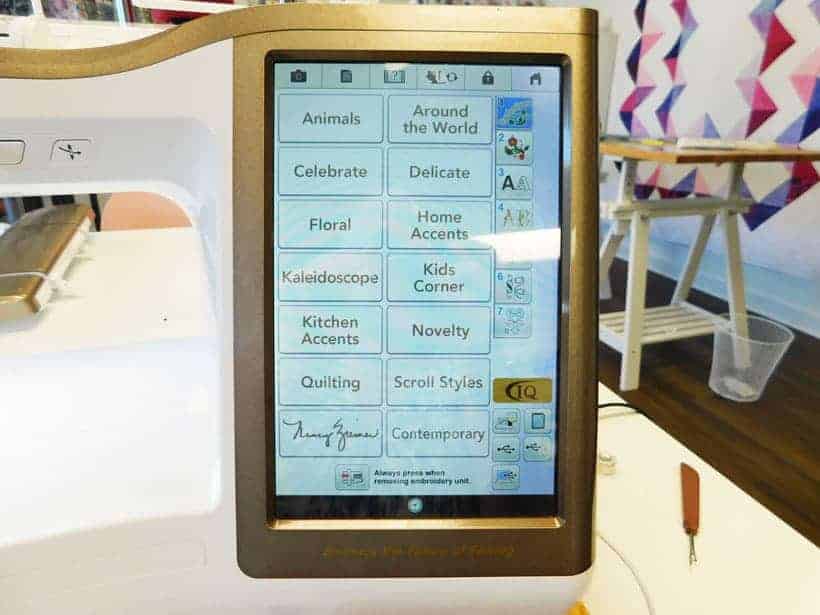
Press the unadorned fonts button (3).
Select a font for the first line. You’ll want to use several fonts overall to make your cushion more interesting.
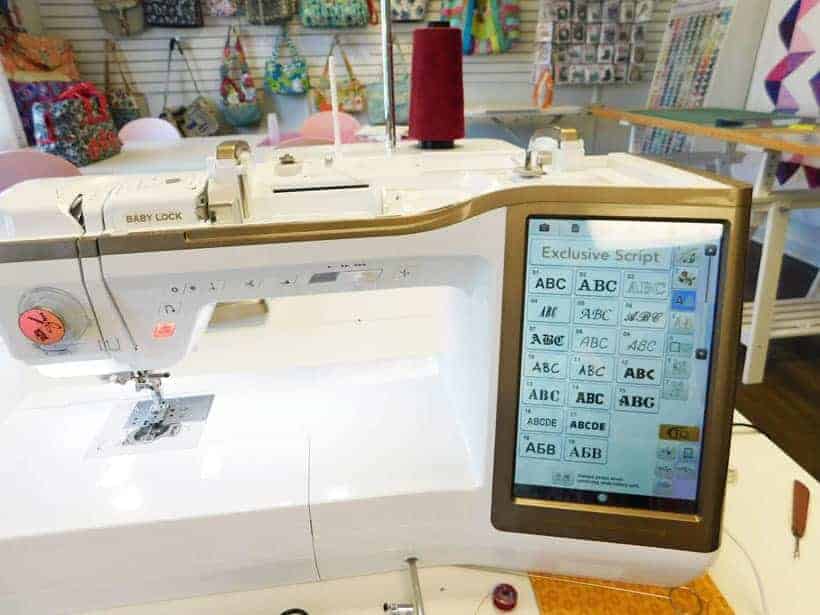
I started with the word ‘Retired’. You have a choice of upper and lower case letters, numbers and punctuation for your typing. Once done check the spelling and hit the ‘Set’ button. In case your line of lettering is too long, use the LMS button (next to the Return button) to resize the letters or do it in the Edit Screen.
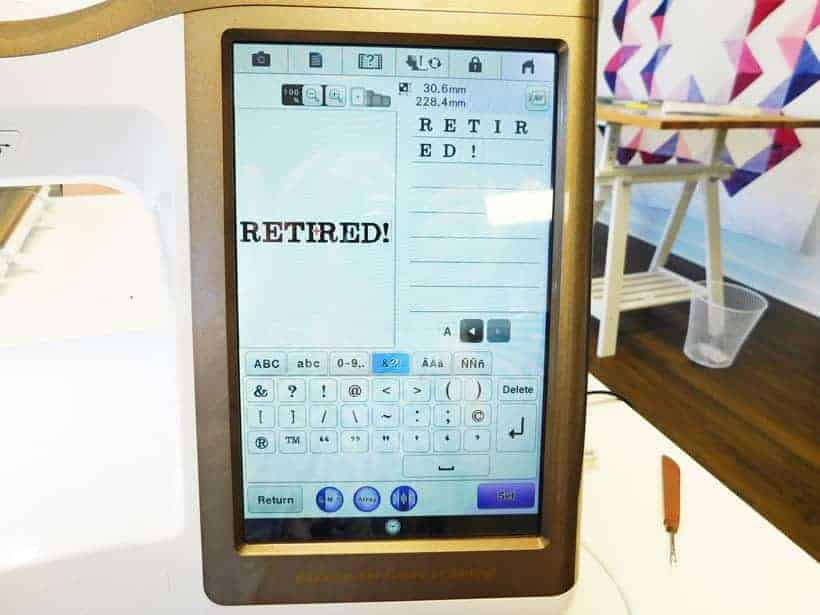
A new layout screen comes up with the word “RETIRED!” shown. Here you can resize, move, rotate, change the font type and more by pressing the Edit button.
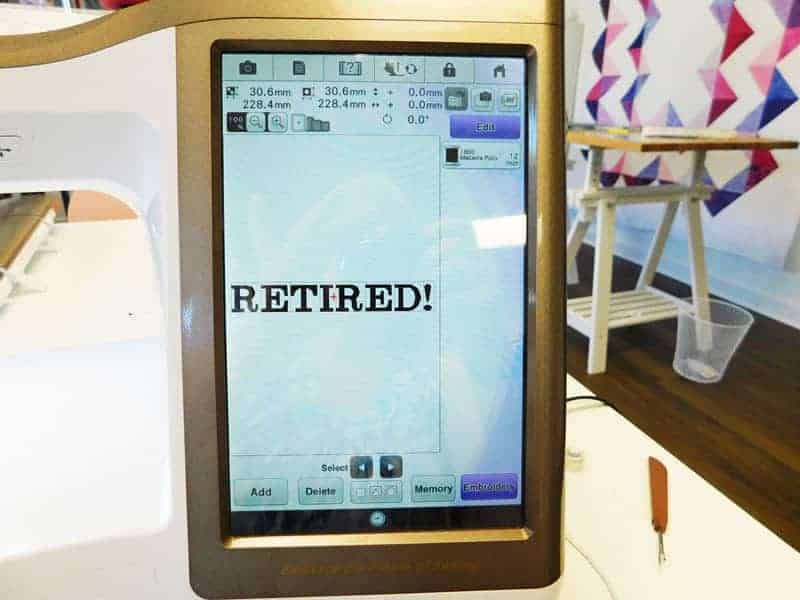
To move the word to the top I pressed Edit, Move. Notice how when you click on the word “RETIRED” it’s selected in a red box. You must select each set area of the embroidery before you can edit any words on this screen. To move, use the arrow box and then press Okay.
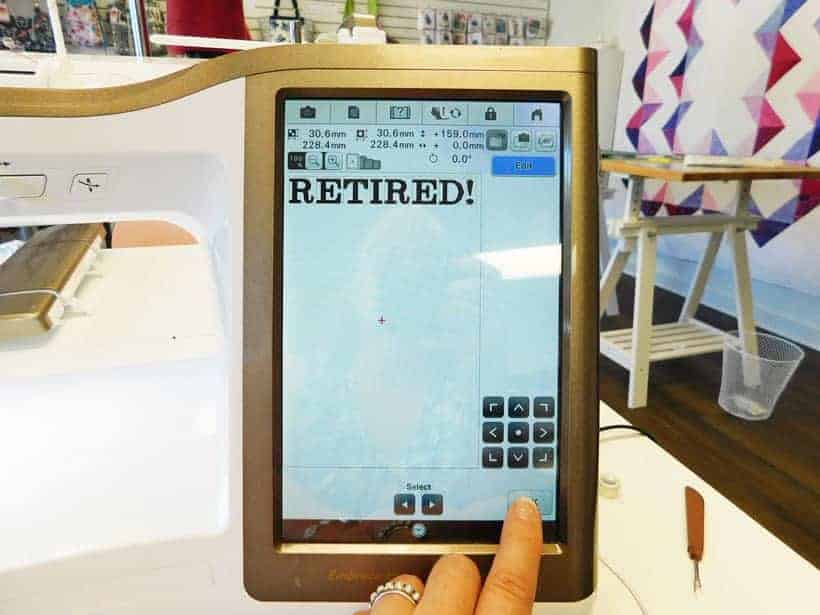
All this can be changed later when you arrange and resize the other words. Press Add when you feel satisfied.
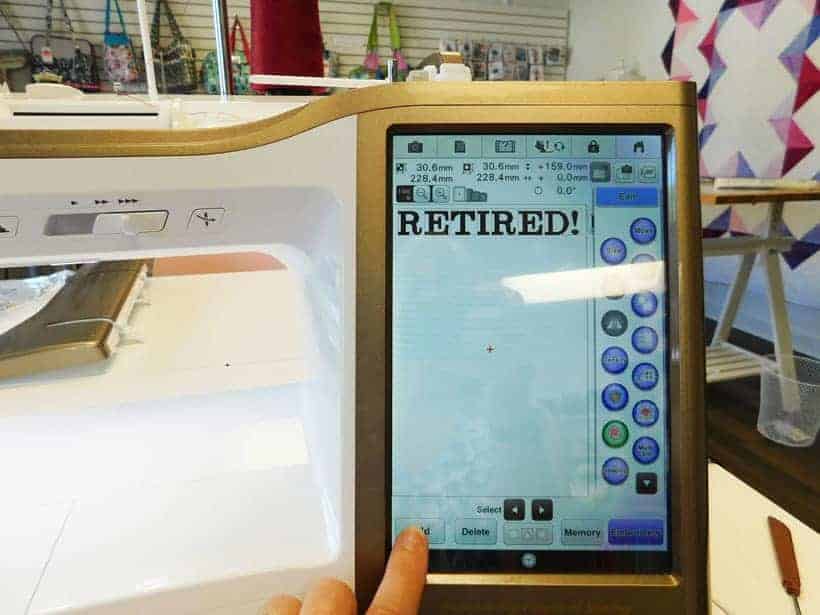
Go back to the font screen. Pick out your font and type the next line then press Set. The font sometimes shows on top of what you’ve already placed. Just edit to move it.
I’d suggest adding one line at a time (i.e. one line for ‘Goodbye Tension’, another for ‘Hello Pension’) I found that the edit screen does not allow resizing two lines at the same time.
Continue to edit by, resizing, rotating, changing the fonts and moving where necessary. You’ll need to play around with your design to get it fitting just right. Note the size of the stitched out embroidery project at the top of the screen as your resize. Remember, the embroidery has got to fit your project!
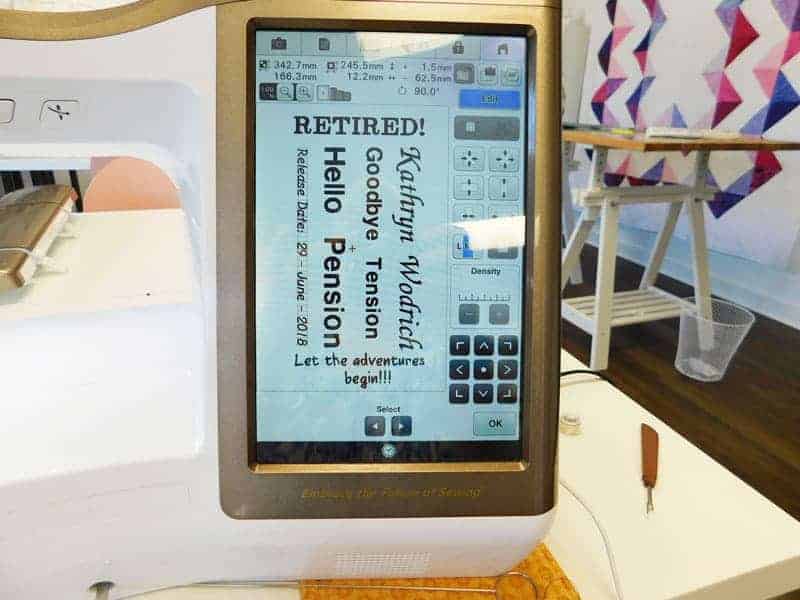
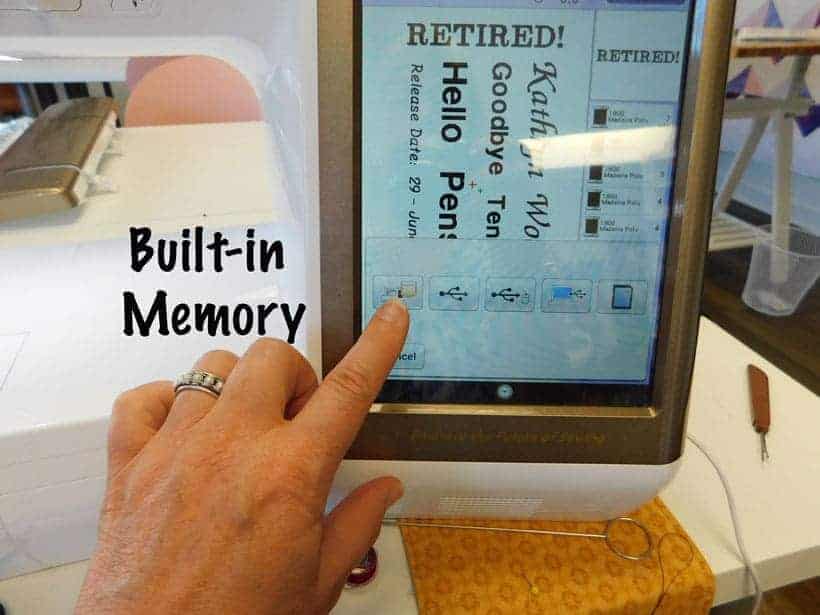
When you have all of your lettering placed and are satisfied press OK, Embroidery. Then press Memory. I added the design to the built-in memory on the machine. If I turned the machine off and wanted to retrieve my project I’d go back to the embroidery screen and on the lower right I’d see the memory function buttons. Pressing the same button I used to save the design will bring up my saved work.
You could also save the embroidery design to USB by plugging in a memory stick and selecting the appropriate memory button. Or plug in a USB cable connector into the port on the side of the machine to connect to your computer to save.
Prepare your fabric with stabilizer and insert the fabric into the correct sized embroidery frame it as outlined in your owner’s manual. The frame size will show on your screen. Attach the frame to the embroidery bed. Make sure the fabric in the frame is very taut.
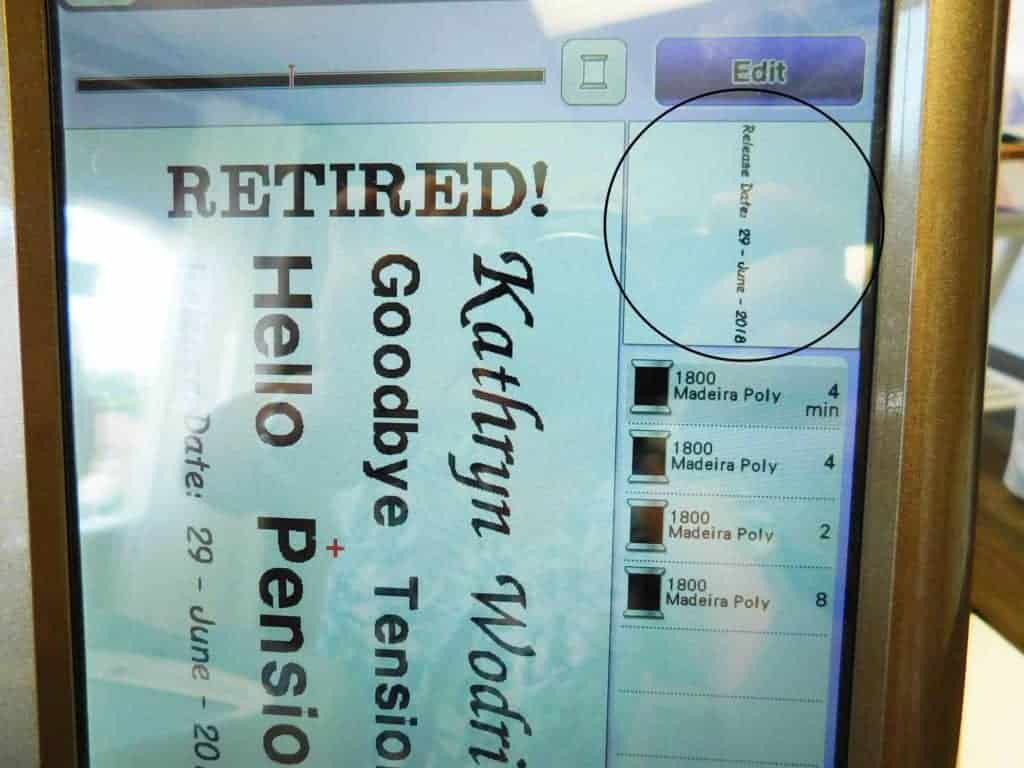
Put the foot down and press the Start/Stop button on the sewing machine. Each line of embroidery is displayed in a window shown on the right side of the screen before it stitches. The machine will stop stitching between each line and you will need to put the foot down again and press the Start/Stop button to start on the next line.
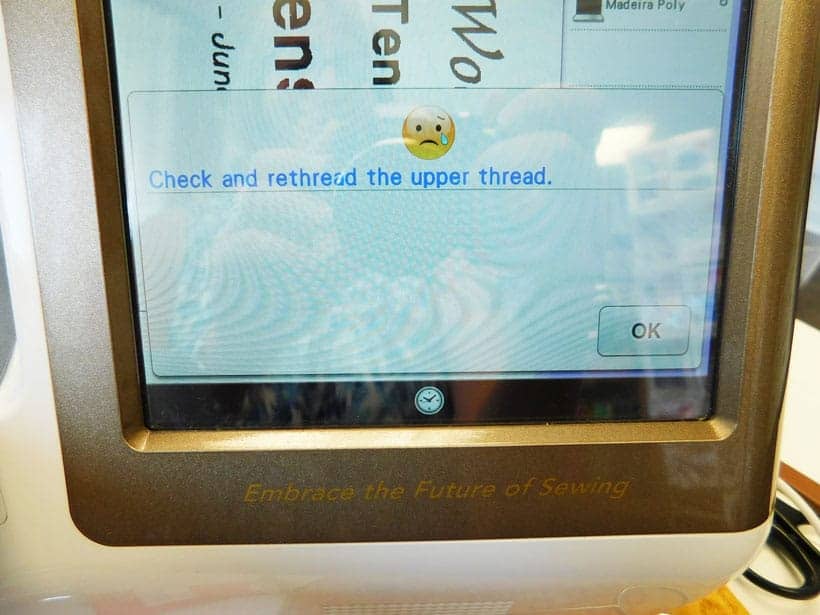
Top Thread Needs Re-threading
Should the top thread break you will get a message on the machine to re-thread. The machine will pick up where it left off when you put the presser foot down and press the Start/Stop button.
Breaking Bobbin Thread or Bobbin Change
Your machine may stop when the bobbin is low. Follow the screen instructions to re-thread and resume stitching.
Should you want to change your bobbin prior to an alert or the bobbin thread breaks, snarls or runs out without warning, carefully remove the frame , re-thread or replace the bobbin and carefully replace the frame without moving the position of the moving arm on the carriage.
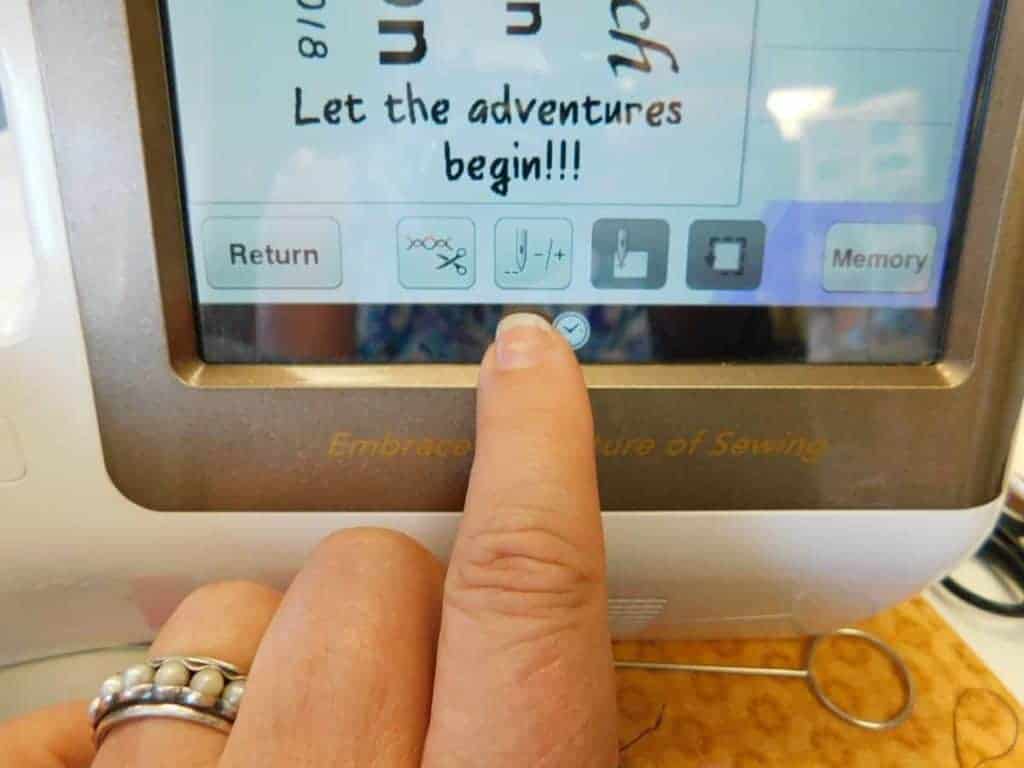
Lock the frame in place. Lower the presser foot and press Stop/Start. You can reset the machine to start stitching further back in the pattern by pressing the +- button at the bottom of the screen. For instance, you can start stitching 10 stitches back by pressing -10, press -10 twice to start stitching 20 stitches back etc. Don’t forget to rethread the upper thread after winding a new bobbin.
The 10 things I’ve learned about machine embroidery with this project:
1. If you think your bobbin might be running low, change it before you start into another line of embroidery. There’s less likelihood of trouble.
2. Stitching out small letters can be problematic. Use larger styles and/or wider fonts.
3. Use a good quality stabilizer.
4. Make sure the fabric in the frame is very tight.
5. Use embroidery thread, not just anything you have on hand.
6. Cut your fabric large enough for your frame. (You can guess what happened to me!)
7. Don’t be in a hurry.
8. Change your needle before you start into a new embroidery project. There are a lot of stitches. Naturally, use an embroidery needle.
9. I had removed the frame to replace the bobbin and pressed too hard on the carriage subsequently moving it. Fortunately, I was between lines. To correct, I closed out the project and turned off the machine. I Restarted the machine, went into the memory to retrieve the project and used the +- button to advance to where I left off. Whew, talk about a save!
10. Don’t get too stressed, you can always start again!
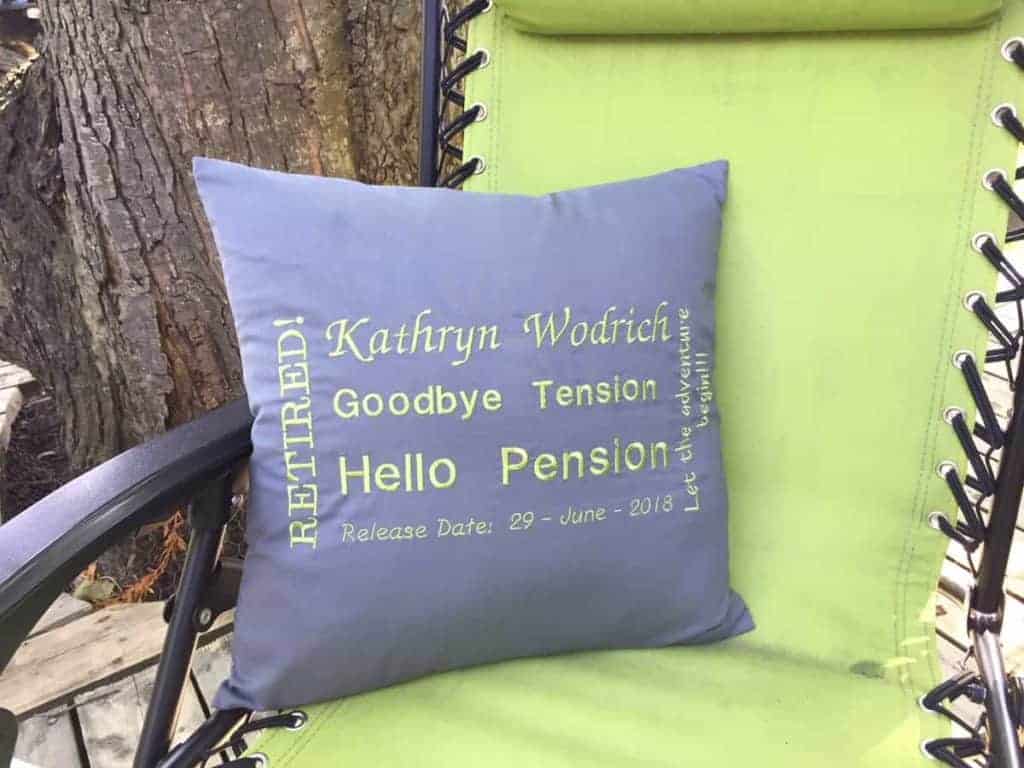
Great job, nice project and good use of Destiny 2. Keep the projects coming my way.
I’m glad you enjoyed this tutorial Ivy! Share an image if you happen to make something like this yourself.