Jelly Clip Tutorial
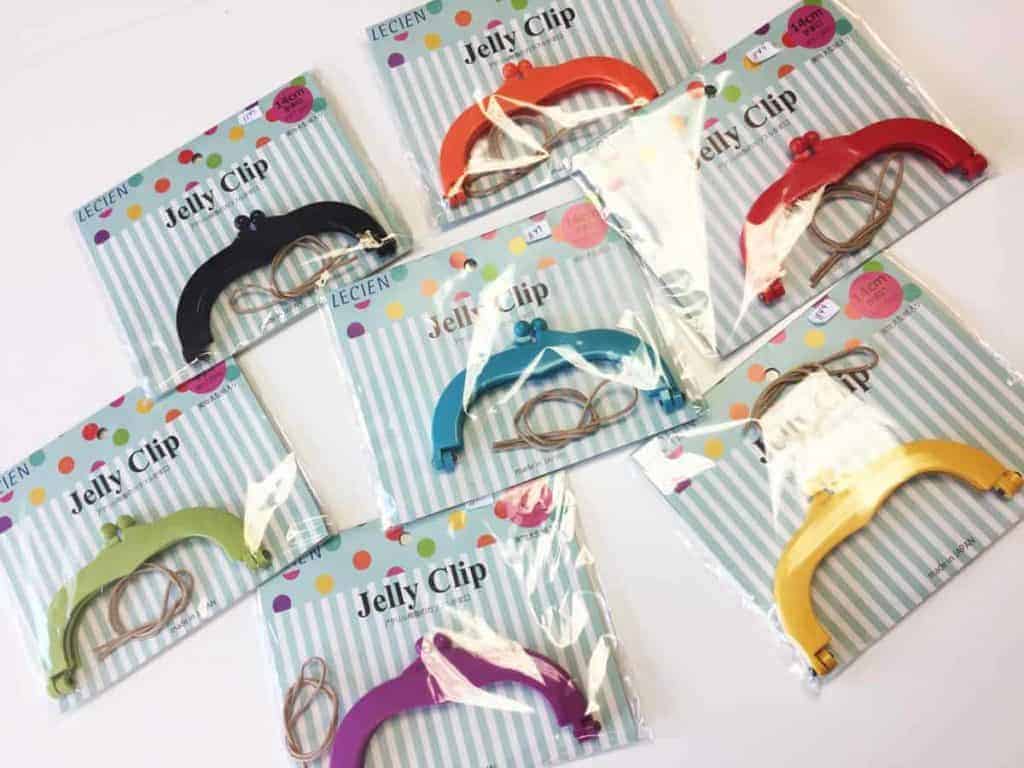
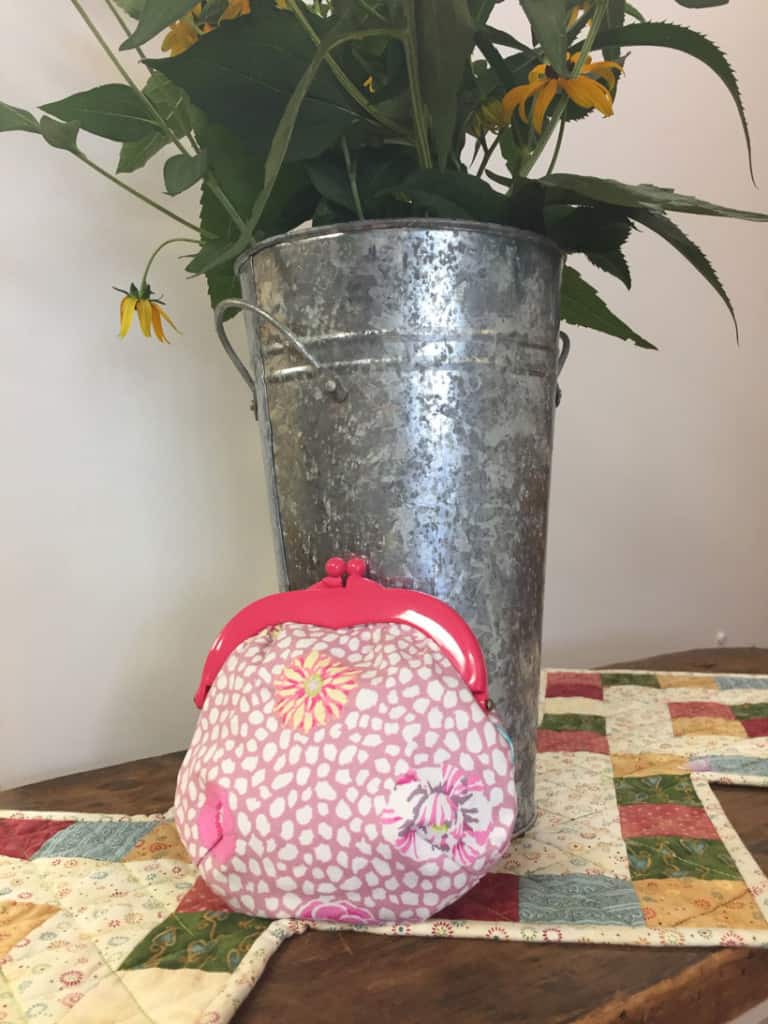
I came across some colorful Japanese jelly clips for purses. You can use one to make a clipped pouch that’s perfect for make-up or what have you. They come in a plethora of colors and are available in three sizes. I’m going to carry the mid-sized (5.5 inch) clip at my online store.
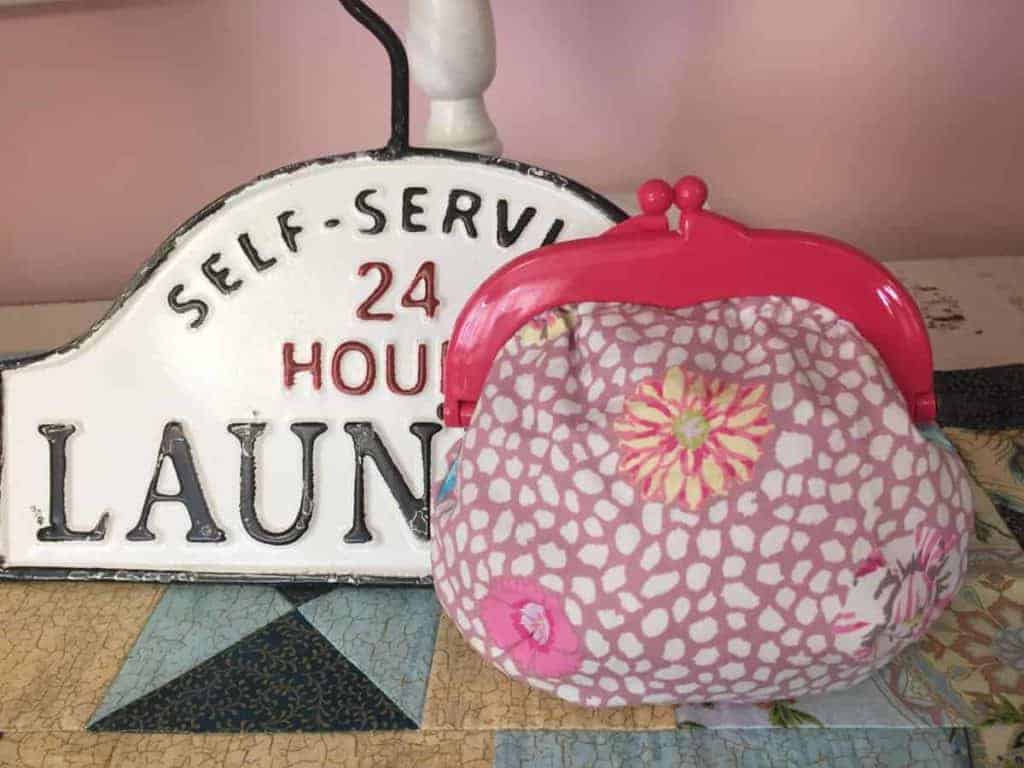
Because the directions are in Japanese, I’ve prepared this tutorial for you so you can make a few of these little bags yourself and your friends.
Here’s what you’ll need:
- 1 – 14cm (5.5″) Jelly Clip
- 2 – Fat Quarters, one for the lining one for the outer fabric
- Pellon Shape Flex interfacing – 9″ x 21″ piece
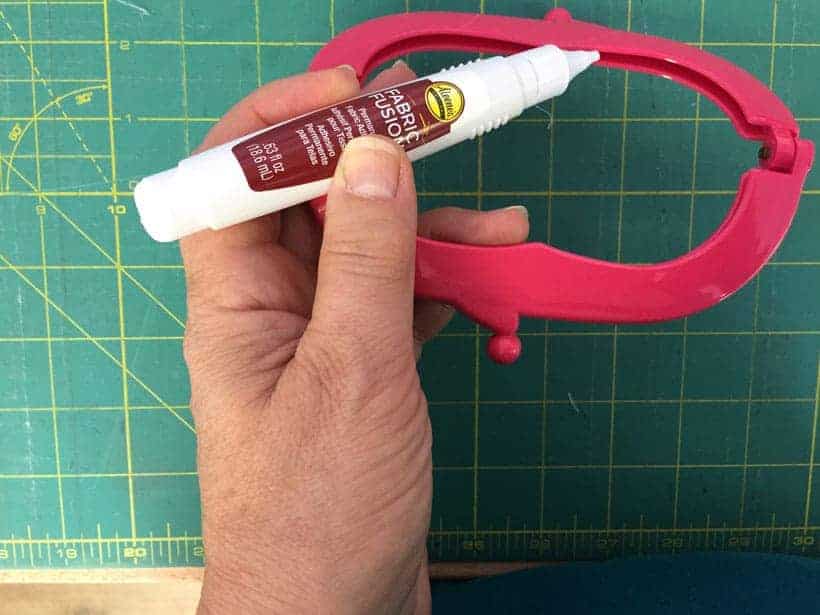
- Glue that will stick fabric to plastic. I’ve used Aleene’s Fabric Fusion. I carry this product online and in the studio. Other brands that ought to work just are E6000 and Prym Textile Adhesive. The glue you use must dry clear and needs to have a nozzle type applicator. You may also have to clean up excess glue on the clip with acetone (nail polish remover) after it dries.
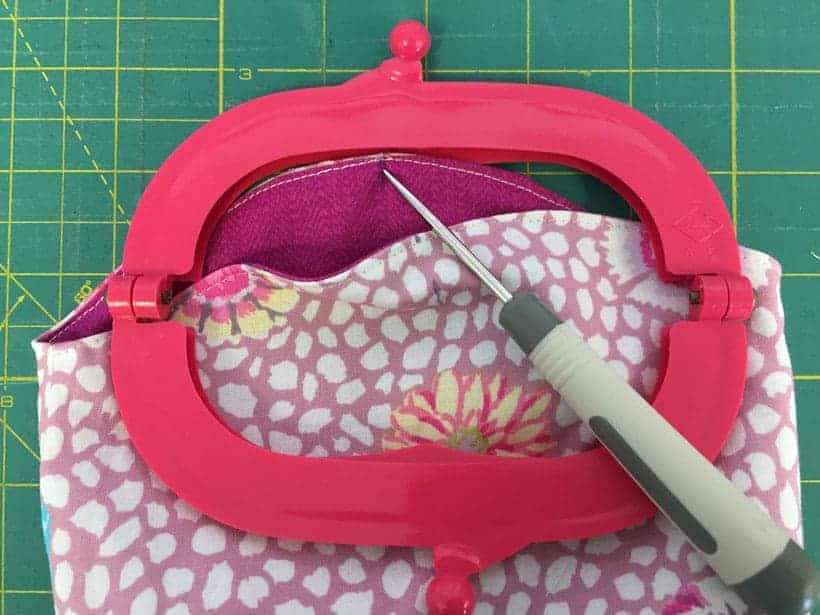
- A tailor’s awl for pushing the fabric into the clip. I’ve found another good tool to use is ‘That Purple Thang” or even a bamboo skewer.
- Regular sewing supplies, scissors, pins, thread, sewing machine

The package contains the template for cutting your fabric pieces. Cut 2 each of the outer fabric, the lining and the Pellon Shape Flex woven interfacing.
Instructions:
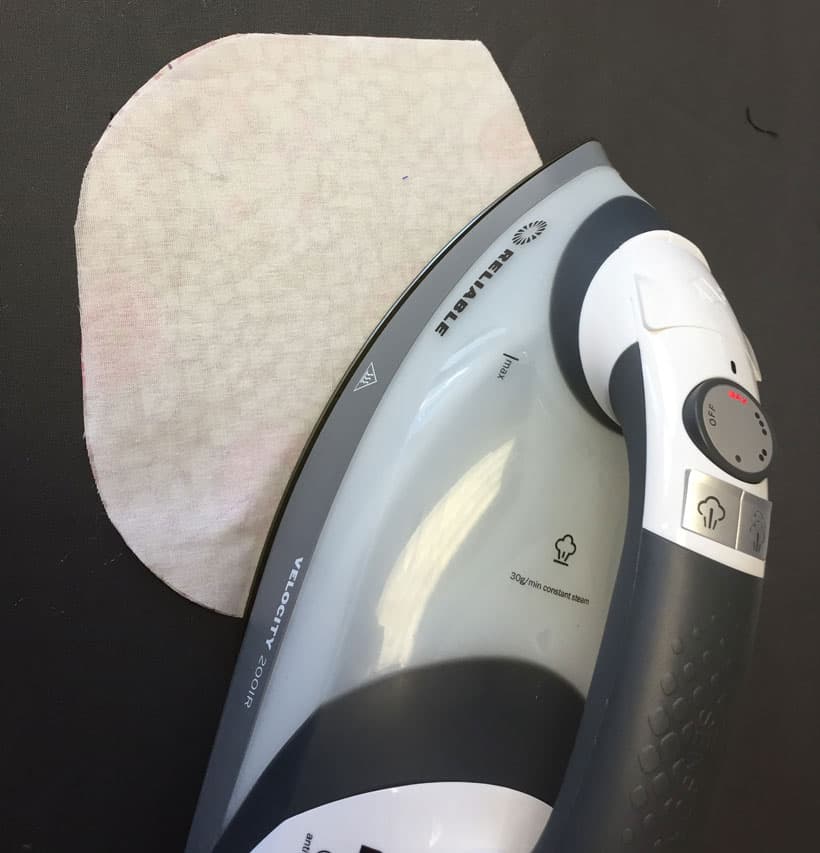
Following the manufacturer’s directions, fuse the Shape Flex to the wrong side of the two outer fabric pieces.
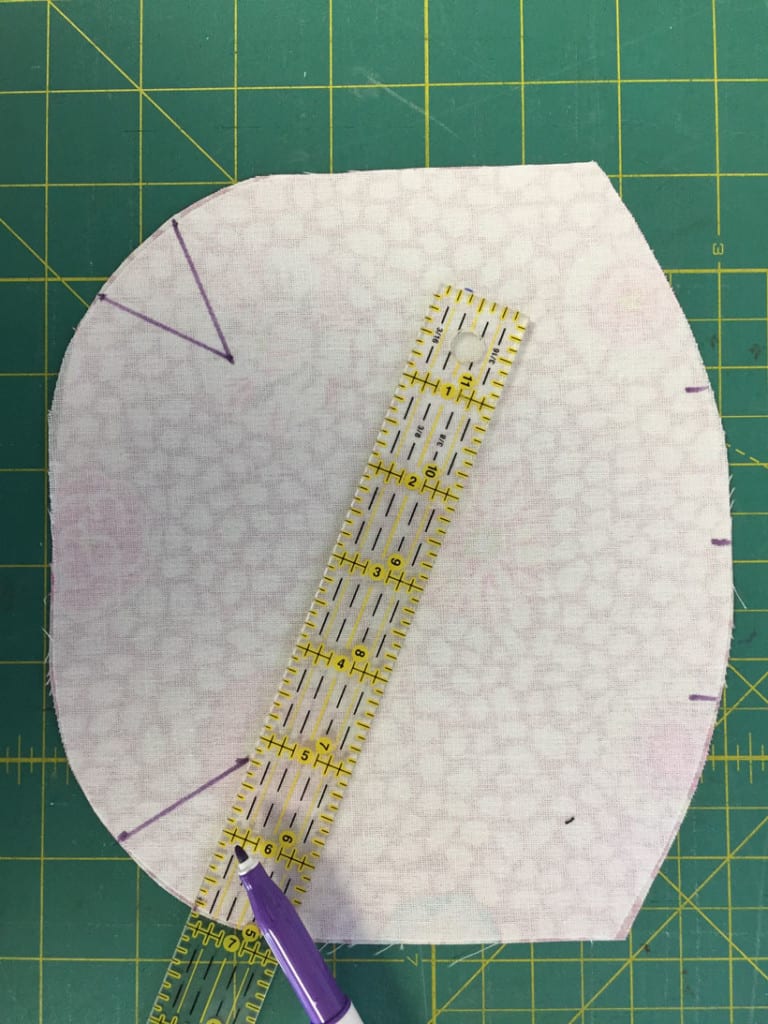
On the wrong side of the fabric (all 4 pieces) mark the darts, the center top of the bag and the opening marks that are on either side of the center. To mark the darts use a pin and poke it through the paper pattern at the point of the dart. Then mark a dot at the pin. Mark the outer edge of the dart lines at the fabric edge and then draw straight lines to join the points. Mark center on the right side of the lining fabric. Extend the mark down about an inch so you can locate center later when you insert the bag into the clip.
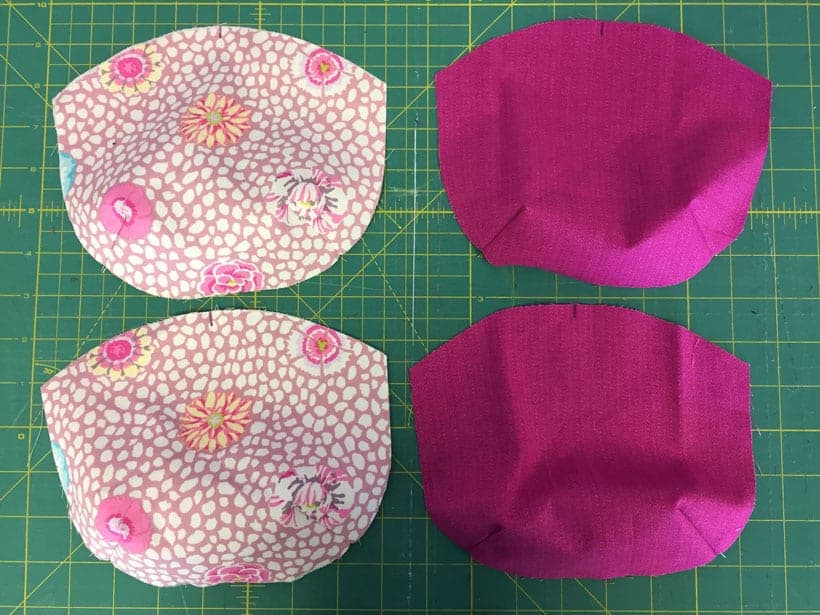
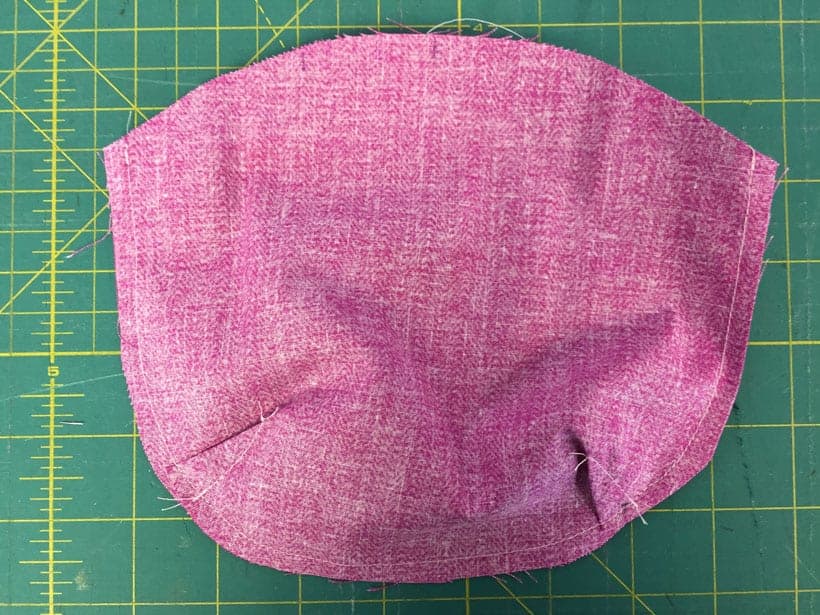
Pin the lines of the darts to match right sides together. Sew the four darts one at a time. Sew from the raw edge to the point. Backstitch at the raw edge, tie off thread ends with a knot at the point. Press to one side.
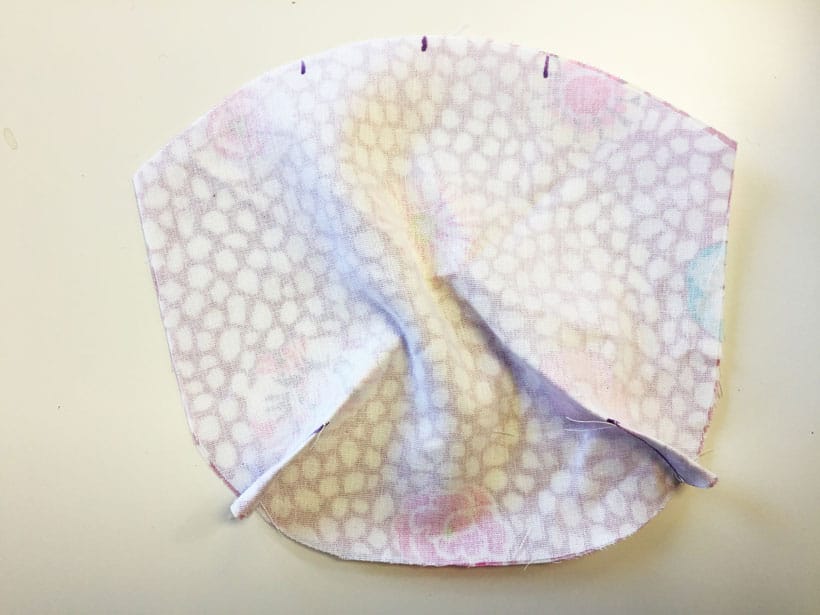
Place the lining bag pieces right sides together matching at the darts. Butt the seams of the darts so one falls to the left side and one to the right side of the seam.

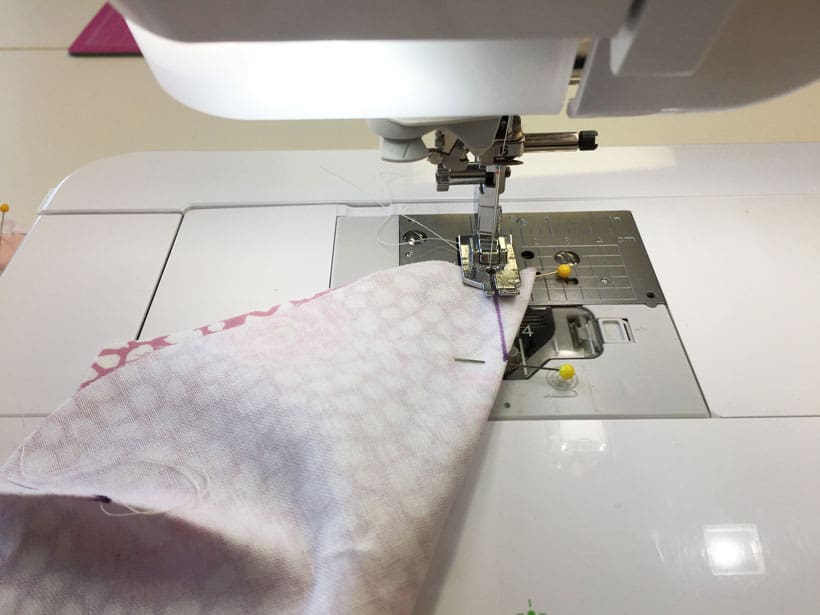
Using a ¼” seam, sew around the curve of the sides and bottom of the lining leaving the top edge open. Turn to the right side. Repeat to sew the outer fabric pieces together.
Insert the outer bag into the lining so that right sides are together. Pin around the top edge matching centers, opening marks and side seams. Butt the side seams so one seam falls to the right and one to the left.
Sew around leaving one of the opening areas along the top edge unstitched. Backstitch at the beginning and ending of stitching. Press back the opening seam edges. Turn the bag to the right side. Press the top edge even and pin the opening shut.

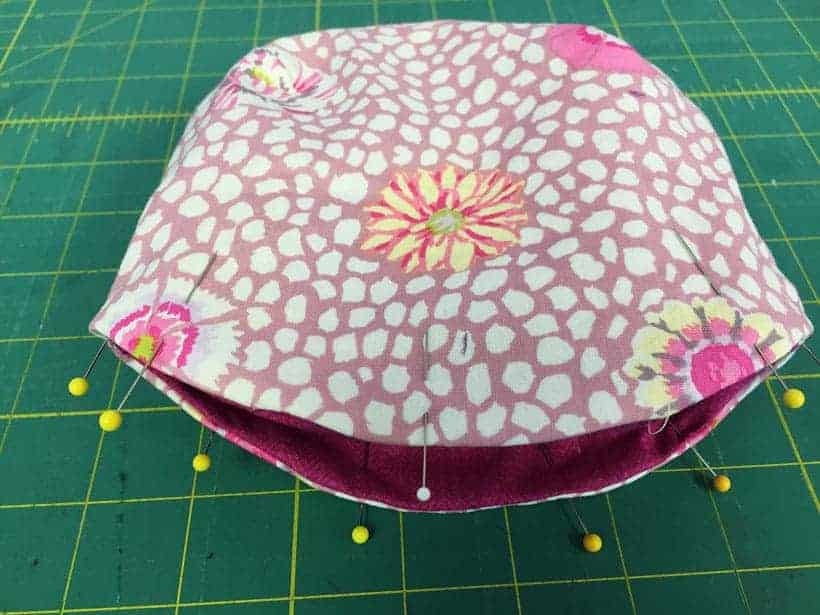
Stitch all around the bag 1/8″ from the top edge to close the opening.
Apply glue inside the channel of the clip following the manufacturer’s directions. I find letting the glue sit for a few minutes to get tacky helps with the next step.
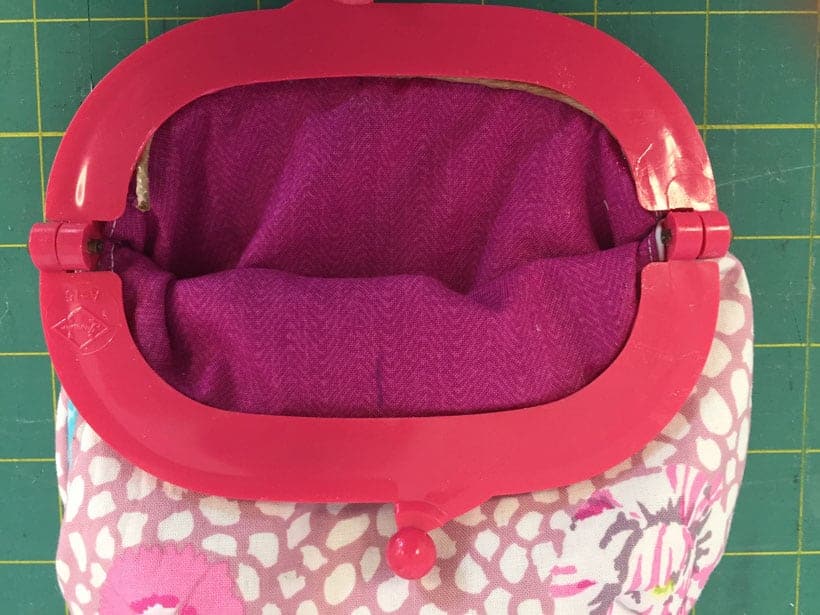
Using a tailor’s awl and starting at the center mark, carefully insert one side of the bag into one side of the clip. Push the bag into the clip at the side seams. Work the top edge of the fabric into the clip. You’ll have a bit of fullness. Wipe off all glue that inadvertently gets on the clip.
Press the cord into the channel cutting the cord to the correct size as you go. You may wish to apply a little glue to the cord. You might also use a bamboo skewer for this step.
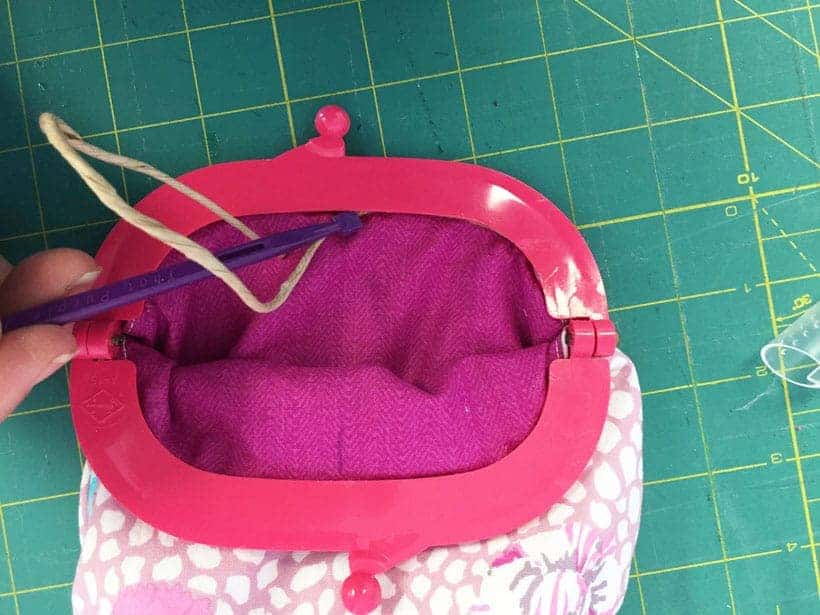
Repeat to insert the bag and cord into the opposite side of the clip.
Allow 24 hours to dry.
Remove any excess glue you missed wiping off on the clip. I found I was able to remove Aleene’s Fabric Fusion with acetone (nail polish remover). I then used a clean damp cloth to remove the milky acetone residue. The trick is to use a clean cloth or you will still see a milky reside when it dries.
You can find both the Jelly Clips and the glue at shop.amongbrendasquilts.com. Happy crafting!
Leave a Reply